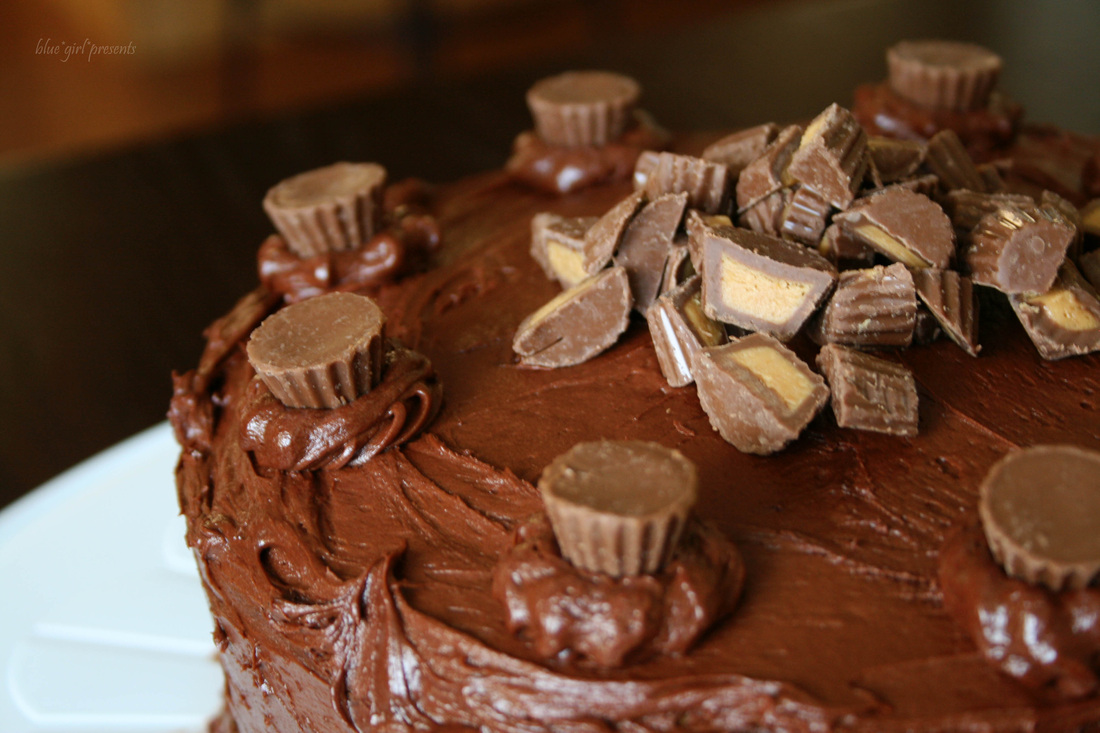
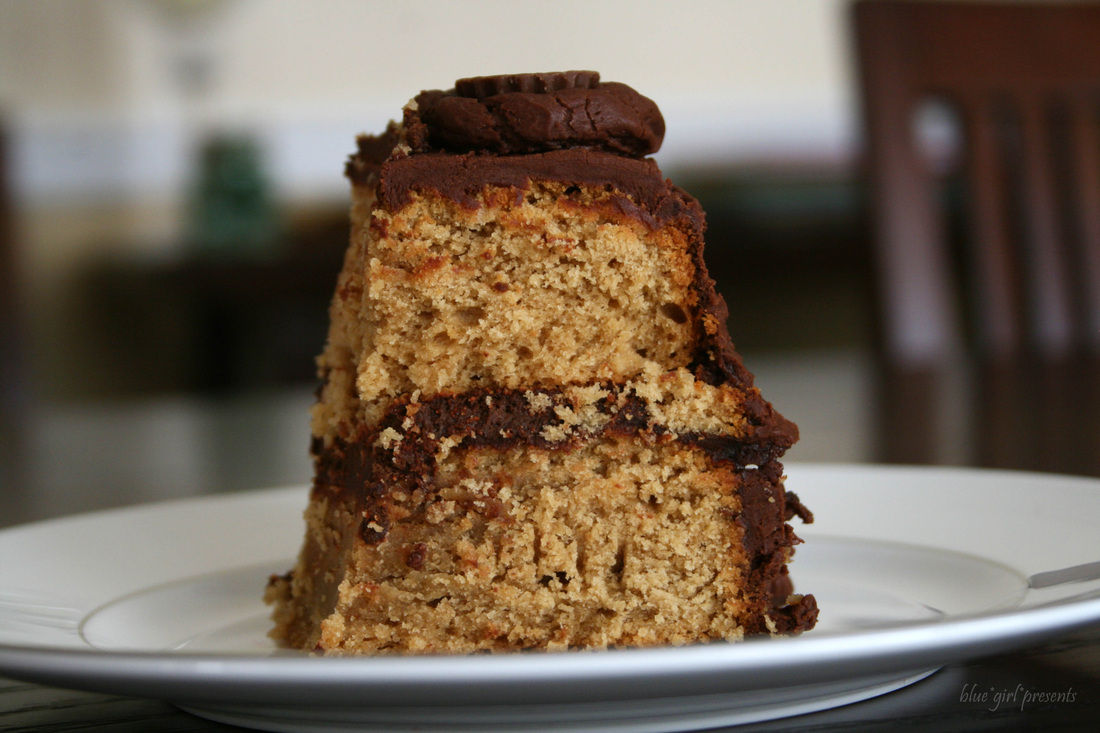
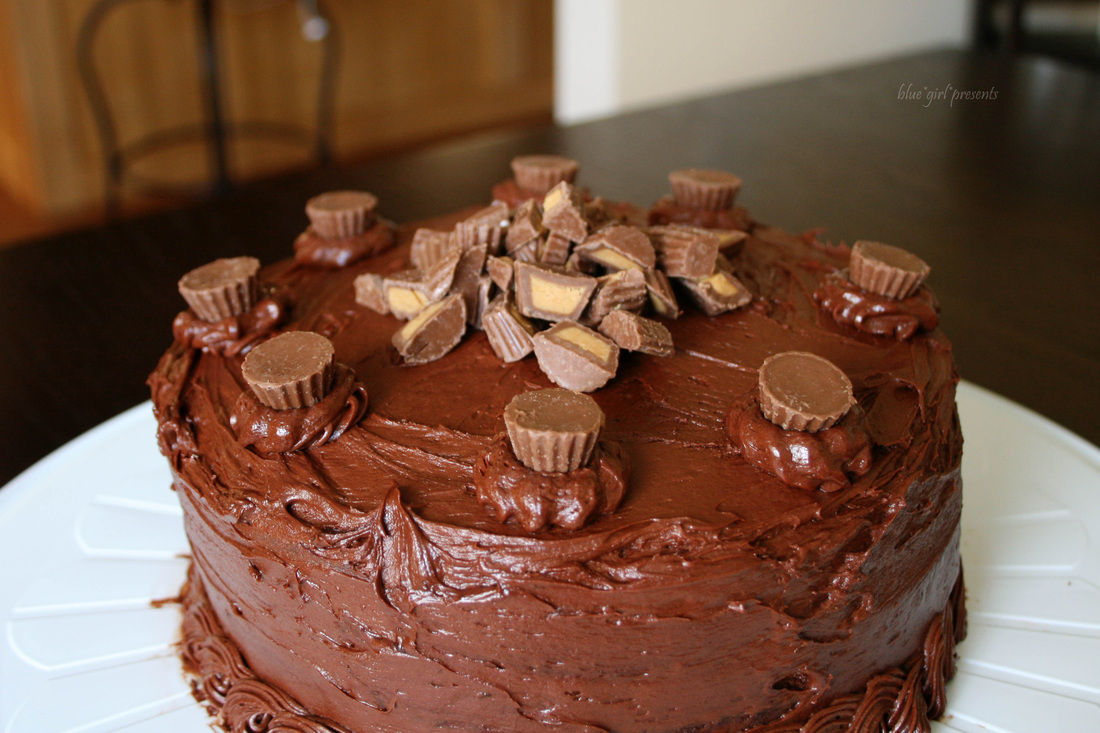
In my Party in a Box post, I mentioned that my Sister-in-Law of Love Deliveries is super talented. In addition to the ones that I already mentioned, one of her talents is making beautiful cakes. Becky is always making these fabulous cakes for her kids' birthdays and for various showers and events. In the past, she has also sold elaborately decorated cupcakes. When planning Becky's birthday meal, my Mother-in-Law put me in charge of dessert. I don't quite have the type of patience and finesse required to decorate a cake (though, I'm working on it!), but I knew I wanted to do the best I could to create an amazing cake for the girl who is always baking for others. (We just got a cranberry nut banana bread this week that was yummy yum!) We are a family that LOVES peanut butter and chocolate. LOVES. But Becky takes that love to a different level. So the flavor combo was a no brainer. I just had to find the perfect recipe. I recently discovered Sally's Baking Addiction, and immediately knew that was where I would find my inspiration. Spend any amount of time on that blog, and you will quickly learn that Sally LOVES peanut butter. LOVES. I hit the jackpot when I found the recipe for Peanut Butter Cupcakes with Dark Chocolate Frosting. Hooray! Now, I really love baking cupcakes. In fact, I'm in that group of people that enjoys the idea of turning anything edible into a form of cupcake. However, for whatever reason, I had my heart set on baking a Birthday CAKE. So that's what I did. Sally says that you can "pour the batter into a 8-inch or 9-inch square or round baking pan and bake for about 35 minutes." I made two batches for a layer cake, and only had to bake each round for 25-27 minutes. I whipped up 2 cups of heavy cream with a box of instant chocolate pudding to make a simple filling. Then I frosted the whole cake with Sally's Dark Chocolate Frosting. You are all lovely. You are. But unfortunately, I don't yet love you enough to pause before dessert to take a photo. Instead, I waited a day and a half when we just had a little chunk of cake left and took a photo of THAT for you. Awful, I know. Forgive me? This cake is rich. It absolutely begs for a mug of coffee or a tall glass of milk. But it is good. It tastes like a peanut butter cup in cake form. Covering the top with mini Reese's Peanut Butter Cups definitely doesn't hurt. Hooray for birthdays and an excuse to eat cake!
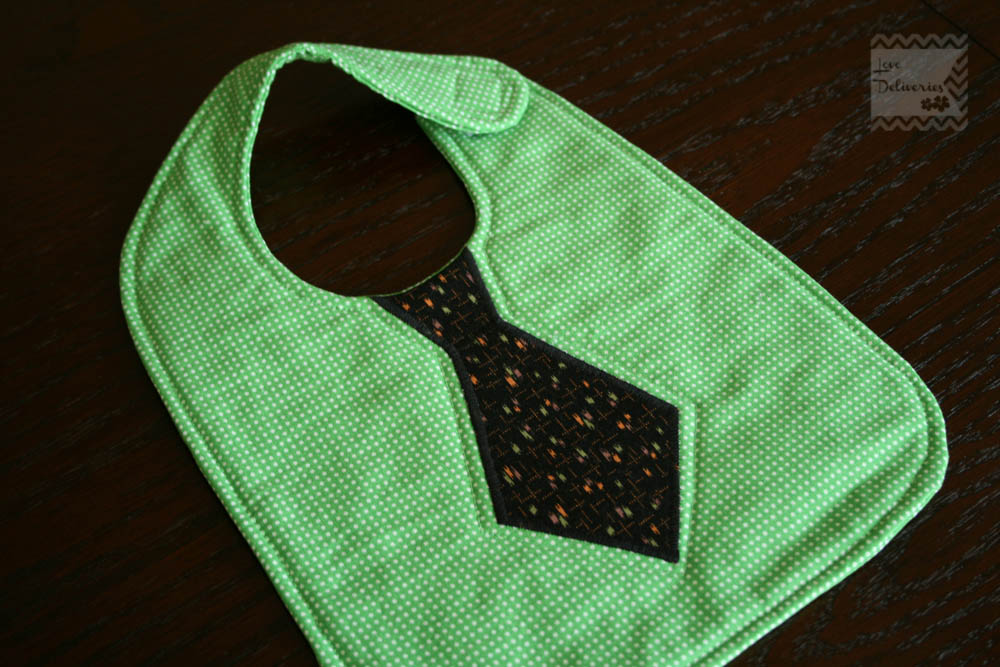
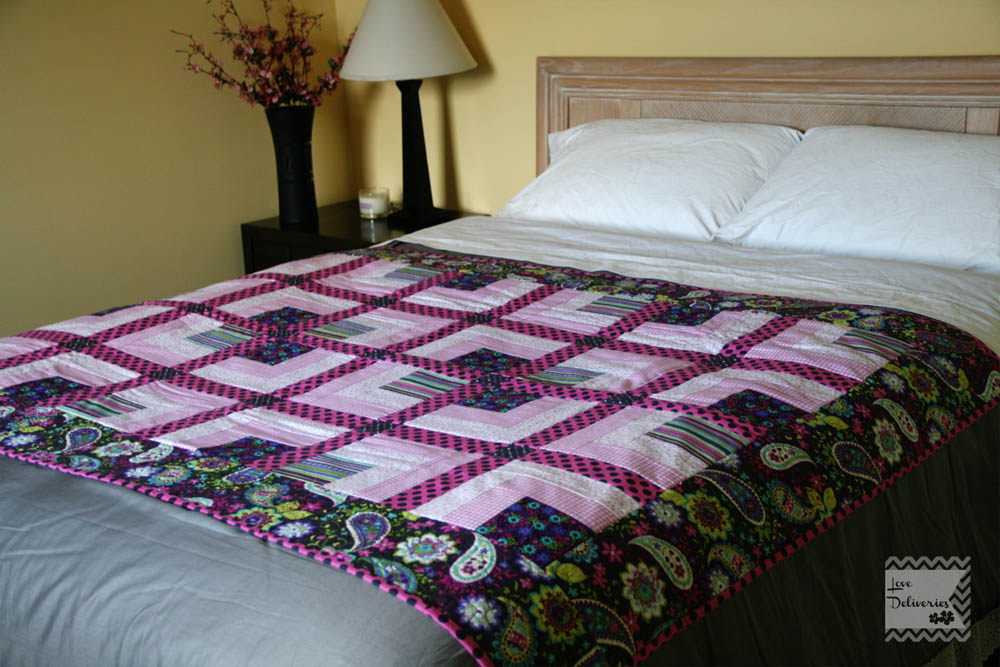
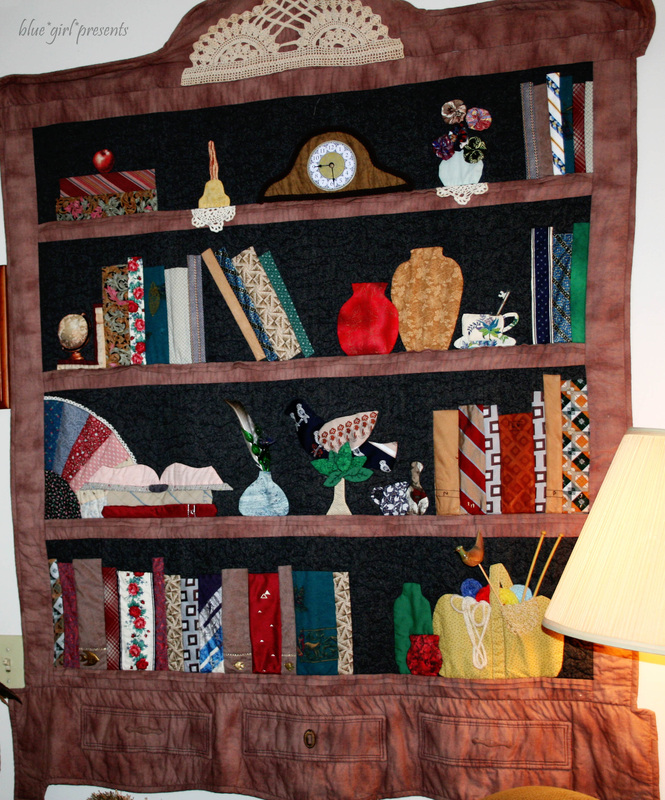
This month is my Sister-in-Law's birthday month. I'm pretty sure she has super powers. She is a full time Mom and wife, a lot-of-the-time labor and delivery nurse, and the owner and creator of all things at Love Deliveries. She can do pretty much everything...and she can do it well. I tell her she is crazy quite often. But she is crazy in the most wonderful way. You should check out Love Deliveries for some fun gems like this crazy cute tie bib. I love these! Or this beautiful quilt.
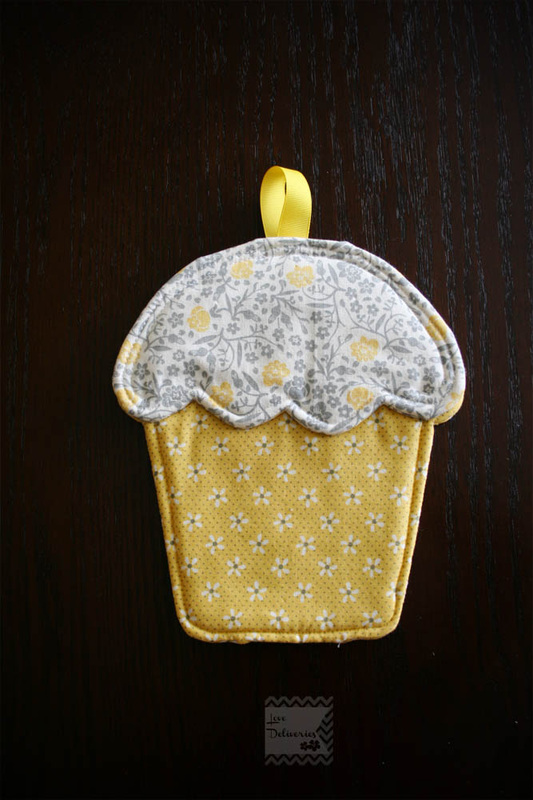
Or this sweet cupcake shaped oven mitt. Isn't it darling?
We celebrated Becky's birthday over the weekend.
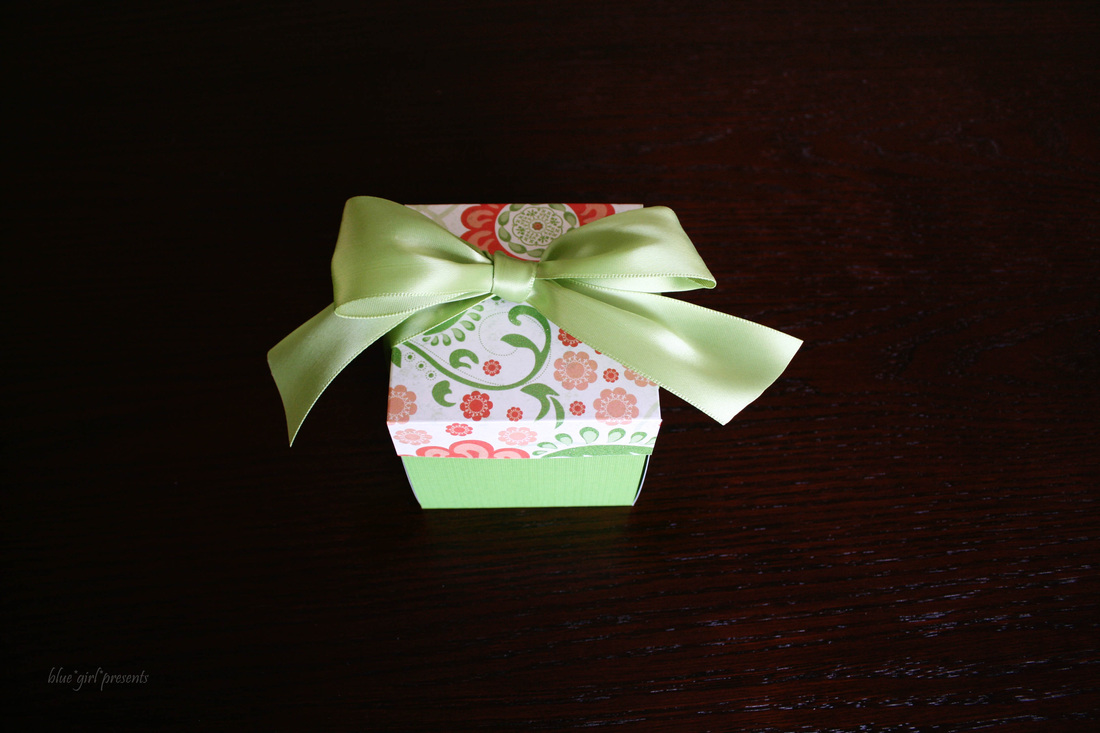
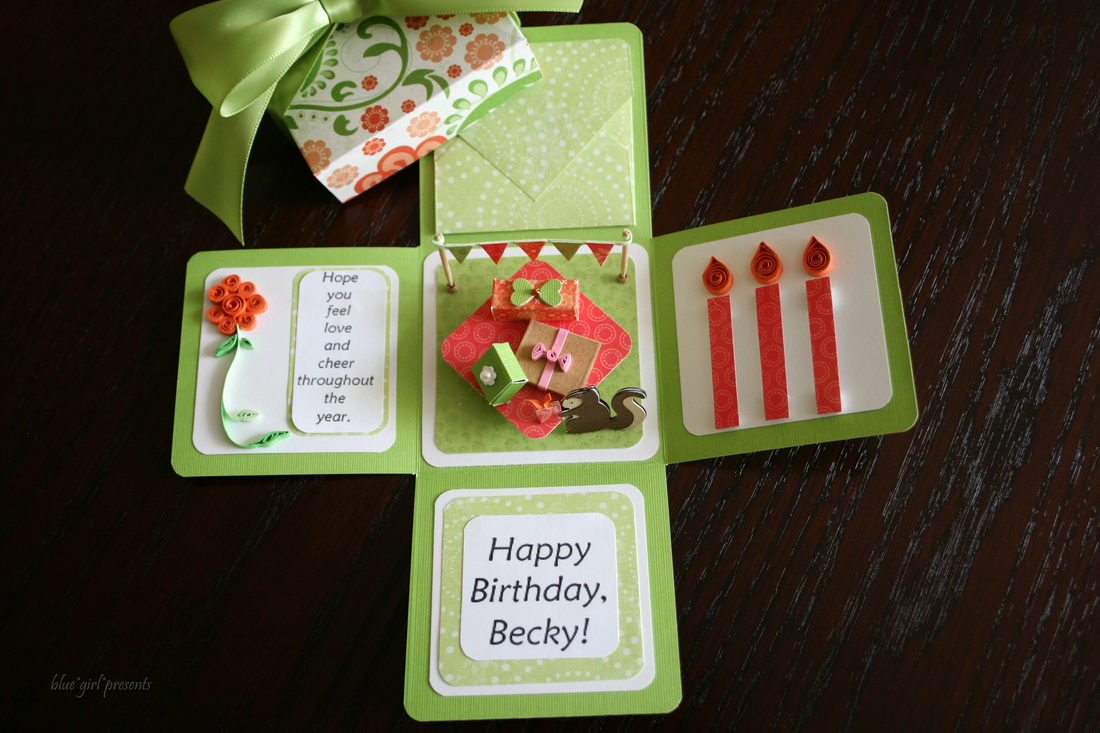
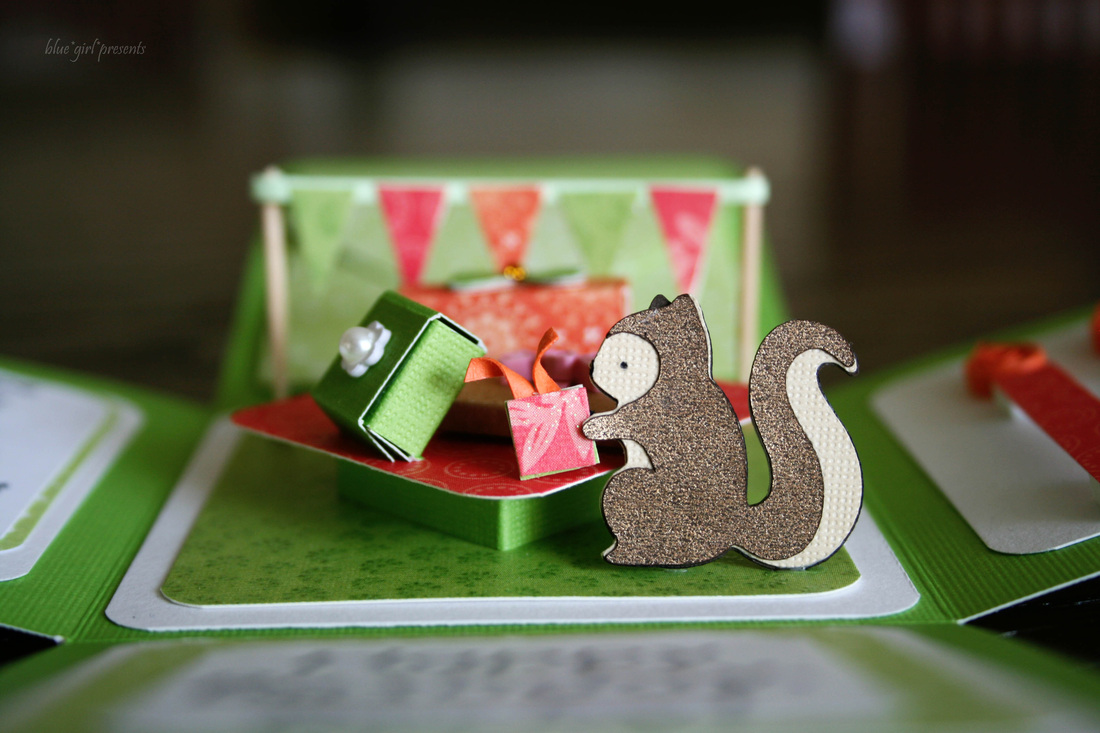
A fabulous girl needs a fabulous card! I created an envelope for the top flap so that I could tuck in a card that had extra space for a personal message.
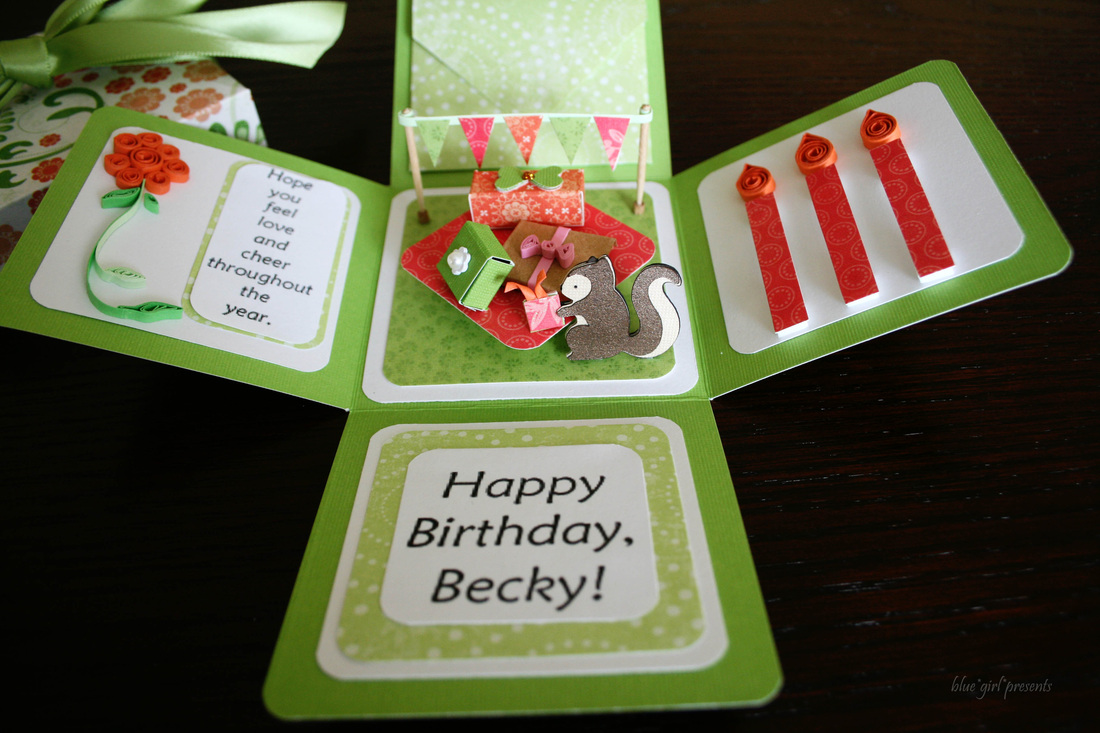
The squirrel was cut with my Cricut (an amazing gift from Becky!). The flower and heart shapes on the miniature gifts, and the rounded corners were cut with punches. All of the other details were cut and shaped by hand.
Thank you for visiting. Come back tomorrow, and we'll talk about dessert!
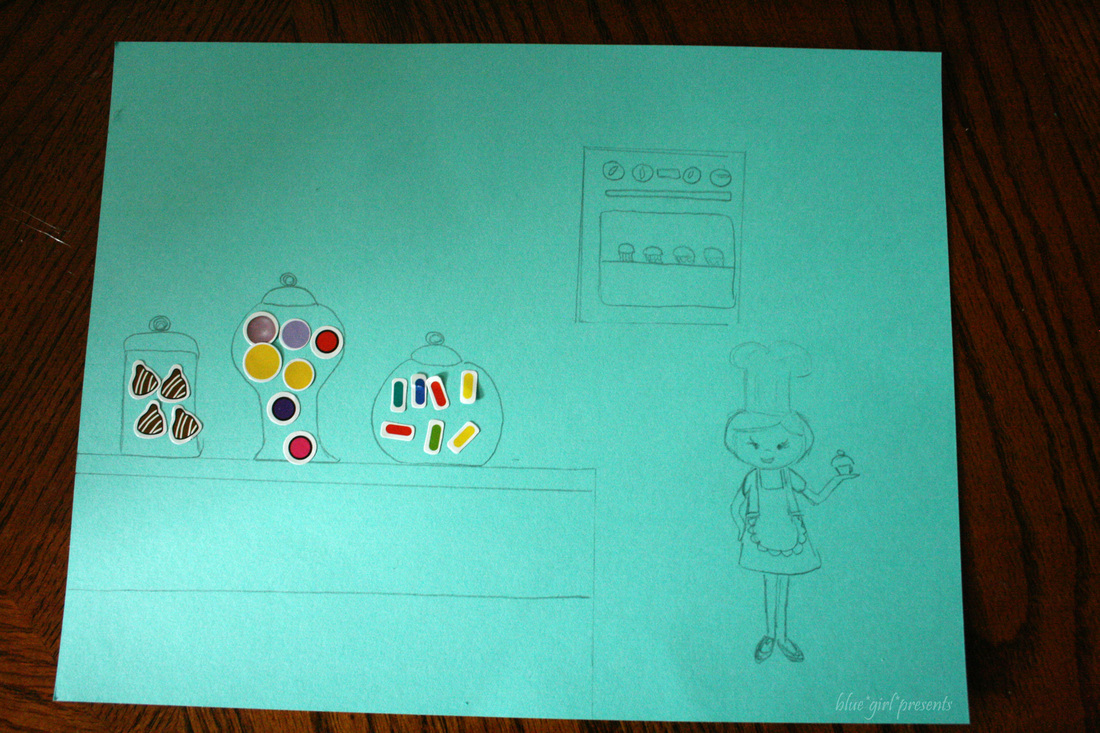
Hello there! Can you believe it's Friday again? I hope that you had a wonderful week. * This week, I was able to spend some time with my five year old niece and my one year old nephew. They only live five minutes away, but I hadn't really spent time with them in a few weeks. They are the cutest, and I always cherish the time that I have with them. We sang songs, had an ukulele dance party, read a bunch of fun books, and made some art. For the picture above, my niece asked me to draw a table with cups and jars, a baker, and an oven. She had some special candy stickers she wanted to use. She also asked me to draw the baker with short hair, "like my Mom!" Sweet girl. * I had pizza this week. I REALLY like pizza. So any week with pizza is a praise. Hooray for a husband who brings home pizza! Hooray for an awesome pizza shop super close to our home!* One of my dearest friends from college called me this week. We call each other "Cousin" but we're not really related. We actually try to connect every Monday. However, the past few weeks have been a bit crazy with vacations or house guests on either end. Cousin is great though and she managed to sneak in a quick call last week and a longer call this week on a non-Monday. That was a sweet surprise. * Another friend called me up this week and gave me an opportunity to lead a music group at a daycare in the fall. In a past life, I was a music therapist. I attended school with this friend, and we worked together for a year. Life happened, and I eventually stopped doing music therapy. I really appreciate this friend for letting me dip my toe back into the field.* Attending the 70th birthday party last weekend gave me extra time to spend with my Mother-in-Law. She is such a blessing in my life. Sometimes, I tell Hubby I married him for his Mother. She is so wonderful, he's never entirely sure if I'm telling the truth or not. He is so wonderful, it doesn't really matter. :) Have a super spectacular weekend!!!!!Love,Karen
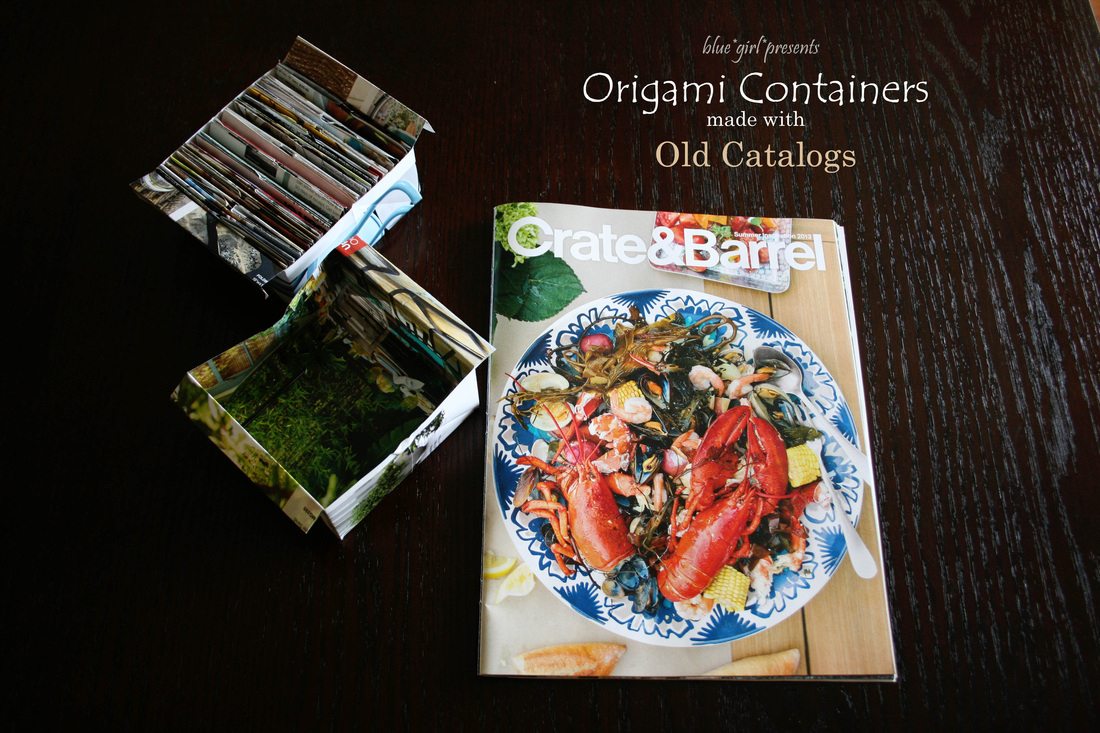
We get piles and piles of catalogs throughout the year. It can be fun to flip through them and dream. On occasion, we even order something. This always ensures that we get another onslaught of catalogs. So what do you do after you're done dreaming and are left with a stack of outdated catalogs?
When I was young, a really lovely couple taught me a fun way to create something useful from old catalogs and magazines. Someday, I will tell you more about them. Today, I'm just going to show you how to make these origami containers. Grab an old catalog or magazine and follow along!
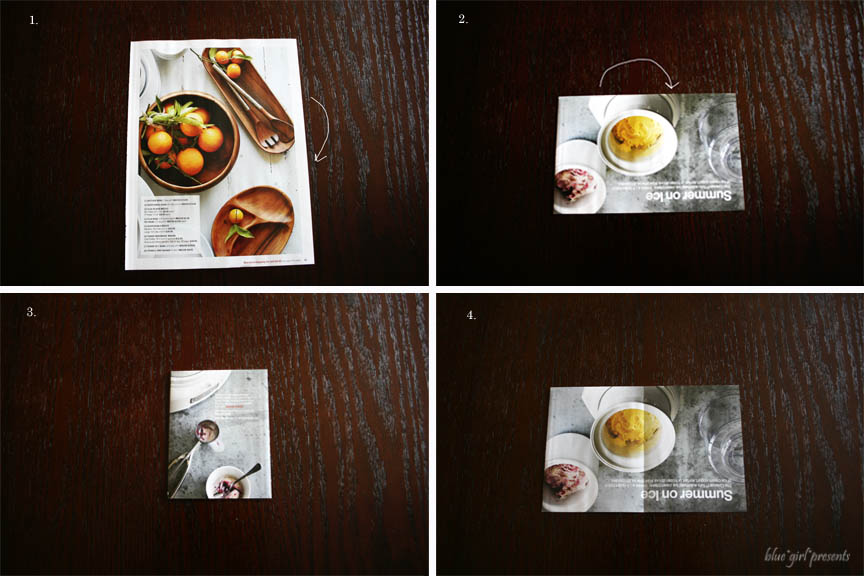
1. Take a single page, and fold it in half horizontally.
2. Now make another fold vertically. This one will just be a crease.
3. Are you craving ice cream right about now? I sure am...
4. Open up the previous fold.
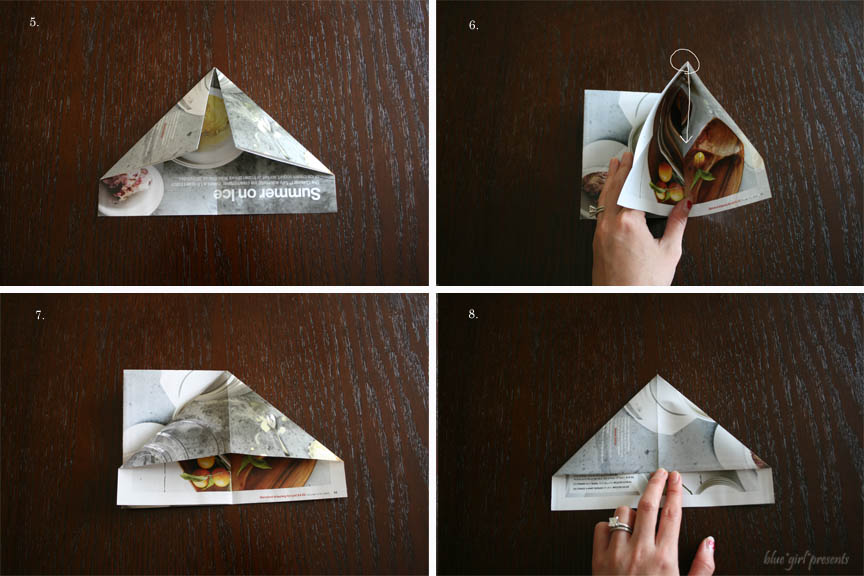
5. Pretend you're making a paper airplane. But just fold and unfold.
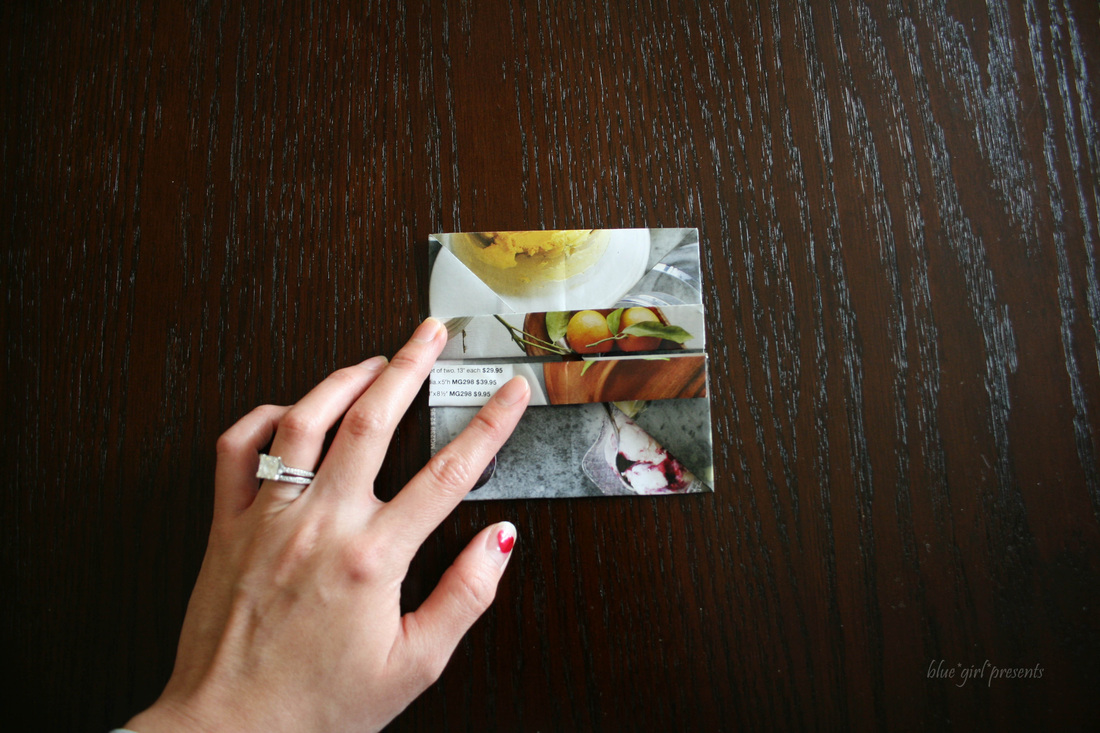
6. Lift one side of the paper. Open it up, then bring the top corner down to meet the crease. (It's really best to follow the photos, because these directions don't make much sense otherwise. :) )
7. It should look like this.
8. Do the same on the other side.
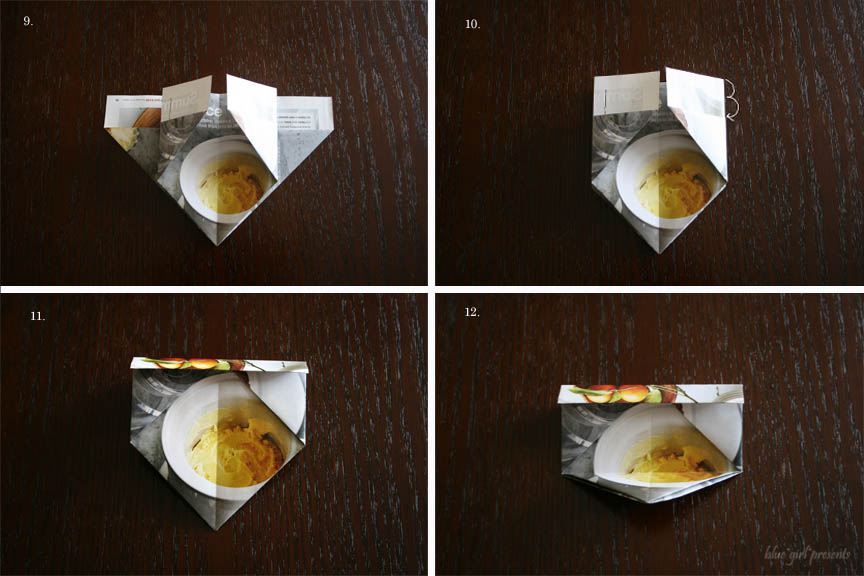
9. Take the wings, and fold them towards the middle. Do this on all sides.
10. Take the top piece and fold it in half, and then make another fold to create the handles on each side.
11 - 12. Take the bottom point and bring it up to create a crease. Now you can open up your creation from the top and...
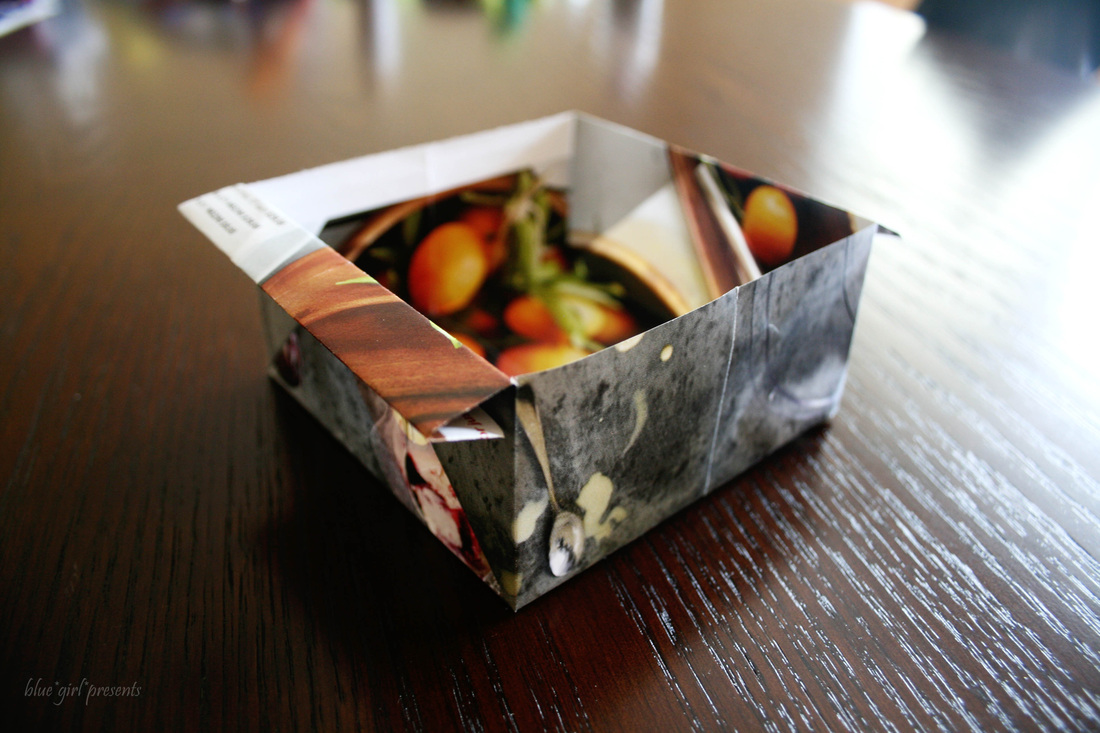
Ta-da!!!!! You have a lovely origami container.
Here's another trick.
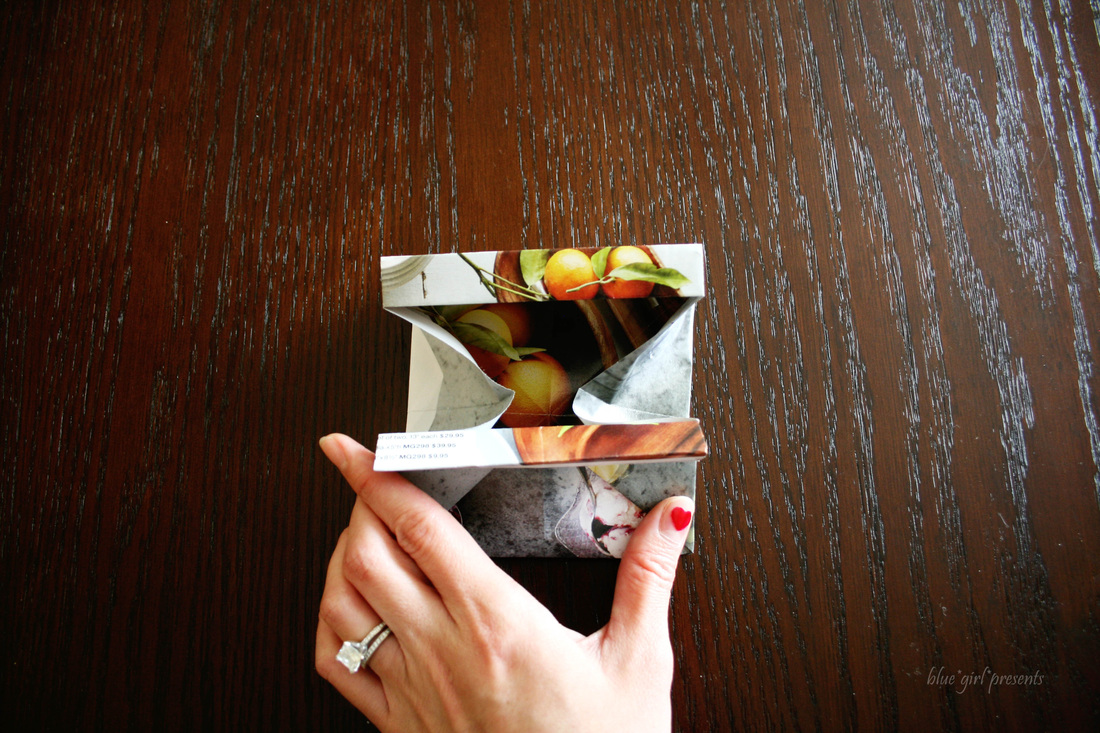
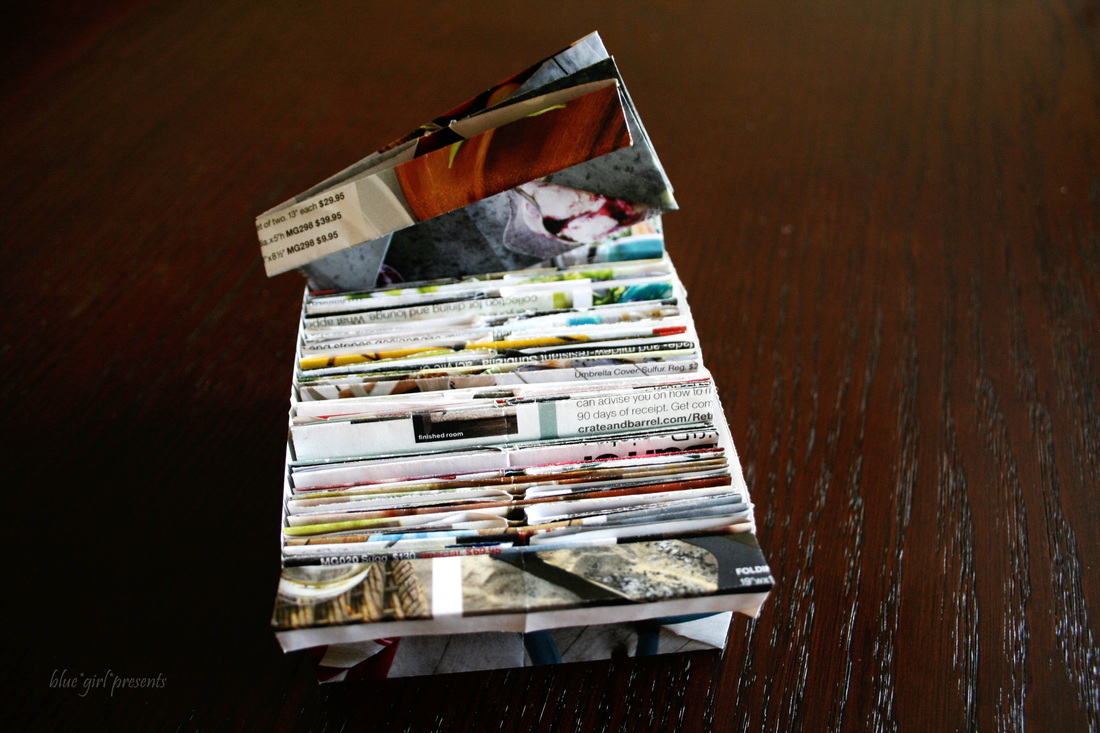
You can gently push in the sides of the container to collapse it.
Then you fold it in half with the handles facing out...
Now you can store a whole bunch of containers inside one open container.
I keep a bunch of these containers in my crafting space.
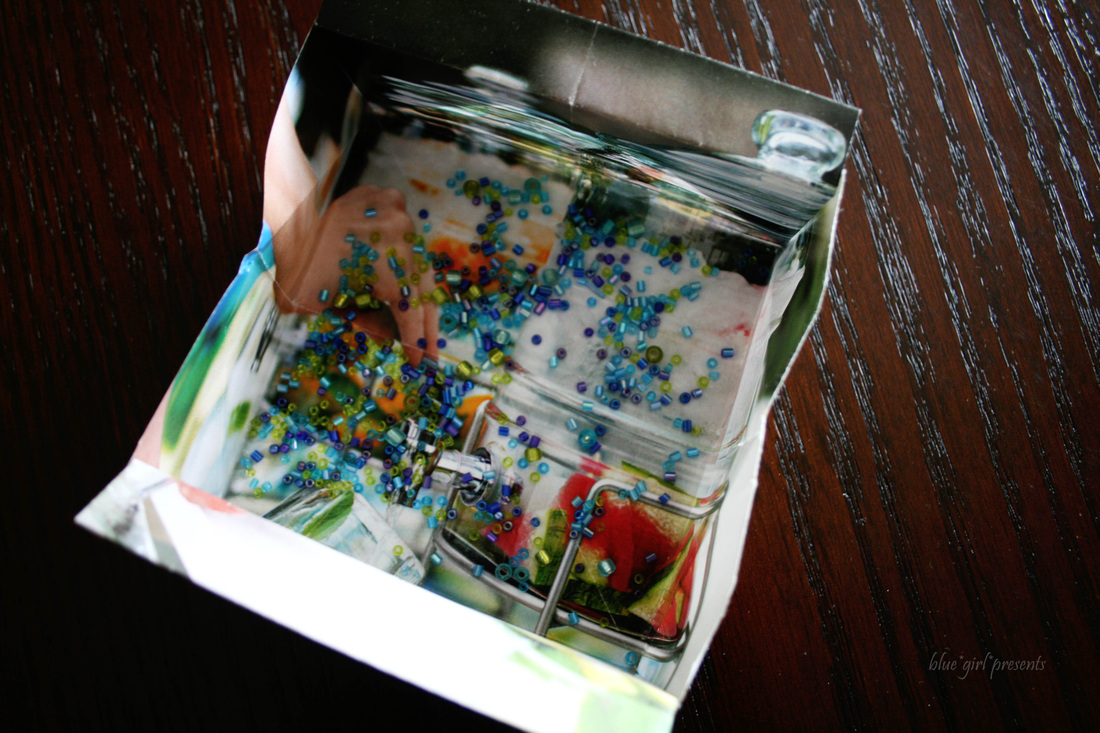
Sometimes I use one to hold beads for a current project.
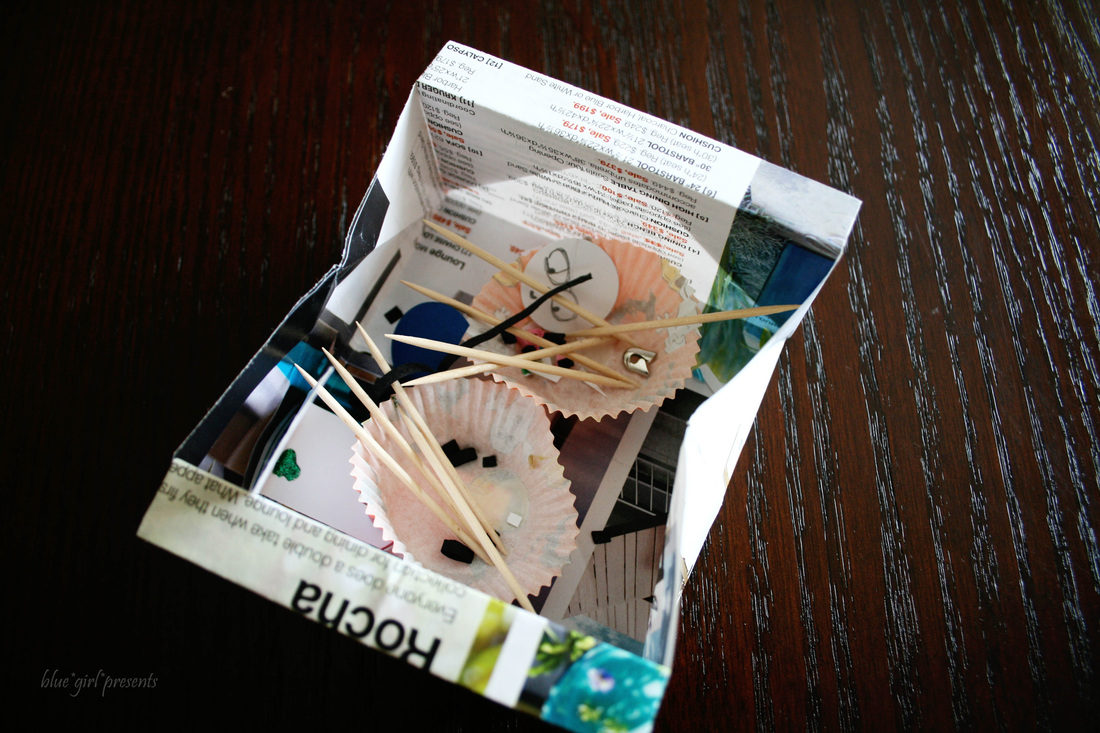
A lot of times, I use them to hold little bits of trash that accumulate while I'm crafting. It's easier to have a little receptacle right at my fingertips than a bigger one on the floor. Afterwards, I can dump the whole thing.
These little containers are great at mealtimes as well. Place one at each seat to contain fish bones, chicken bones, egg shells, or any other non-edible parts of a tasty meal. After your meal, you can just toss them.
Have fun, and let me know if you come up with more uses for these origami containers!
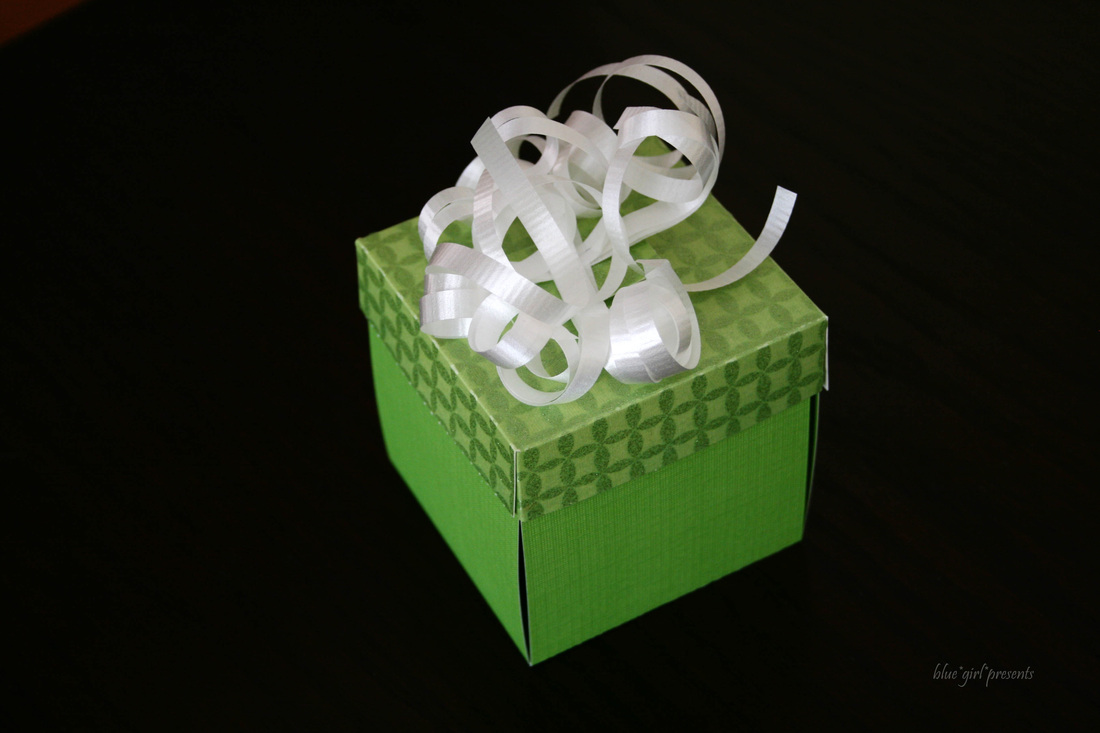
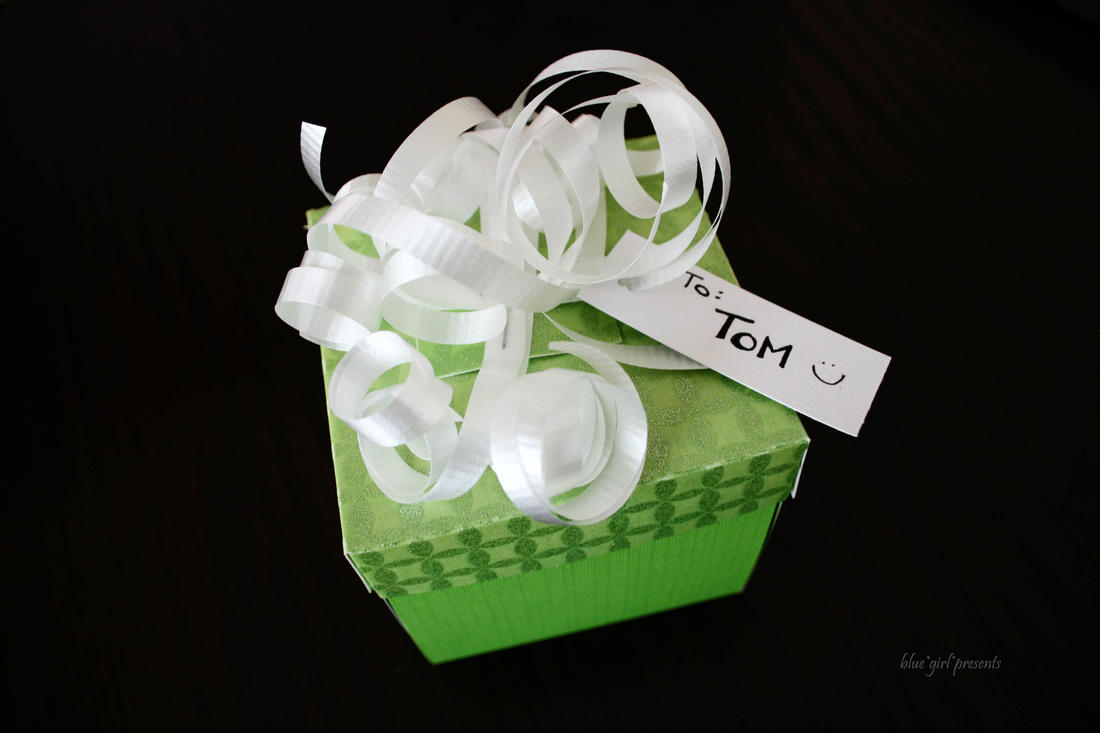
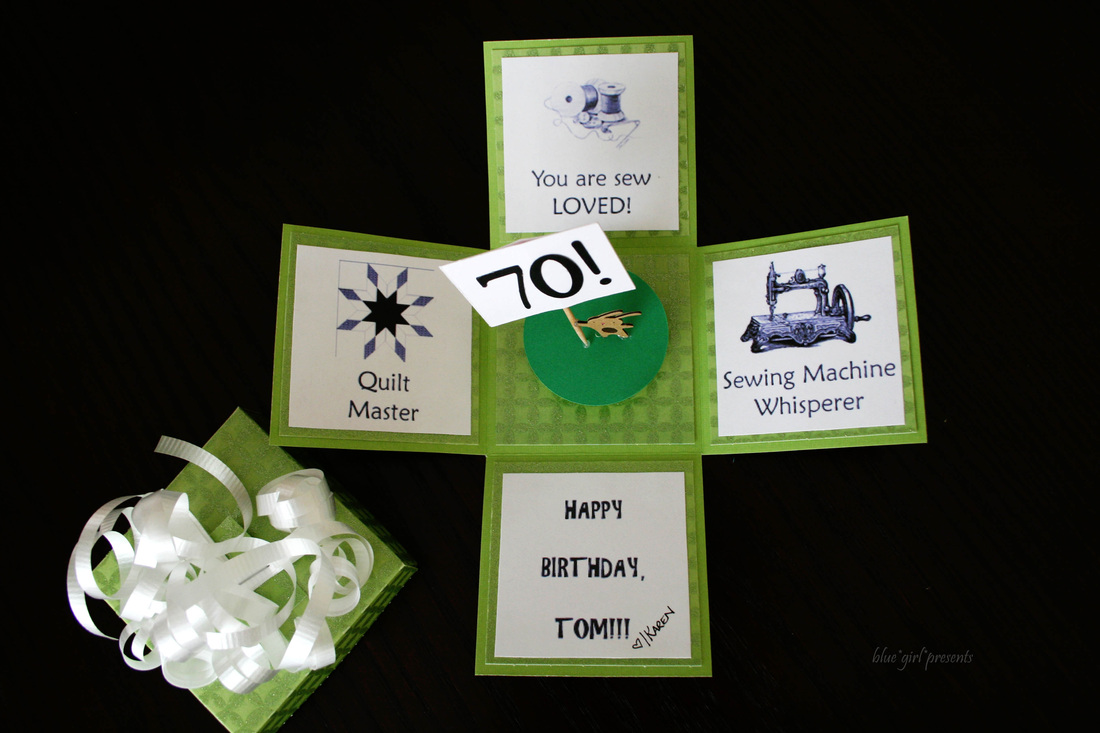
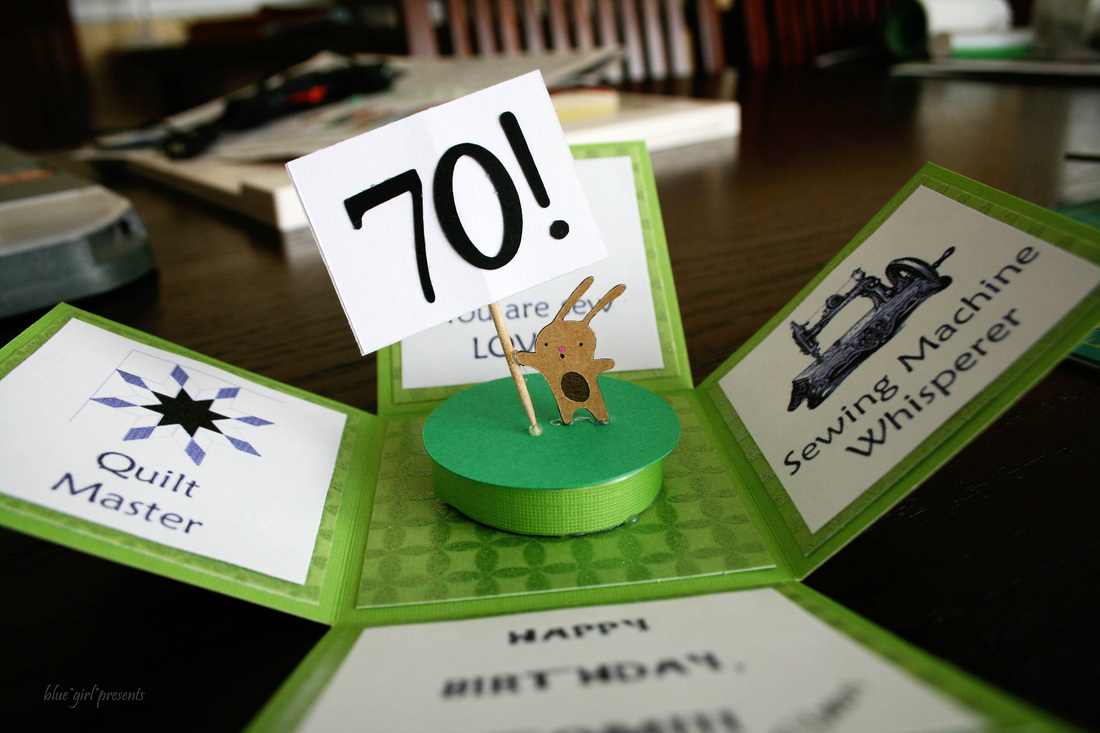
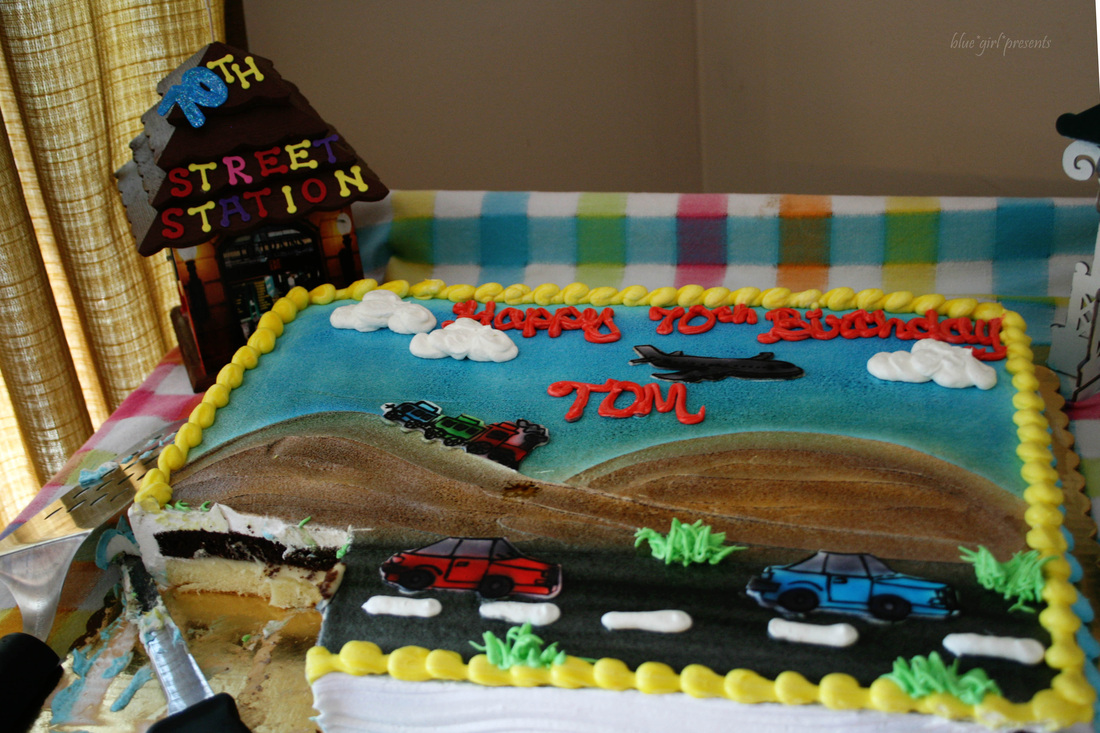
I'm learning how to quilt. Kind of. It's something that I have always wanted to do. When I found out that my Sister-in-Law quilts, and my Mother-in-Law quilts, and that they are both connected to a whole network of quilters, I was really excited. For the past three years, I have been attending an annual quilt day at my church and a quilt retreat that is held close to the middle of nowhere. In that three years, I have finished hand-piecing the front of a wall hanging, and machine sewing the top of a table runner. My Mother always picks on me for hanging out with quilters all the time but having no finished projects. The thing is, quilters are REALLY nice people. They love having show and tell sessions, and are always so supportive and encouraging. My first quilt day, all I had to share was a little nine-patch square, and the quilters cheered for me as though I had finished a king size quilt. Every six months, the quilters gather again, see my additional couple squares and cheer as though I finished another king size quilt. It's really quite lovely. You can only imagine what it's like when someone really does share a king size quilt! Tom and Madge are two of our quilt mentors that attend the quilt day and the quilt retreat. They are the cutest couple. They are kind, hilarious, encouraging, generous, and God-centered. Madge always has fun activities planned that include prizes. Lots of prizes. Madge also likes to plant encouraging little notes by everyone's seat when they aren't paying attention. During our gatherings, Tom will service anyone's sewing machine. For free. He is skilled with all types of machine problems and user defects. If you're interested in quilting, and you don't have a machine, Tom and Madge will make sure you get one. It will either be free or an insanely amazing price depending on the machine and the circumstance. They are always full of energy and filled with ideas. This week, Tom turned 70. Madge threw him a big open house style party. Tom has many other interests, so it was a "Trains, Planes, & Automobiles" themed party.
The cake was tasty!
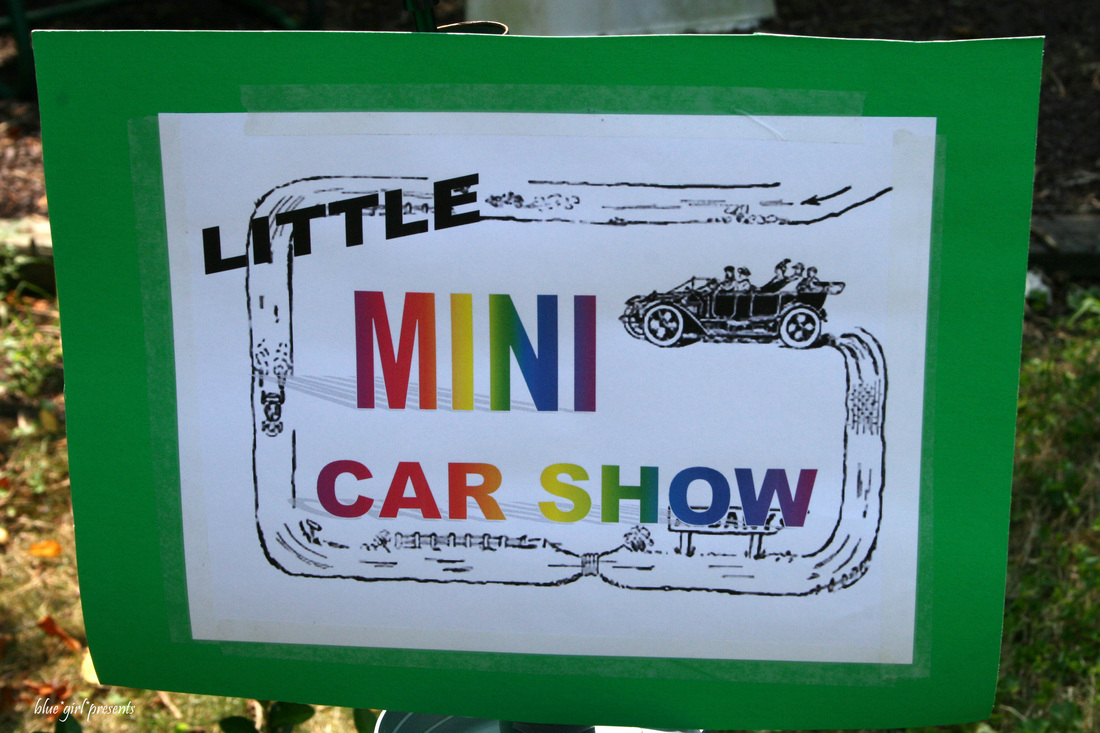
There were several cute stations around the yard with fun things to see or do.
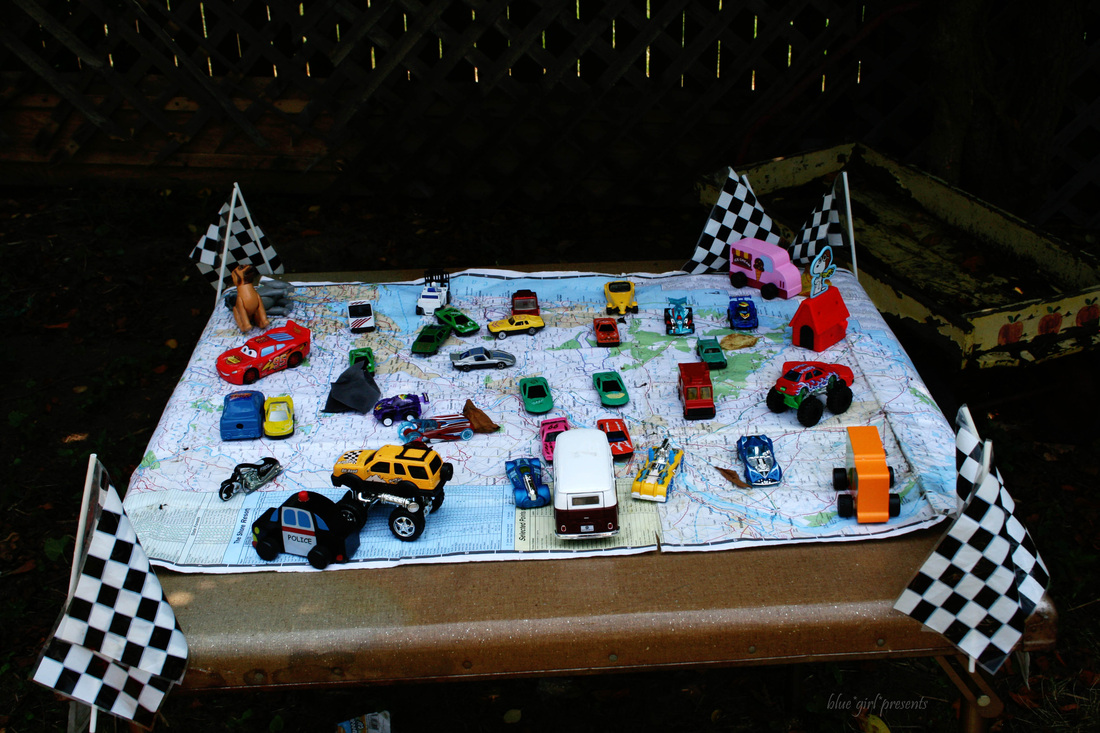
I thought this mini car show was so adorable.
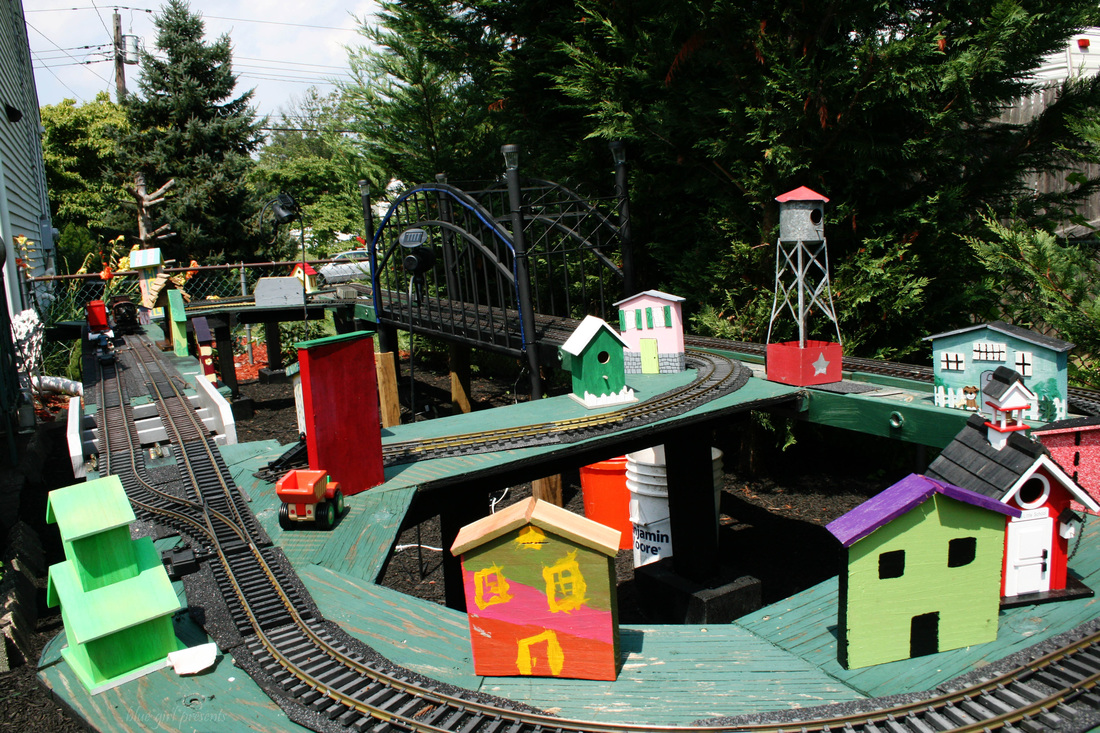
Here is Tom's train set. They had wooden house forms available for kids of all ages to decorate and add to the scene. Tom made the bridge out of a bed frame!
Here is a photo of one of Madge's quilts. Isn't it darling? I just kept staring at it and getting excited about all the fun little details.
It was a privilege to be able to celebrate such a special day with such a fun couple!
p.s. the bunny from the card was cut with my Cricut, using the "Give a Hoot" cartridge.
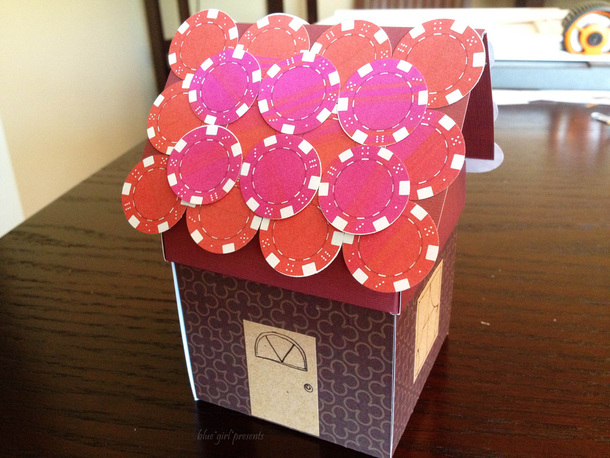
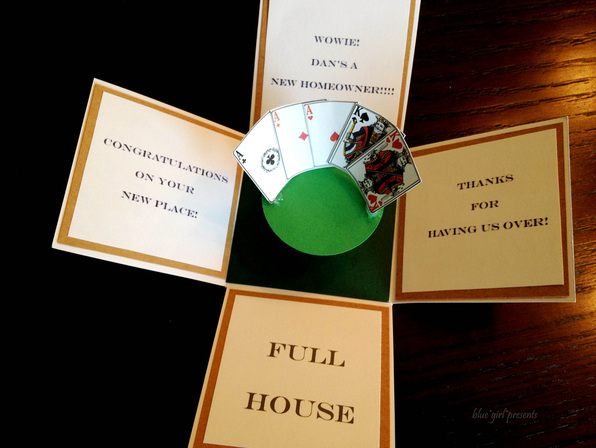
As promised, here is the experimental card I made on Friday! Hubby's friend recently bought a new house. To celebrate, he had the guys over for a poker night. I have always wanted to try my hand at an exploding box greeting card. A quick search and you will find tons of fun examples. (Jinky's Crafts is probably the queen of exploding box cards. Her cards are unreal!) I knew that Hubby's friend would be the perfect guinea pig for my first experiment. Making a box seemed easy enough for me. The tricky part was that this was a card to celebrate a new HOUSE. I wanted a roof on my box. I needed to do math... The horror. Somehow, a roof was created and adorned with poker chips. And then? A FULL HOUSE!
It is so much fun to be a dork. :)
The card was far from perfect. And apparently, the playing cards were accidentally detached shortly after the card was received. However, I had a blast making it, and I now have tons of notes so all future attempts will only get better!
Come back tomorrow to see another exploding box card! It's not bigger, but it just might be better.
Before you leave... since we're on the topic of FULL HOUSE. Have you seen this gem?
Happy Friday!!!
I had a lovely week, and I hope that you did too.
Here are a few of my praises for the week.
* One of Hubby's friends is a violinist. He's playing in the pit orchestra for a community theater that is performing South Pacific. They have a total of twelve shows, but he is unable to play the last four shows. He asked me to be a substitute. This took a LOT of trust on his part, because he had never heard me play...and I had never heard his play either! This week I was able to rehearse with the group on Tuesday. On Wednesday, Hubby and I were able to attend the dress rehearsal. It was so much fun! (My secret dream job is to play in the pit of a Broadway show.) I have been singing songs from the show all week with no signs of stopping. Good thing Hubby is patient and kind.
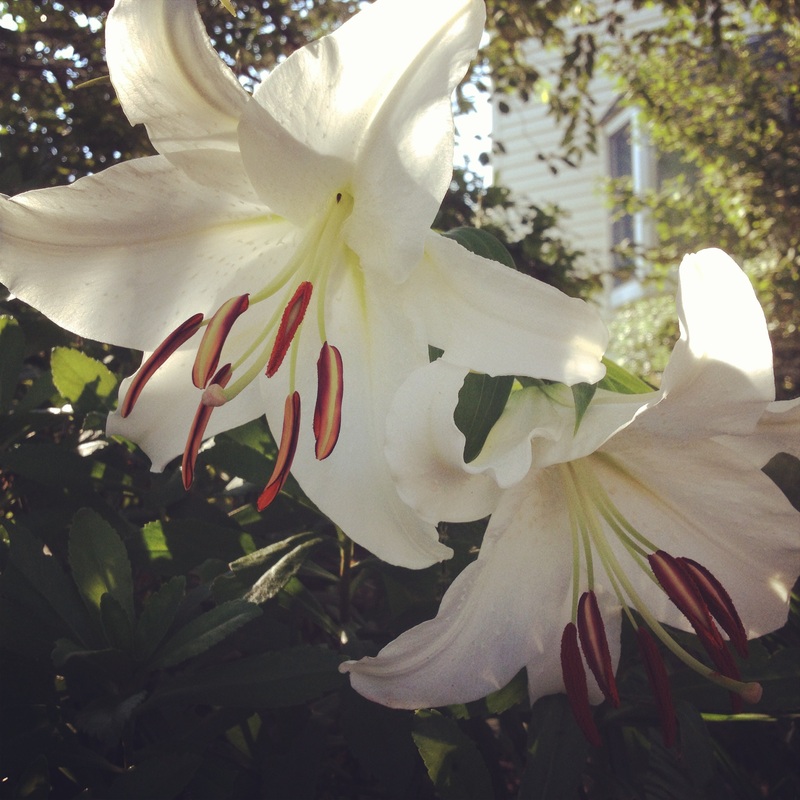
* I have the opposite of a green thumb, but we have beautiful flowers that appear around our house each year. It's so fun to see them.
* In a few weeks, I get to be bridesmaid. I am SO excited. My dress arrived this week. It came in a plastic envelope which seemed strange. However, it had been placed in a garment bag and included a handwritten note. Hooray!
I hope that you have a spectacular weekend. I made a new card today with NO animals. It was a bit of an experiment, but it was great fun. You'll have to come back on Monday to see it!
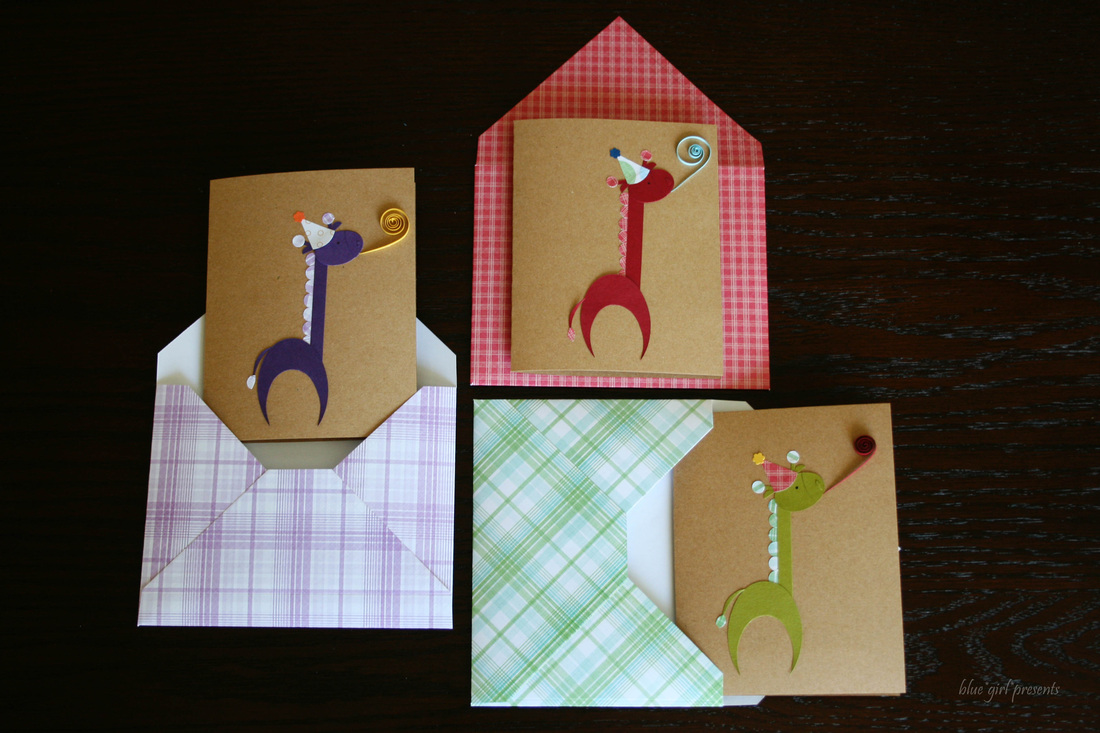
Are you tired of my animal cards yet?
Because I have so many other ideas...but the animals REALLY wanted to party.
Everyone loves a good party right?
Woohoo! Let's celebrate!
I hope you're having a wonderful day.
Thanks for visiting. Hooray!
When I was in elementary school, I would often roam around the house with a very special envelope. I liked imagining it was a cute little purse. The envelope itself was quite plain. It was wrinkled and worn from being handled so much. It was also stuffed with birthday cards.
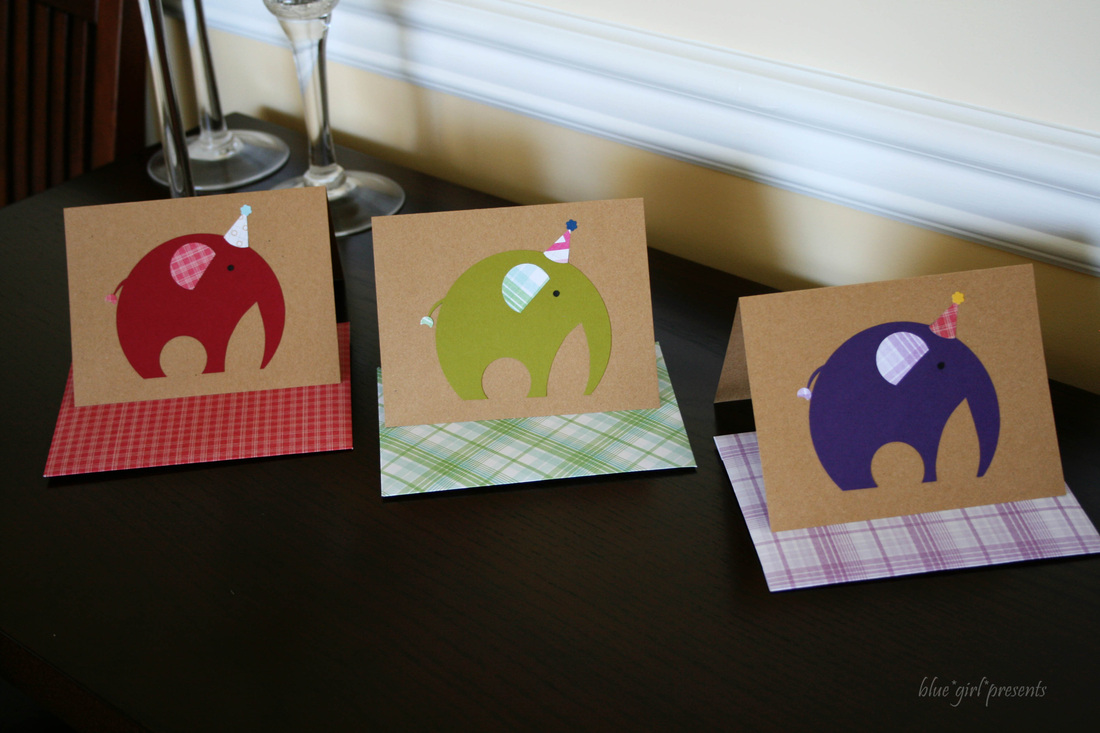
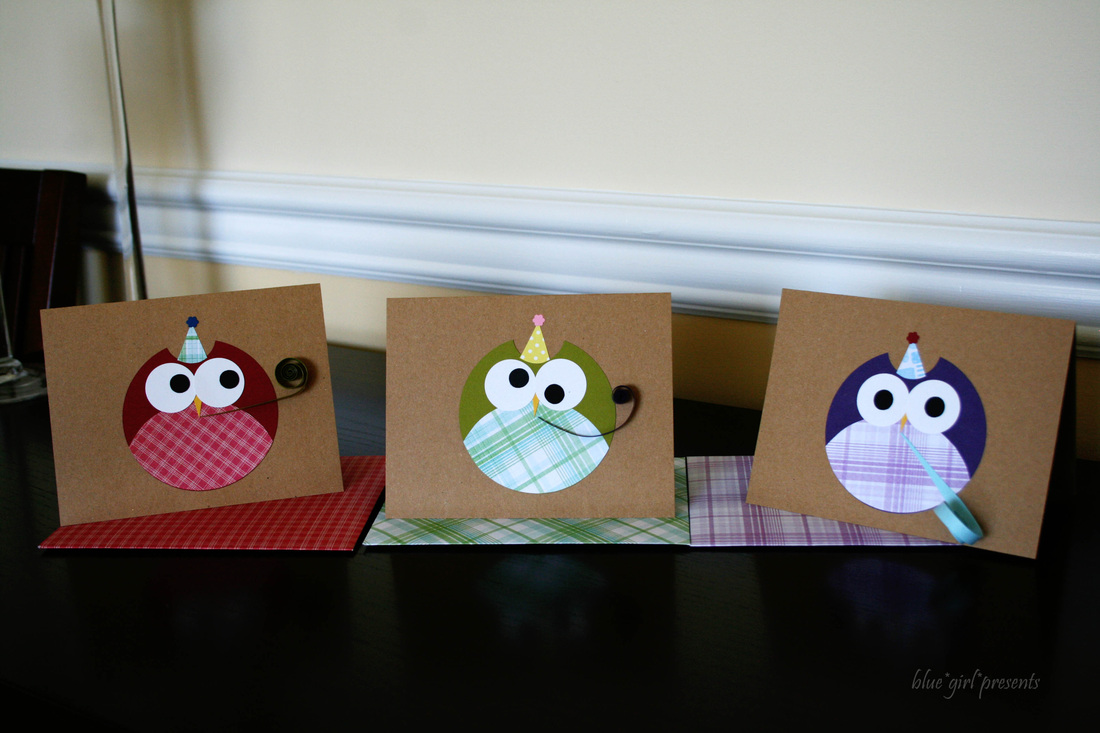
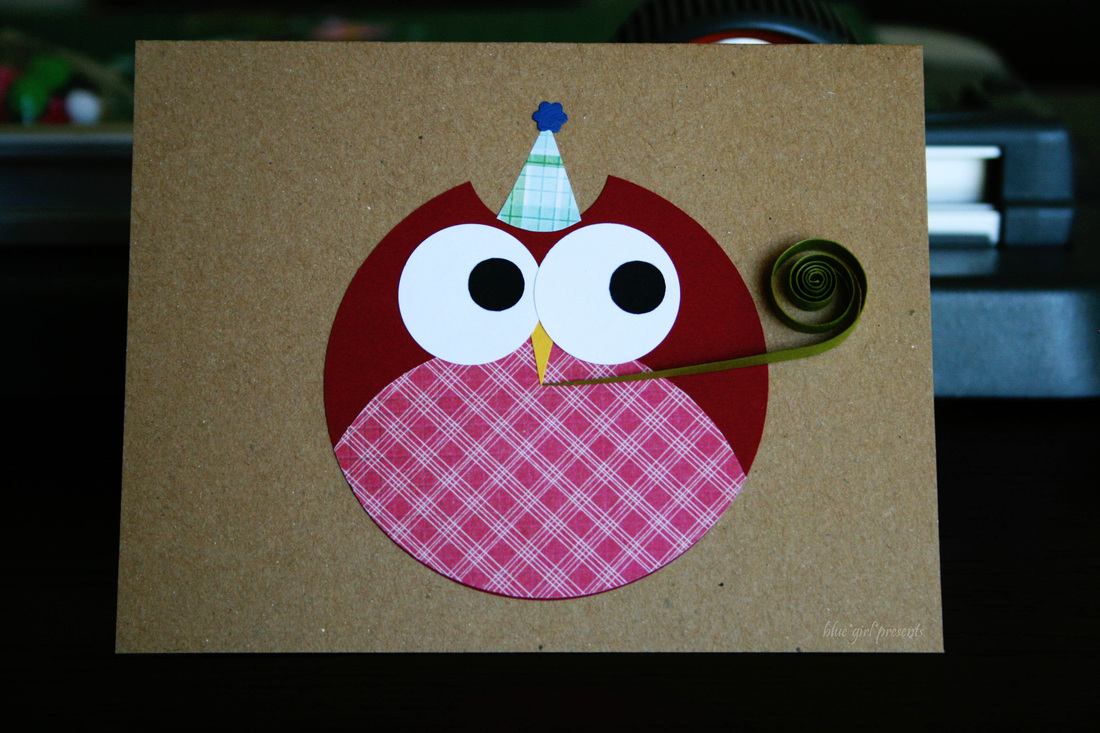
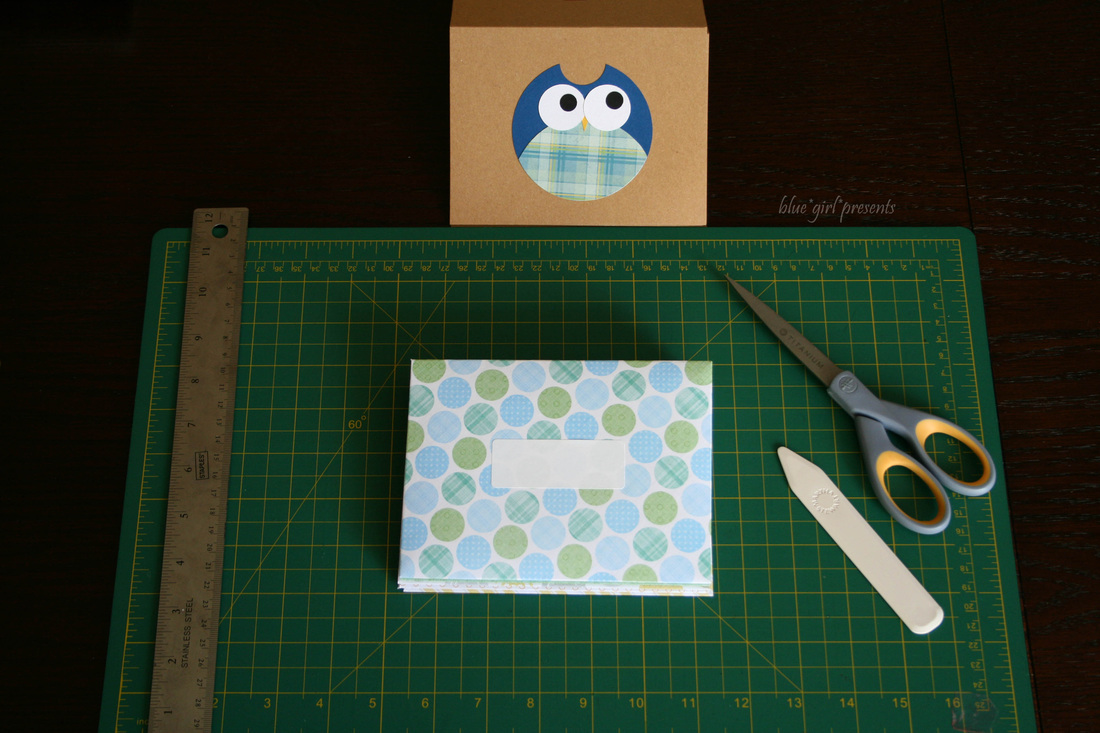
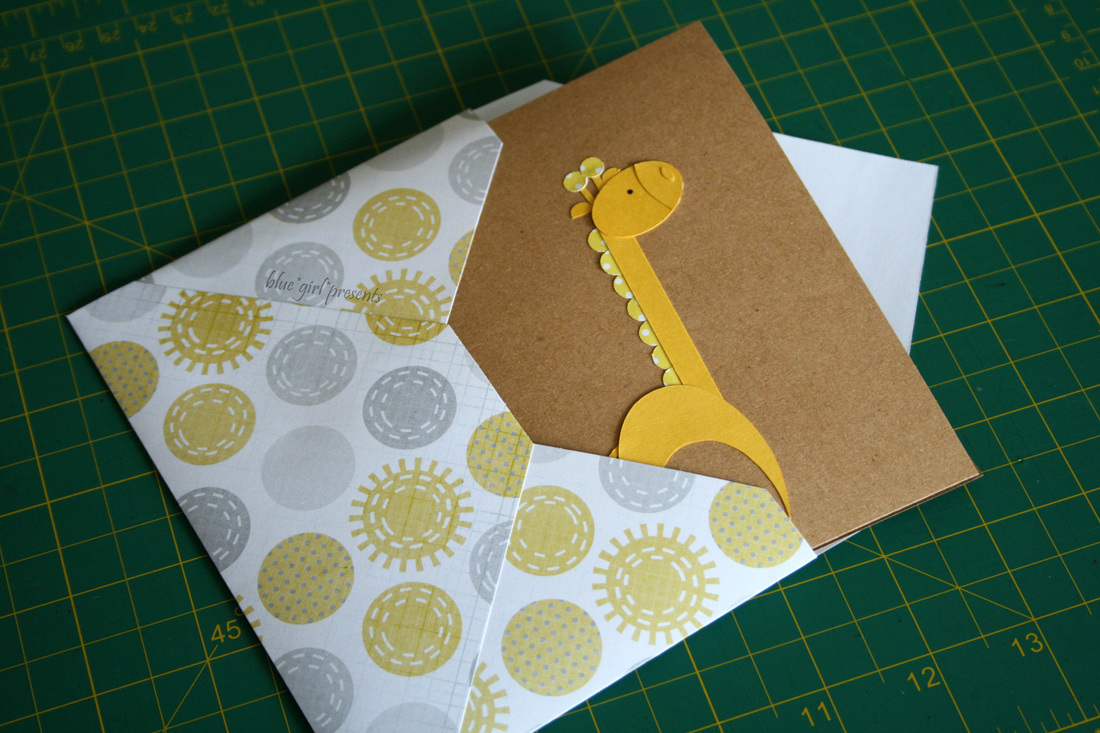
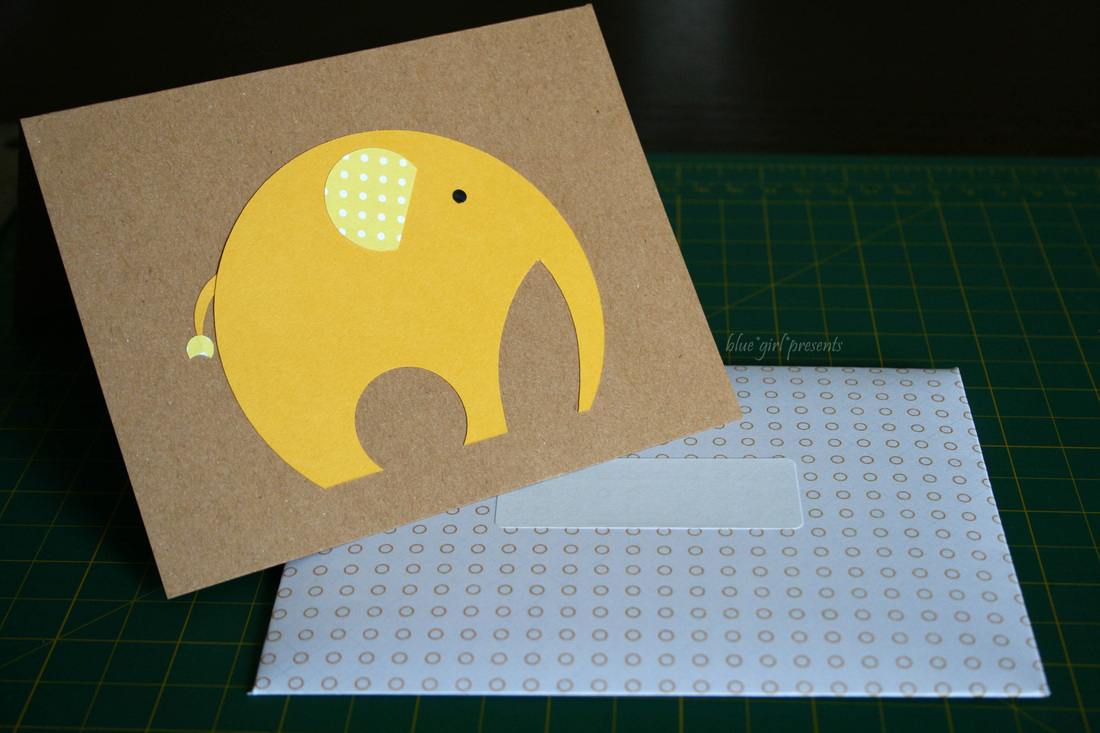
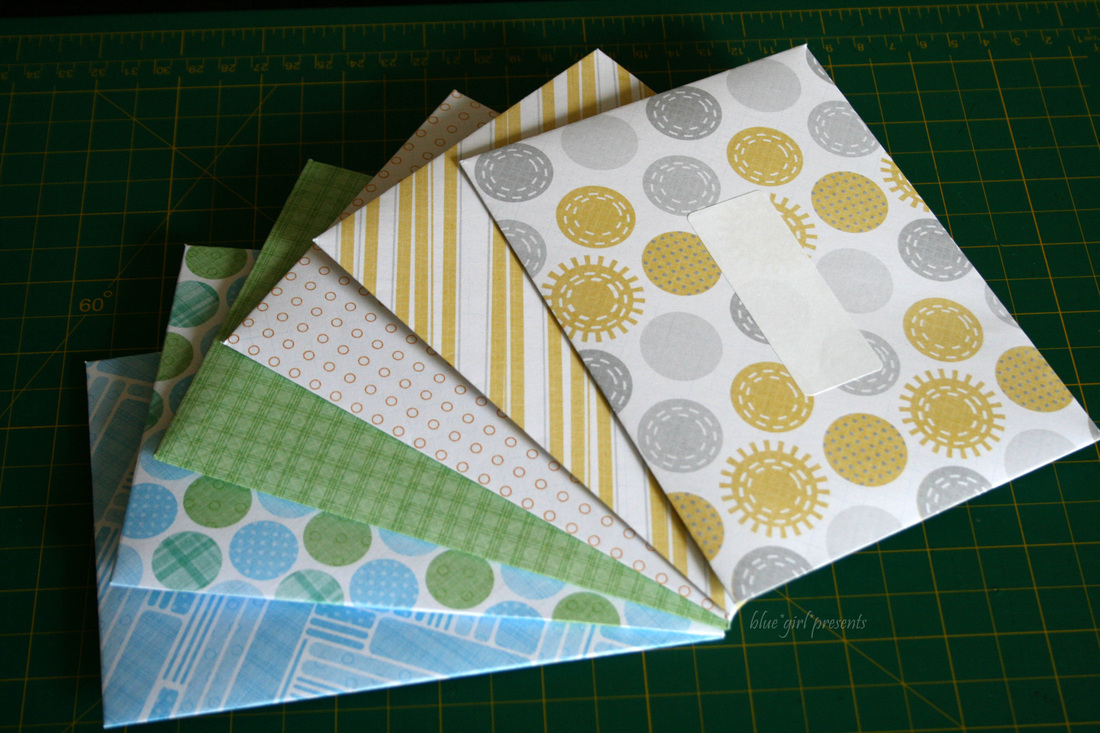
Even as a child, I had a great appreciation for paper, greeting cards, and hand-written messages. I'm not sure when it started, I just know that one year I decided to start collecting all of the birthday cards I had received and carrying them around. I would find a spot to curl up and carefully pull out each card. As I went through my cards, I would put them in a special order. Sometimes, I ordered them by size. Sometimes, I ordered them by my favorite images. A couple cards and one special letter written on Little Twin Stars stationery always received extra attention because of the time taken to write a lovely message. My animal greeting cards needed envelopes. I made envelopes with scrapbook paper so that they could be as cute and whimsical as the cards themselves. They will also make a much cuter purse for anyone as weird as I was. (You're right, you're right. I'm still weird. Hooray!)
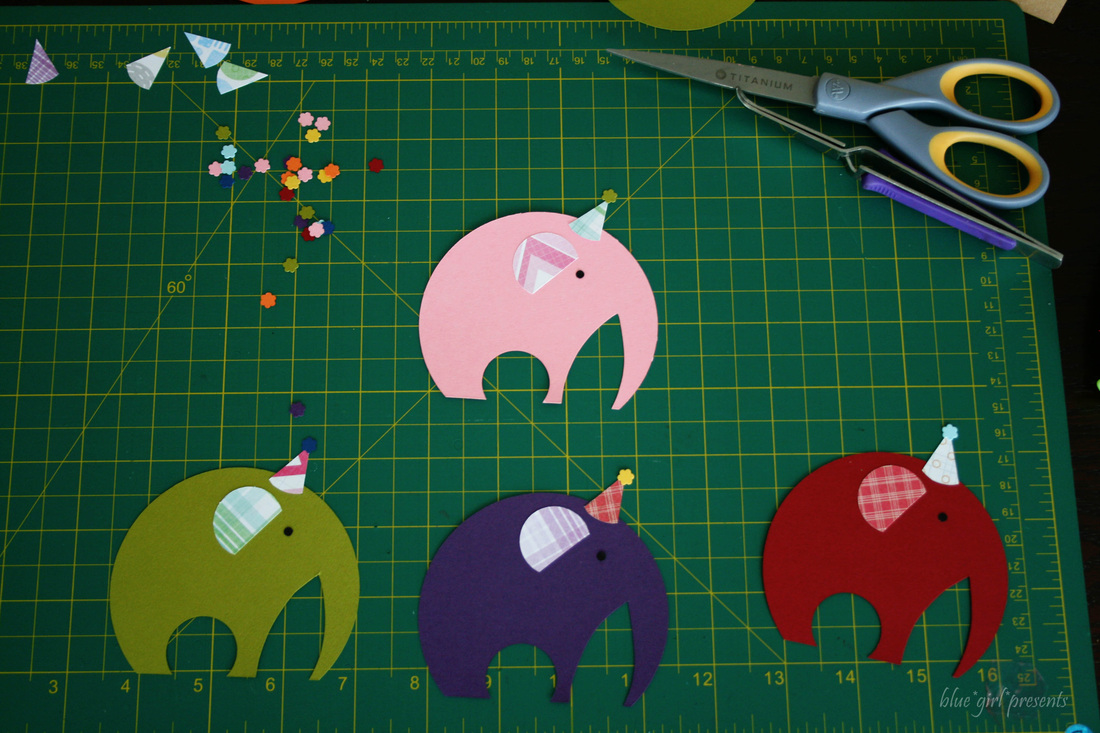
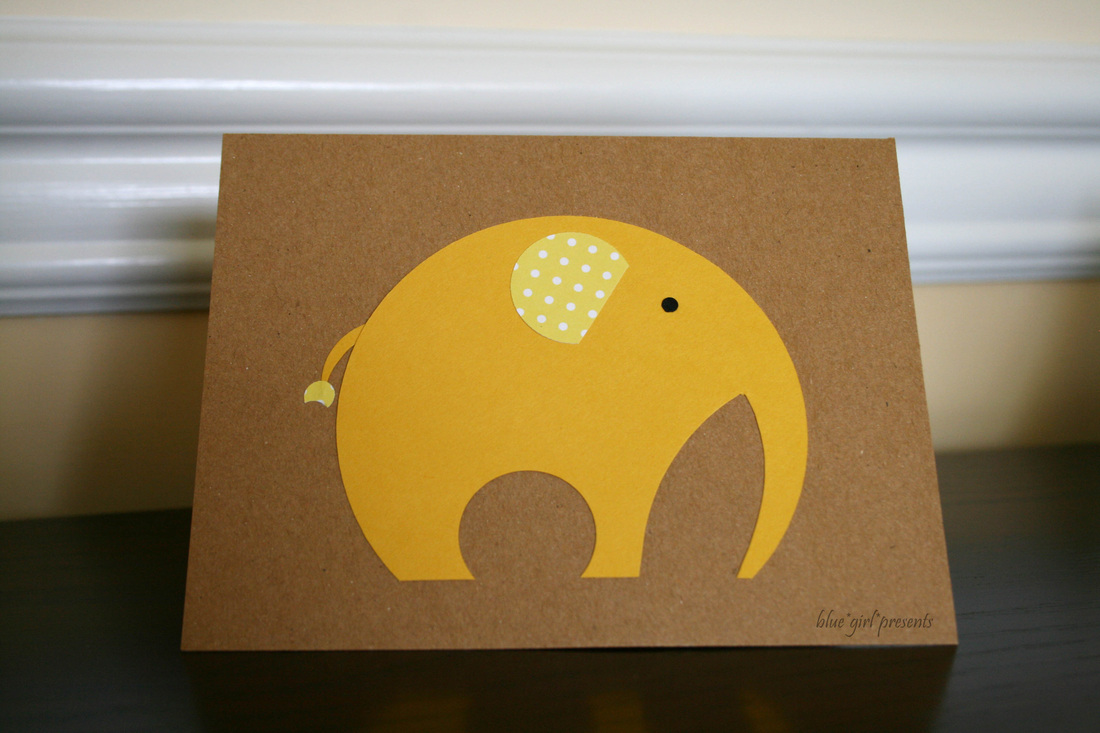 elephant 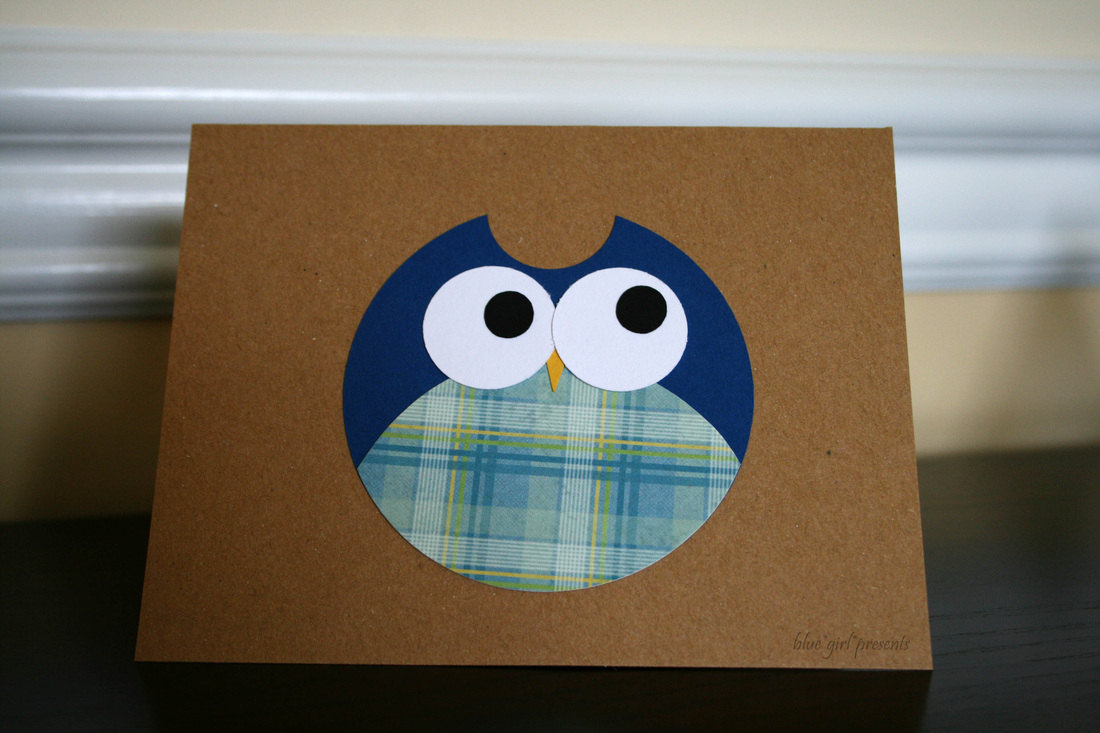 owl I also discovered these adorable love owls. See how both animals were created mostly with circles? I love that. 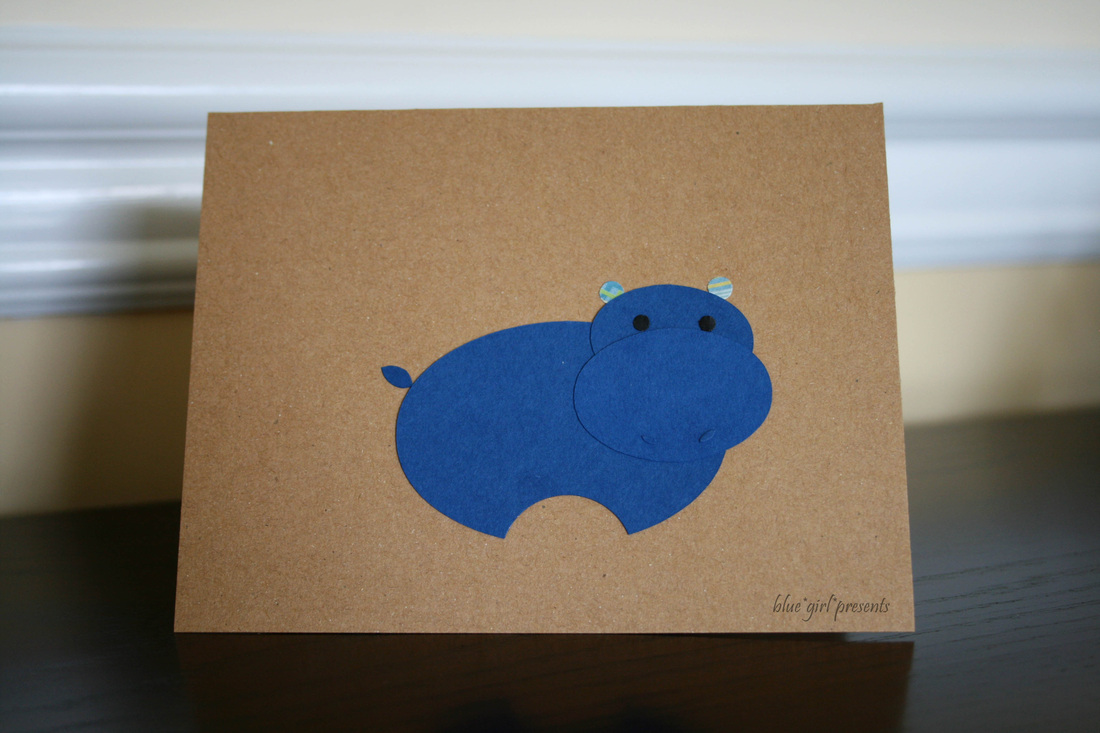 hippo Obviously, I had to see what other animals I could create with simple shapes. And obviously, I had to make them into greeting cards!
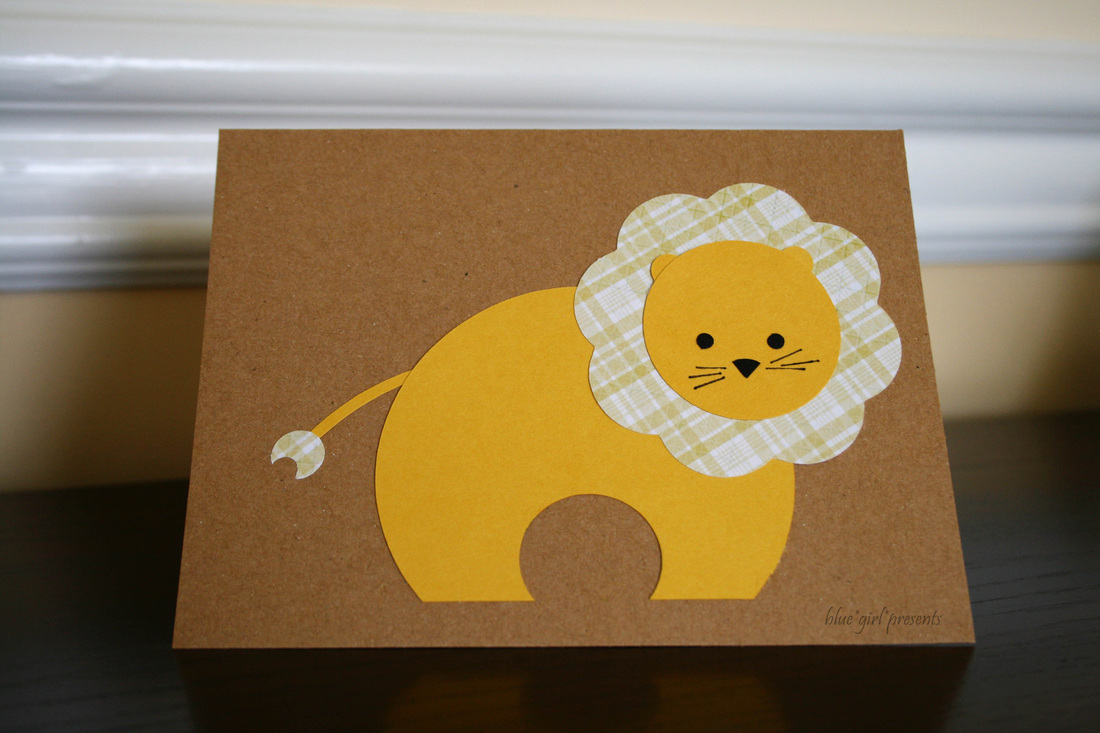 lion I cut a bunch of circles and ovals in various sizes and had some fun.
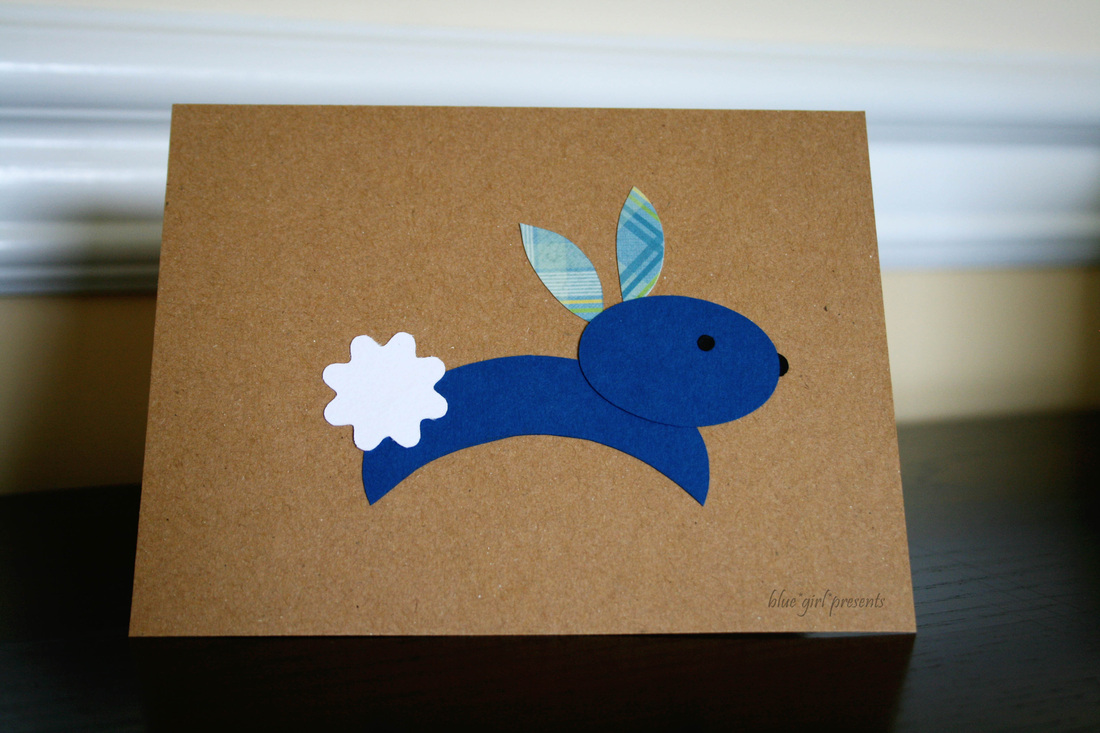 bunny rabbit While circles or ovals were used as a base for each animal, I didn't limit myself to those two shapes.
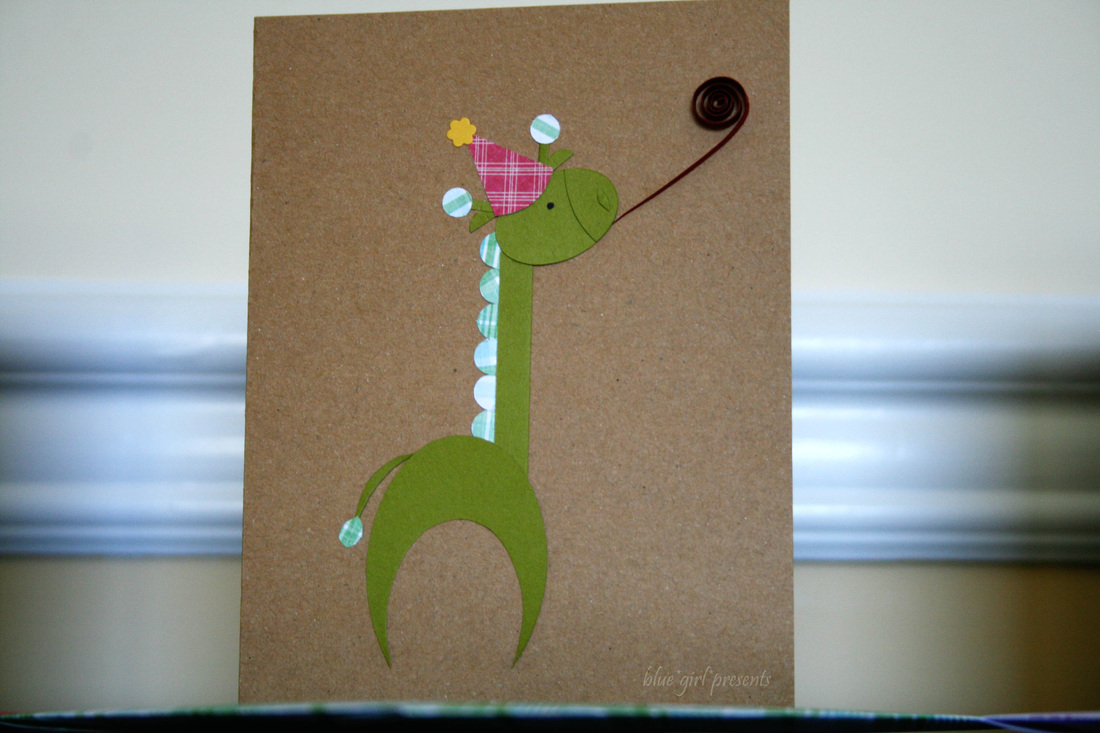
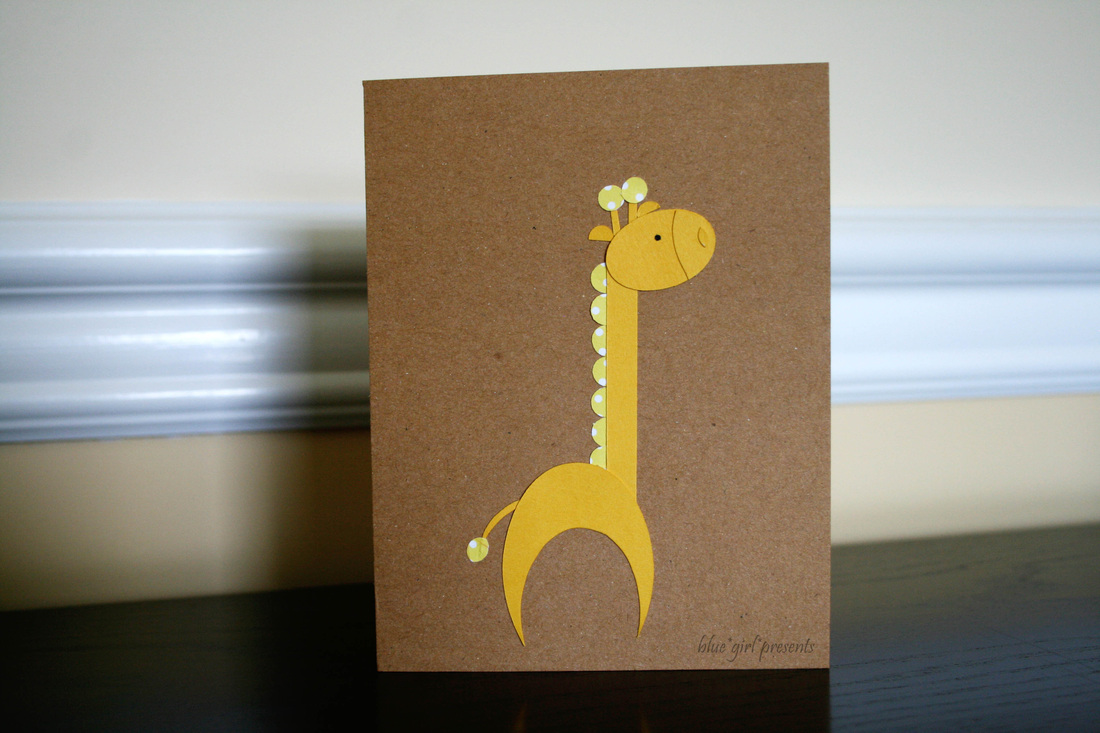 giraffe These cards make me smile. Hopefully they will make a few other people smile too!
Have a lovely day. Thanks for visiting!
|




 RSS Feed