Today, I have a confession, a bit of history, and my latest card.
My confession: This is the third time that I have started a craft style blog. Third time is the charm, isn't that right? The first two times never felt quite right because I constantly felt like I was trying to do too much, or I was not being true to myself. I knew it too, so I rarely told people that I blogged.
This time around, I am having tons of fun. I am enjoying the process and not trying to be anyone but me. If you are one of the few people who encountered one of my former blogs, you may see some familiar photos if they relate to a current post.
Today, I'm sharing some old photos so that you can see the progression to today's card.
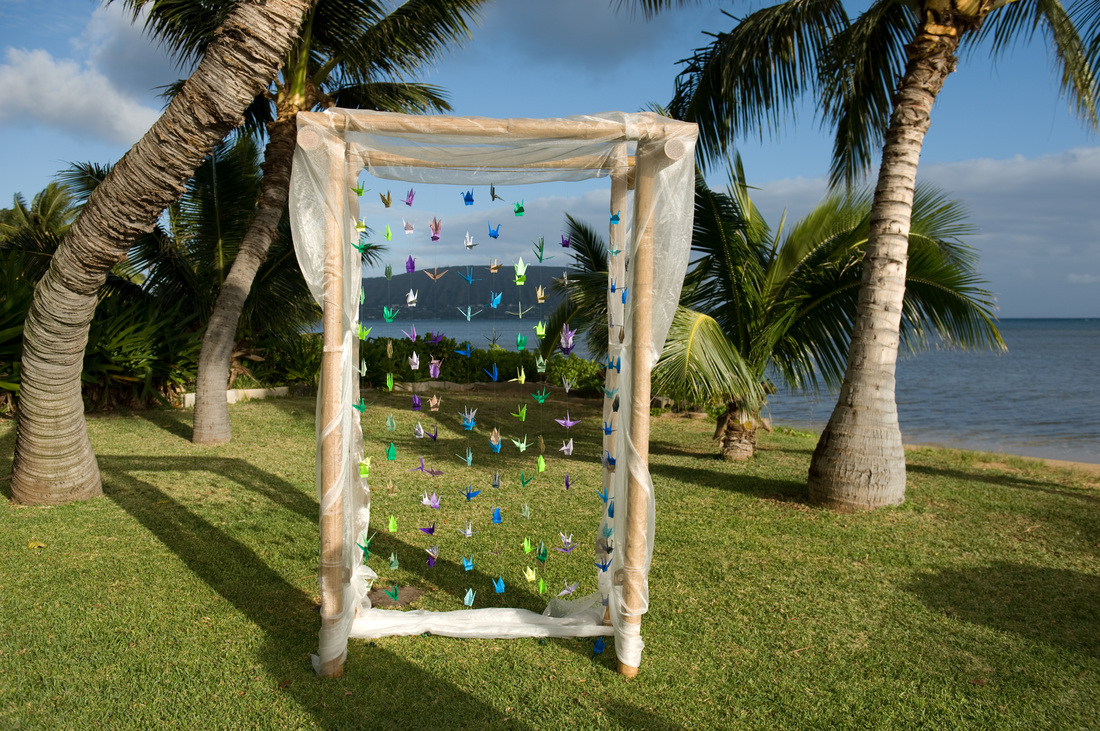
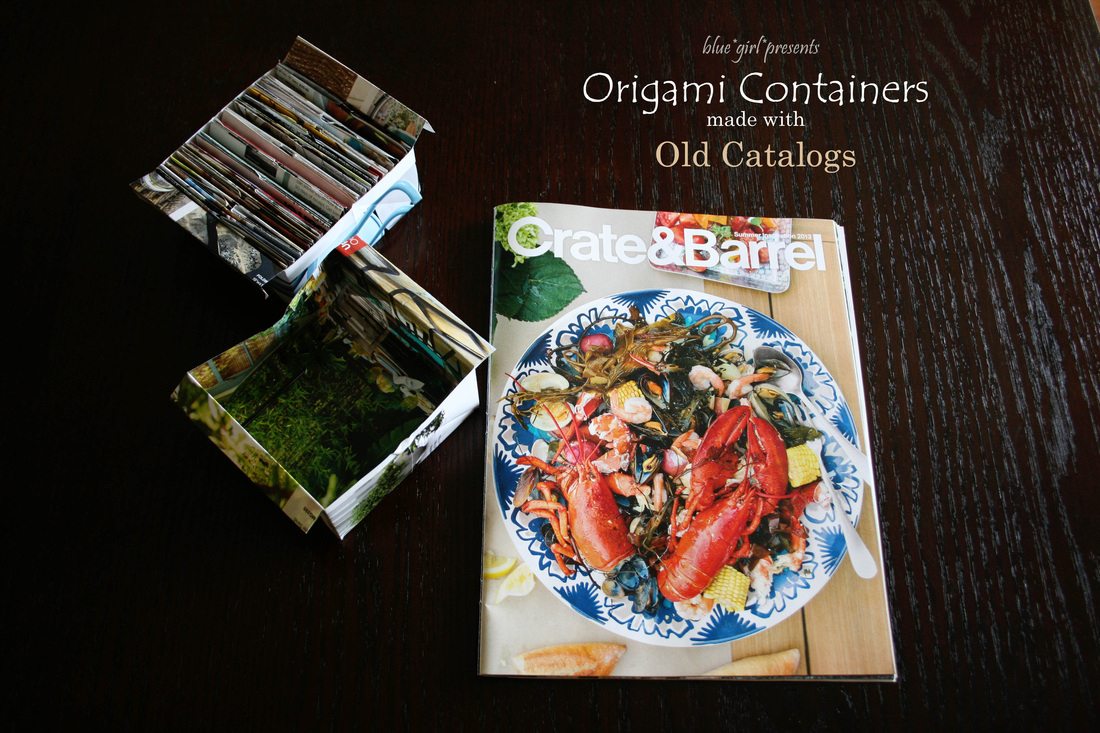
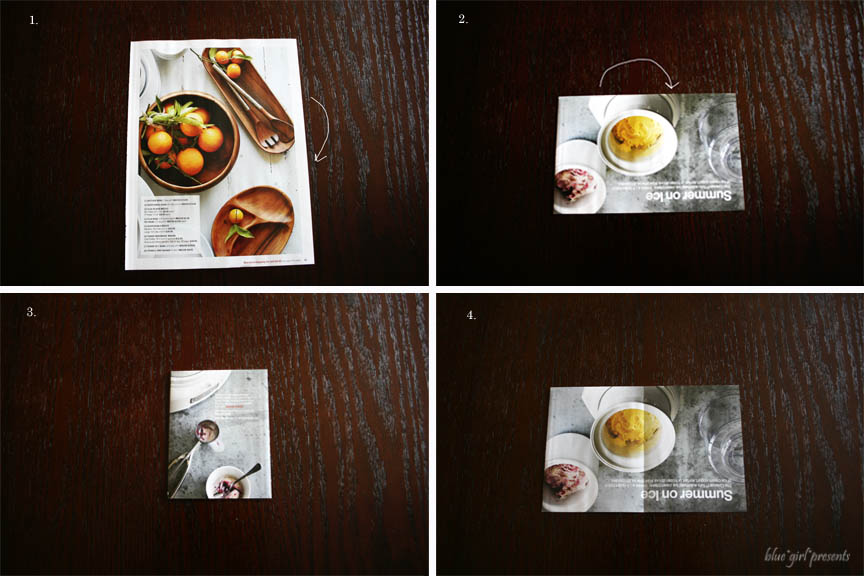
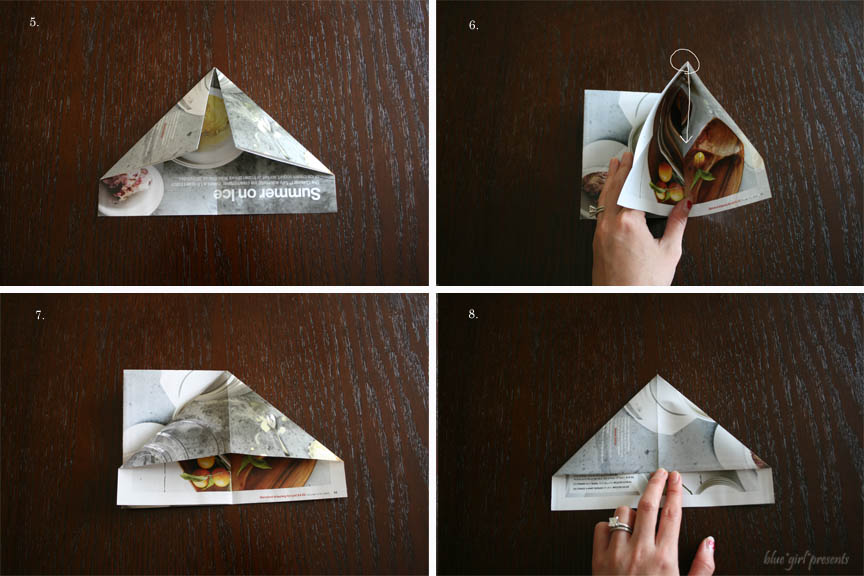
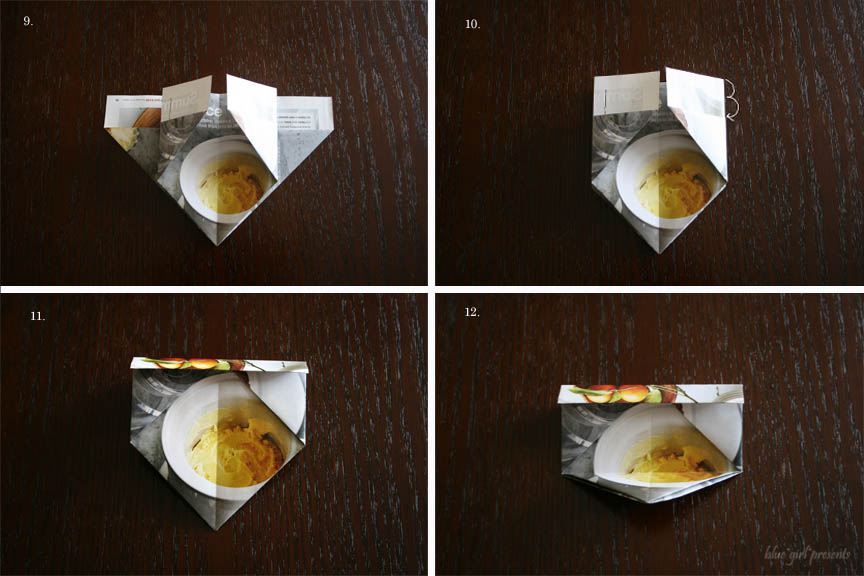
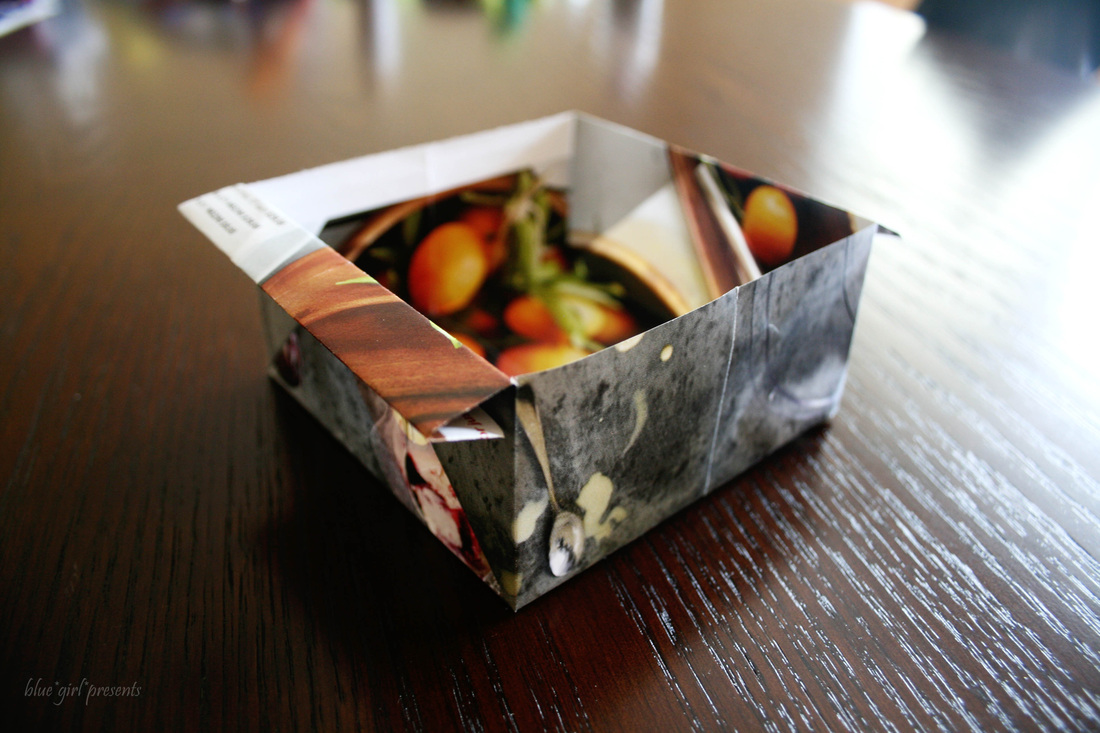
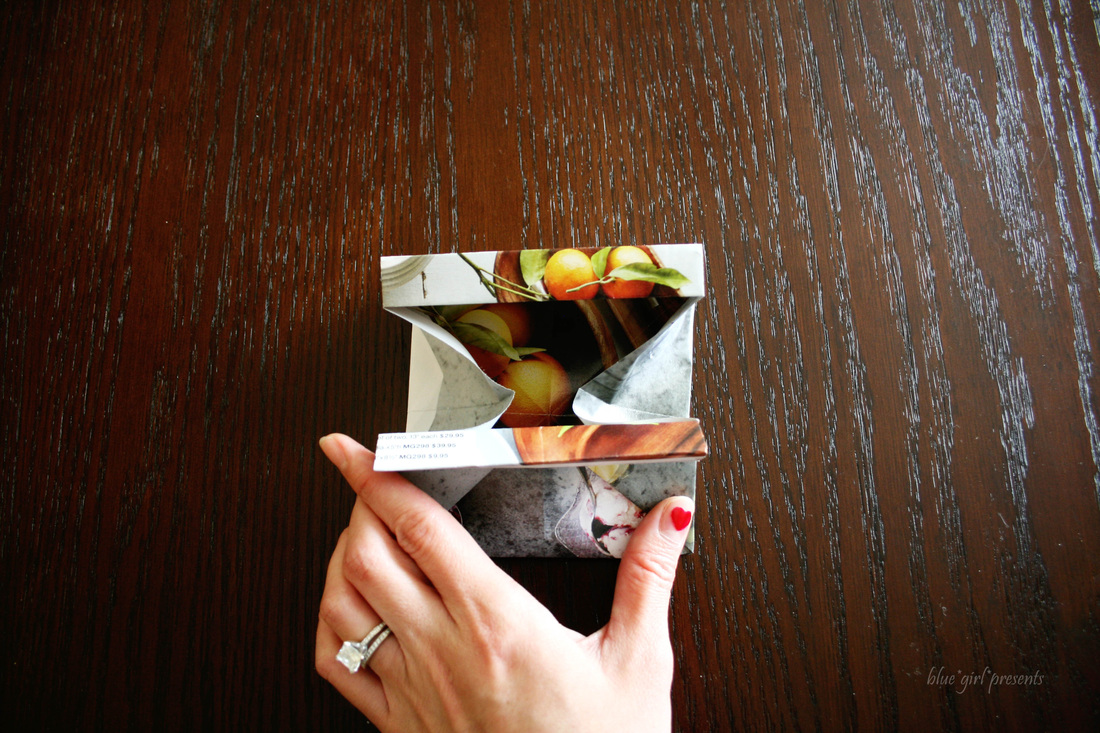
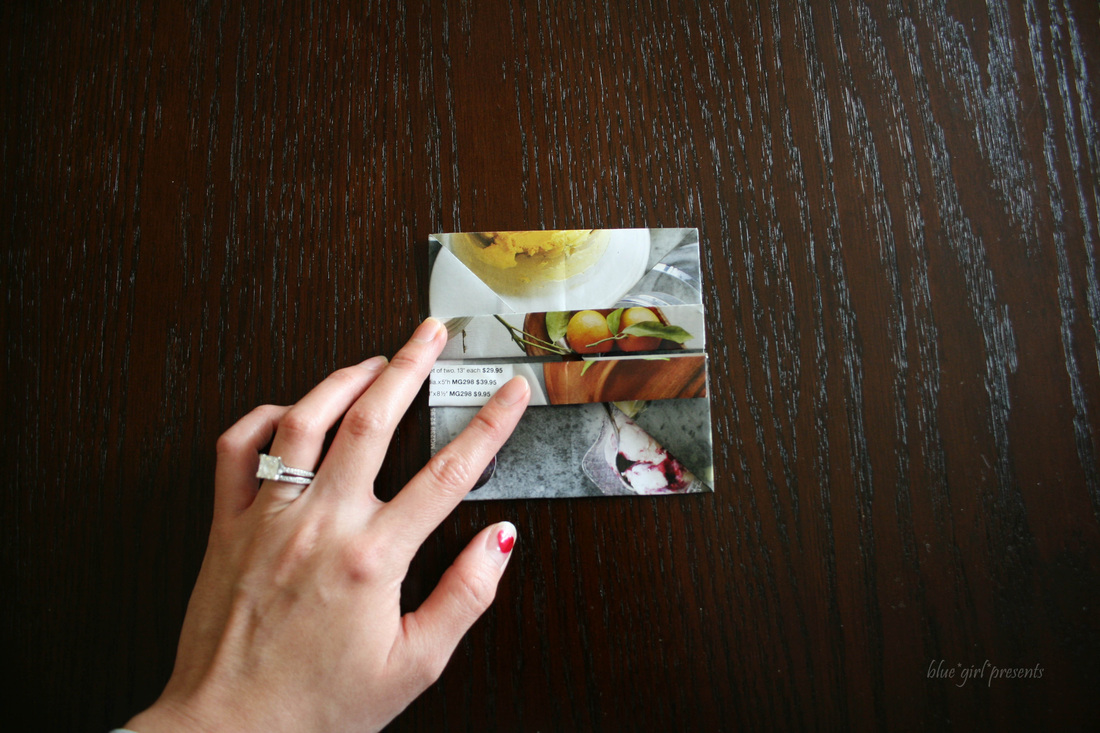
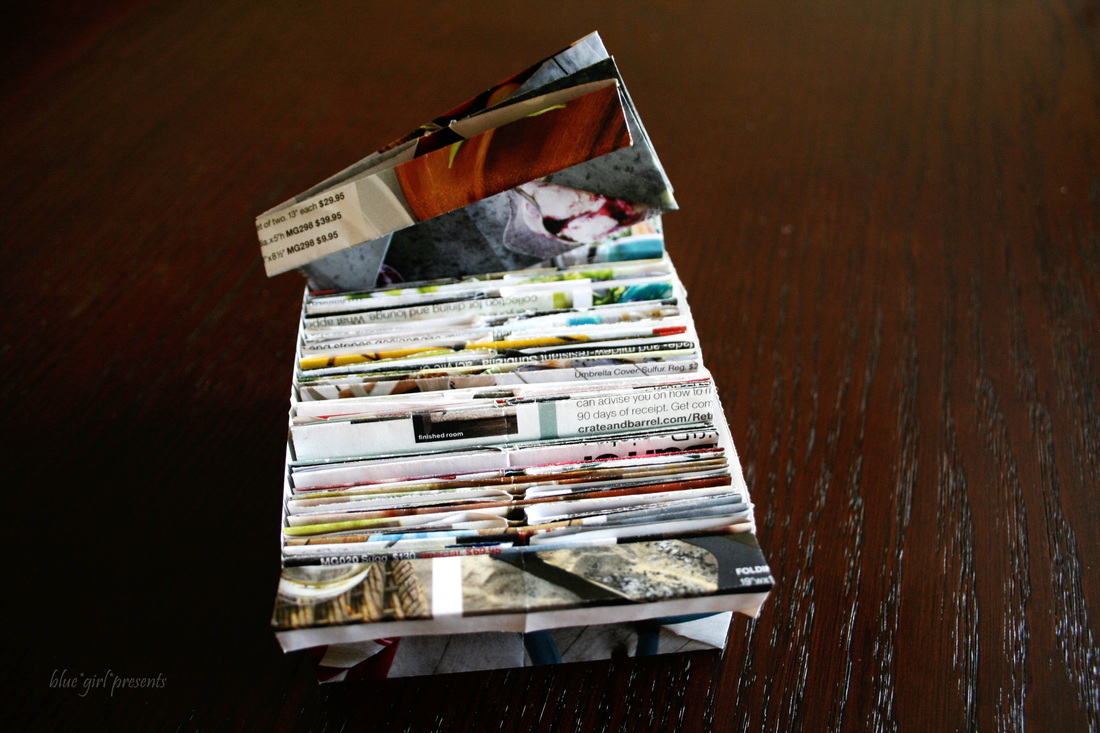
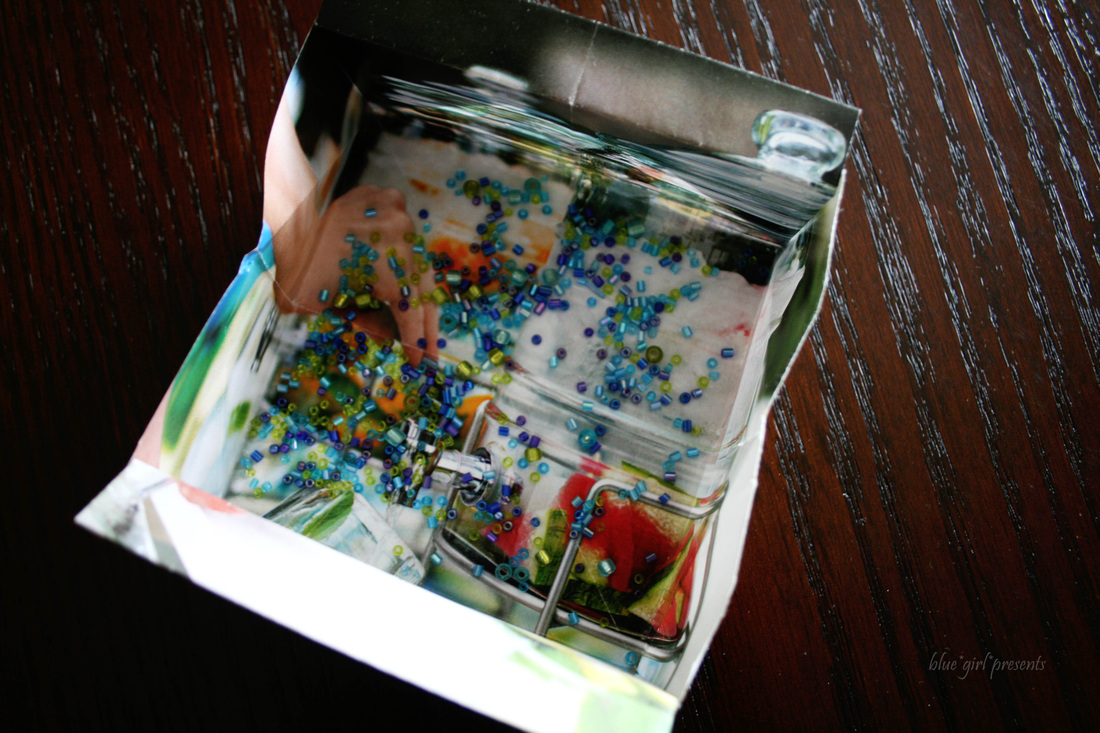
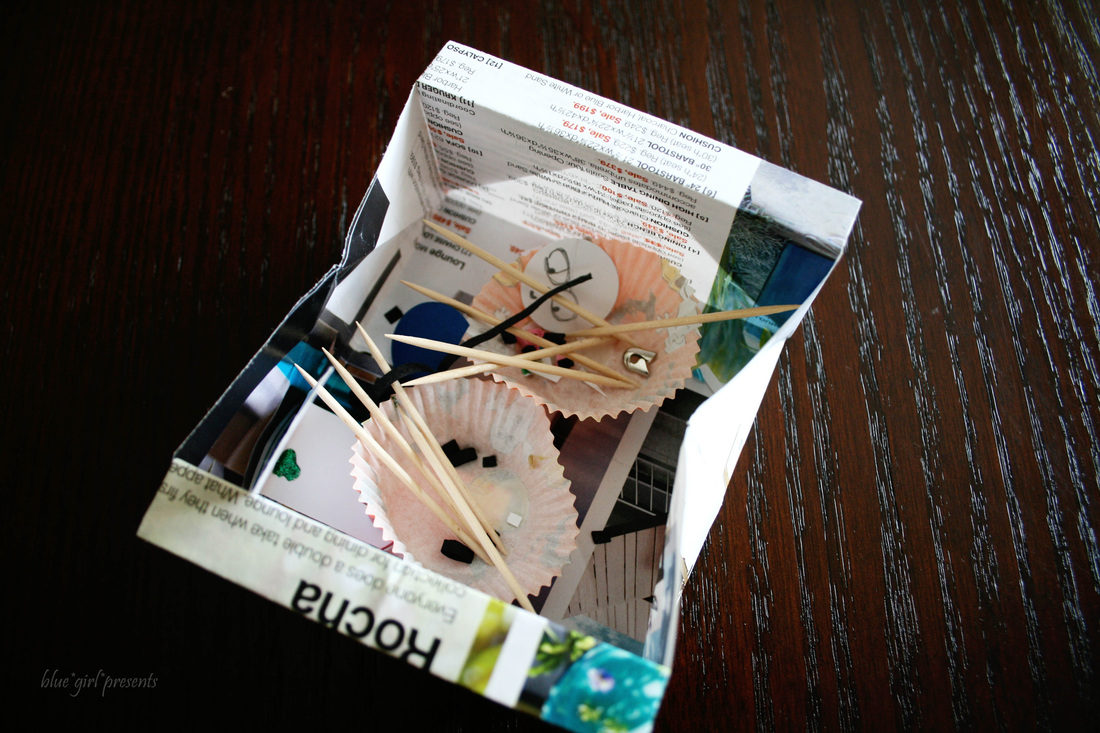
I have loved origami for as long as I can remember. My Dad taught me how to fold a lily and a fishing boat when I was a kid. Then he gave me some books to learn on my own. My Maternal Grandparents lived in Japan until they retired, and visits to see them always meant purchasing packs and packs of origami paper. In 6th grade, one of our projects was to teach the class how to do something. Anything. I taught my classmates how to make origami containers. When Hubby and I got married, I folded dozens and dozens of cranes to hang from our arch. (Not much compared to the 1000 my Cousin folded one year and mailed to me from Taiwan! I think she folded them all in a month.) So yeah, I love origami.
My confession: This is the third time that I have started a craft style blog. Third time is the charm, isn't that right? The first two times never felt quite right because I constantly felt like I was trying to do too much, or I was not being true to myself. I knew it too, so I rarely told people that I blogged.
This time around, I am having tons of fun. I am enjoying the process and not trying to be anyone but me. If you are one of the few people who encountered one of my former blogs, you may see some familiar photos if they relate to a current post.
Today, I'm sharing some old photos so that you can see the progression to today's card.
I have loved origami for as long as I can remember. My Dad taught me how to fold a lily and a fishing boat when I was a kid. Then he gave me some books to learn on my own. My Maternal Grandparents lived in Japan until they retired, and visits to see them always meant purchasing packs and packs of origami paper. In 6th grade, one of our projects was to teach the class how to do something. Anything. I taught my classmates how to make origami containers. When Hubby and I got married, I folded dozens and dozens of cranes to hang from our arch. (Not much compared to the 1000 my Cousin folded one year and mailed to me from Taiwan! I think she folded them all in a month.) So yeah, I love origami.
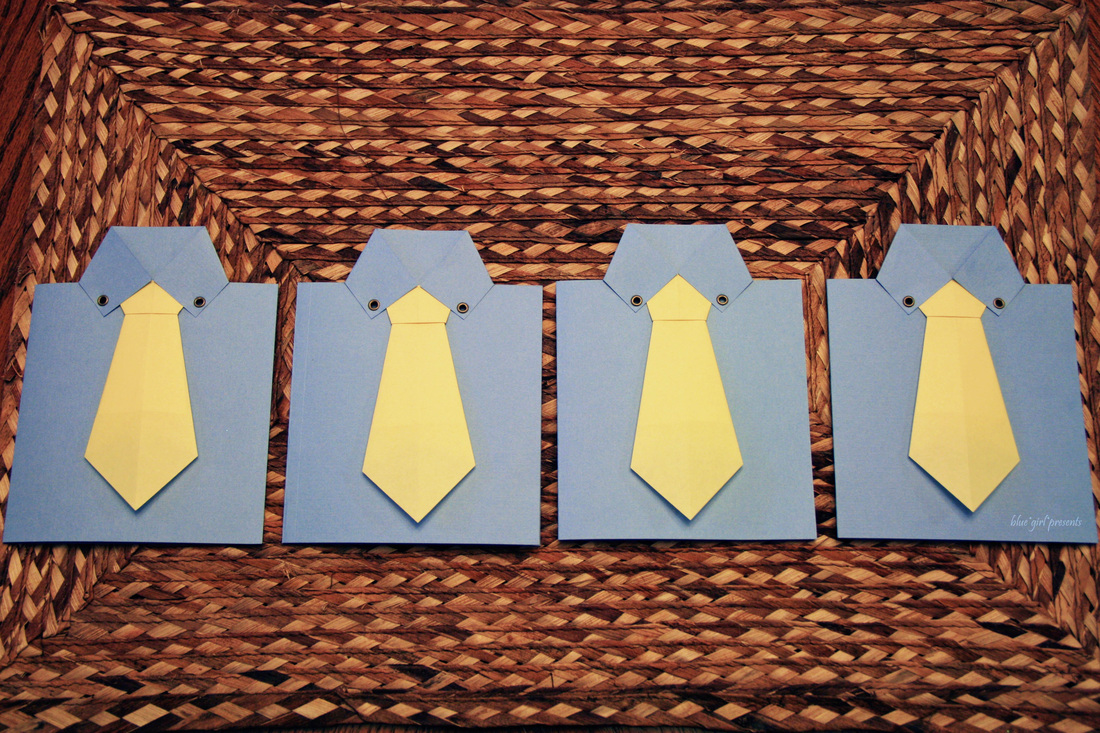
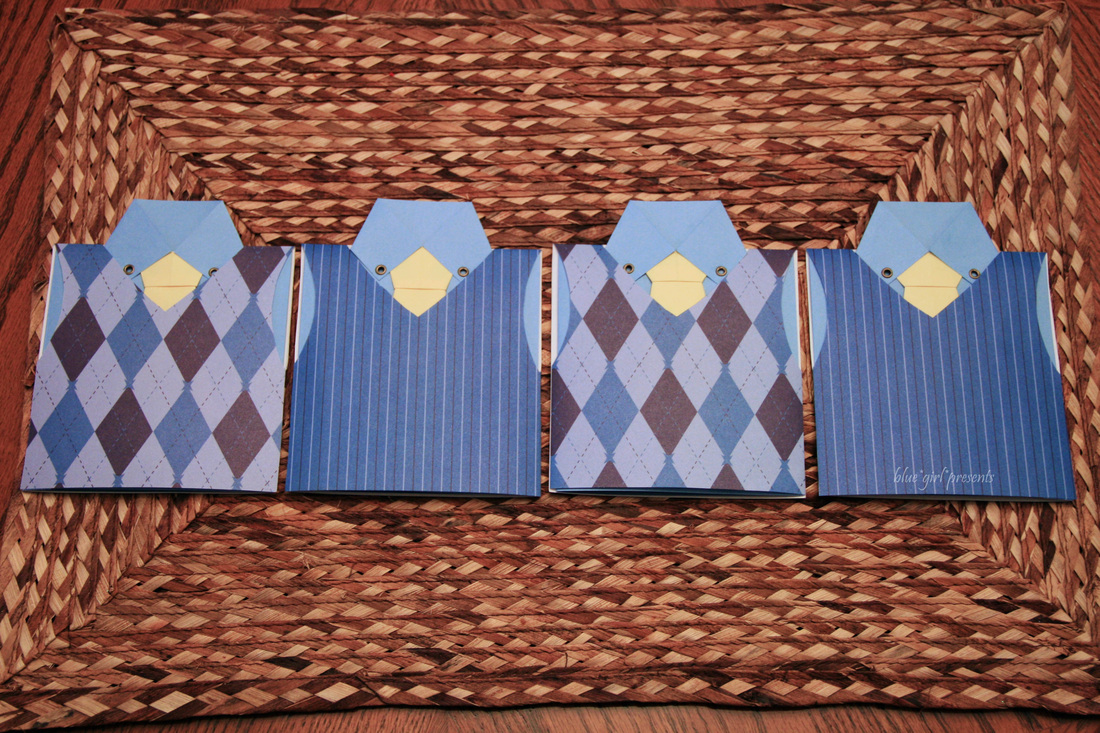
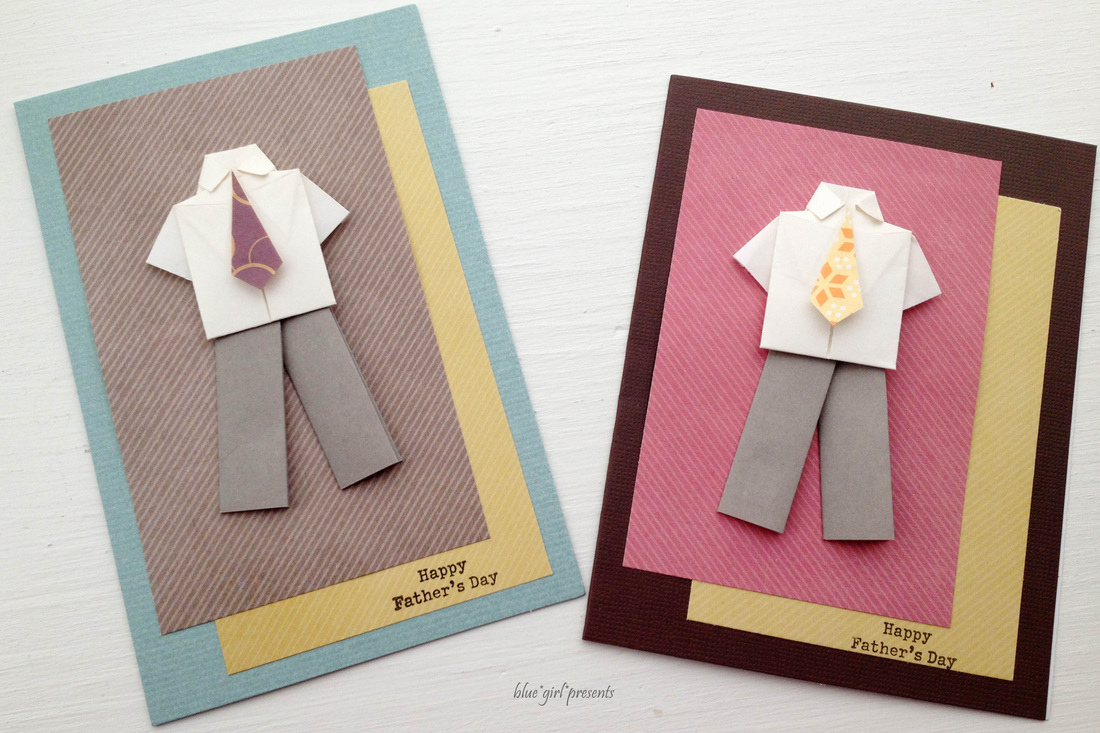
In 2010, while trying to figure out what kind of card to create for all the important Dads in my life, I decided that adding a touch of origami made the most sense. I found directions for an origami tie, and started having fun.
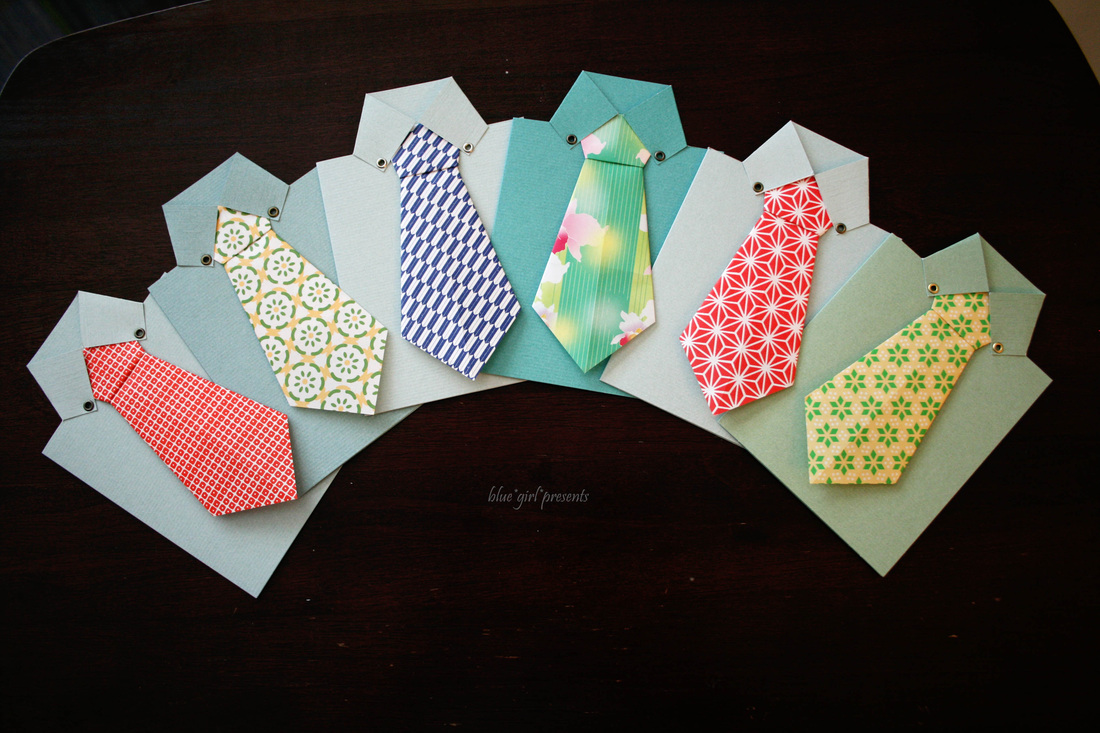
In 2011, I couldn't stop thinking about how much fun I had creating the necktie cards. So I made them again.
But this time, I added vests.
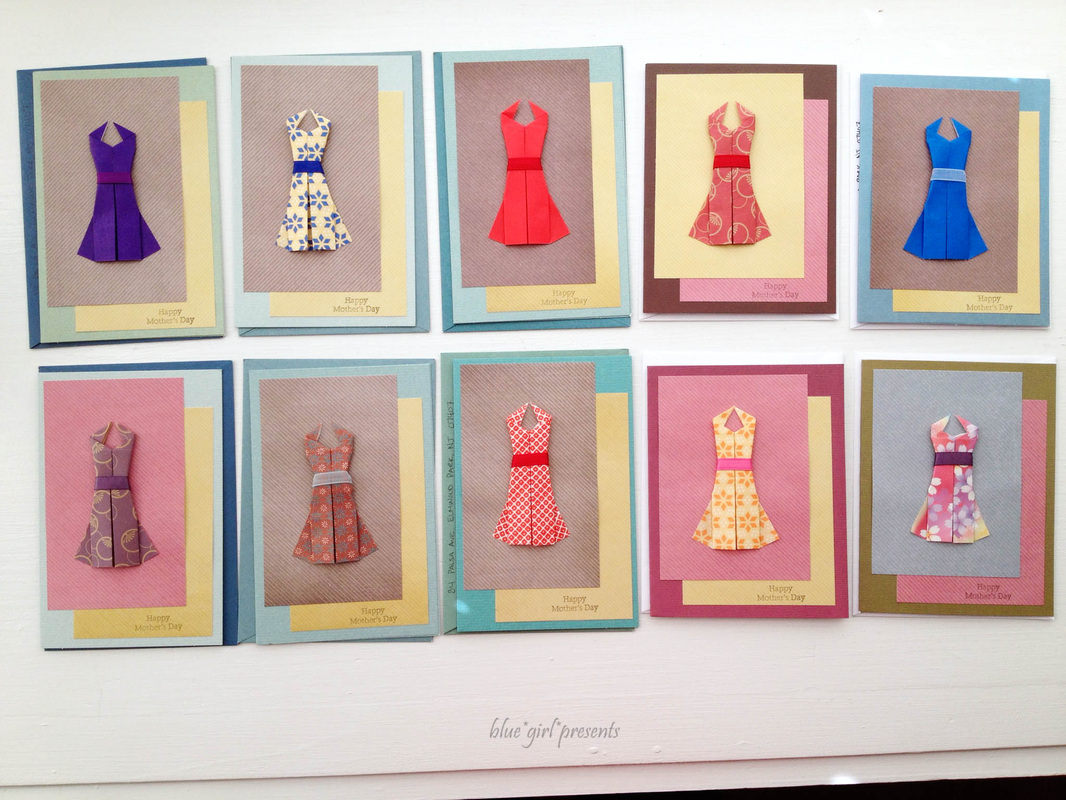
They coordinated with that year's origami dress Mother's Day cards.
This year's cards had nothing to do with origami... :)
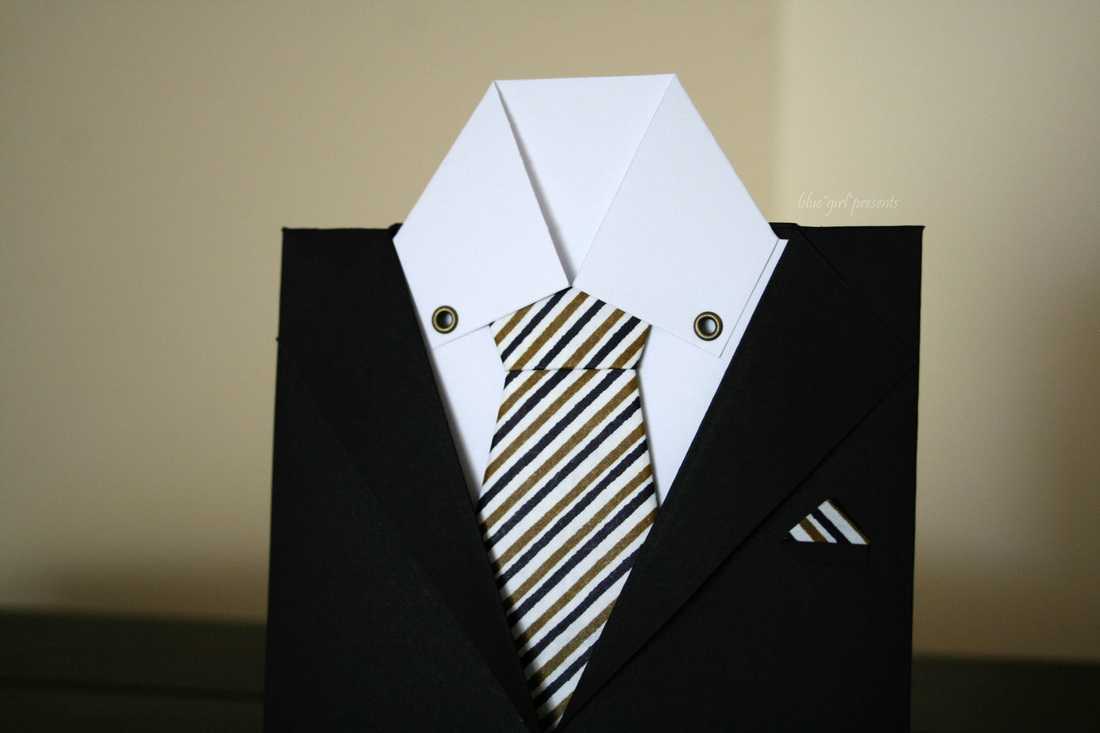
In one of my Friday Praise Reports, I mentioned that we got Hubby a new suit. The alterations were finished over the weekend, and we were able to bring the suit home. Hubby looks FINE. Mario is the gentleman who fitted Hubby for his new suit as well as the two other suits he owns. Mario worked with one of Hubby's Aunts for many years, so he is essentially family. Hubby asked me if I would make one of my tie cards for Mario to thank him. Hooray for a great excuse to make one of my favorite cards!
In one of my Friday Praise Reports, I mentioned that we got Hubby a new suit. The alterations were finished over the weekend, and we were able to bring the suit home. Hubby looks FINE. Mario is the gentleman who fitted Hubby for his new suit as well as the two other suits he owns. Mario worked with one of Hubby's Aunts for many years, so he is essentially family. Hubby asked me if I would make one of my tie cards for Mario to thank him. Hooray for a great excuse to make one of my favorite cards!
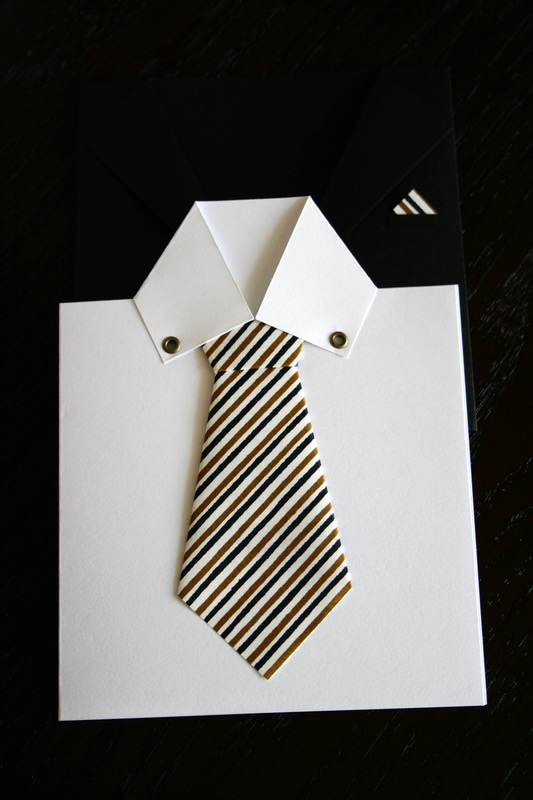
Mario is a suit man, so I couldn't stop with just a shirt and tie. I had to create a jacket too!
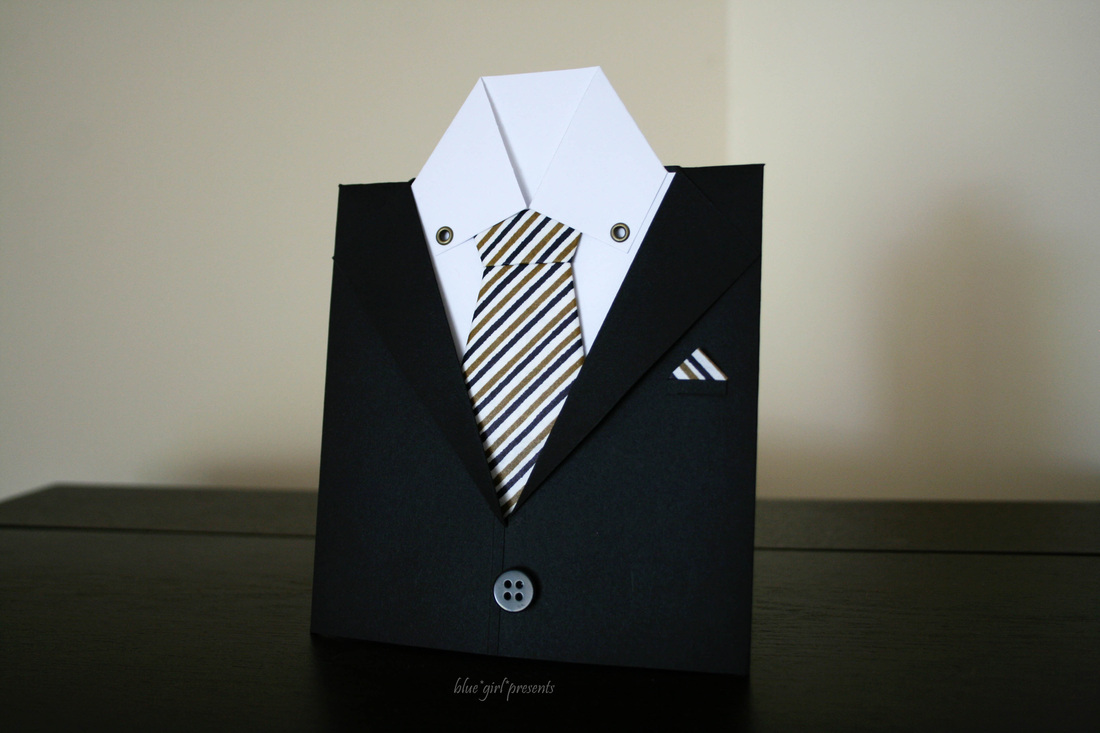
Fancy.


 RSS Feed