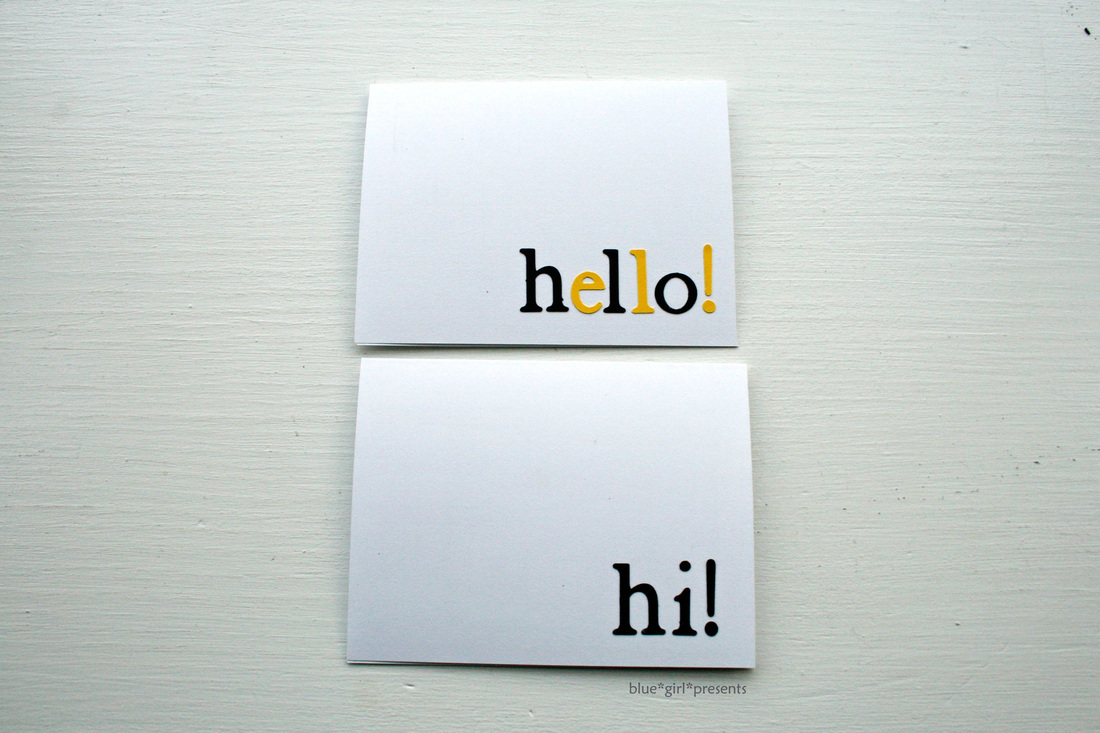
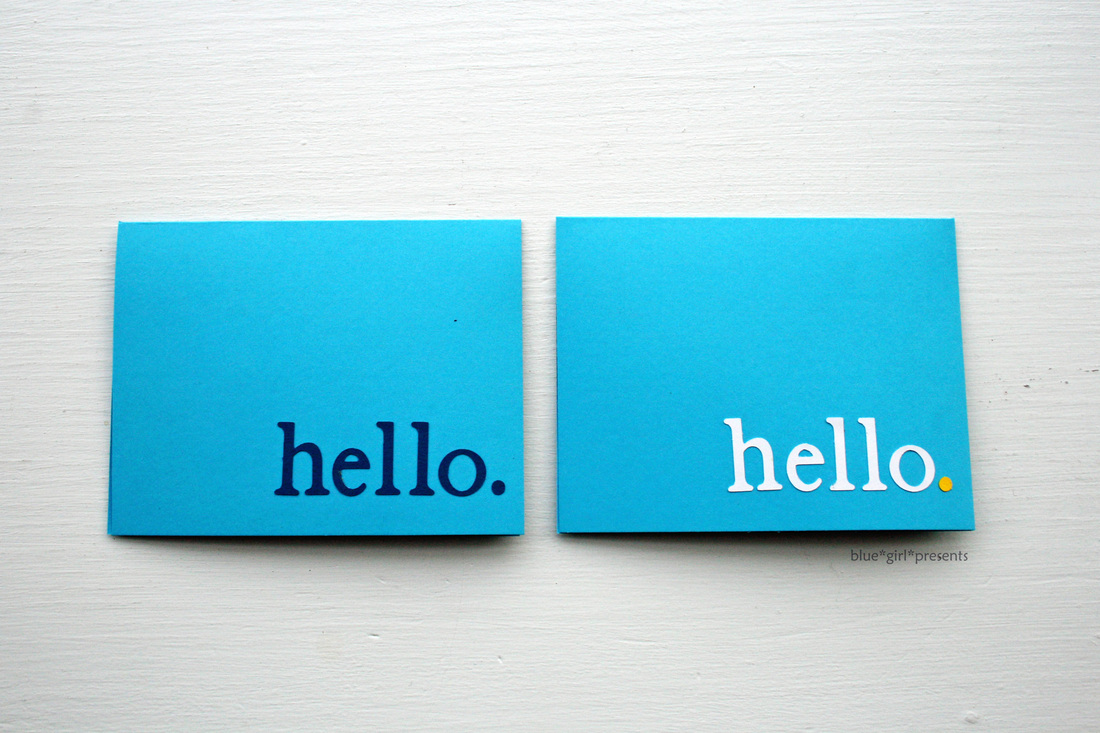
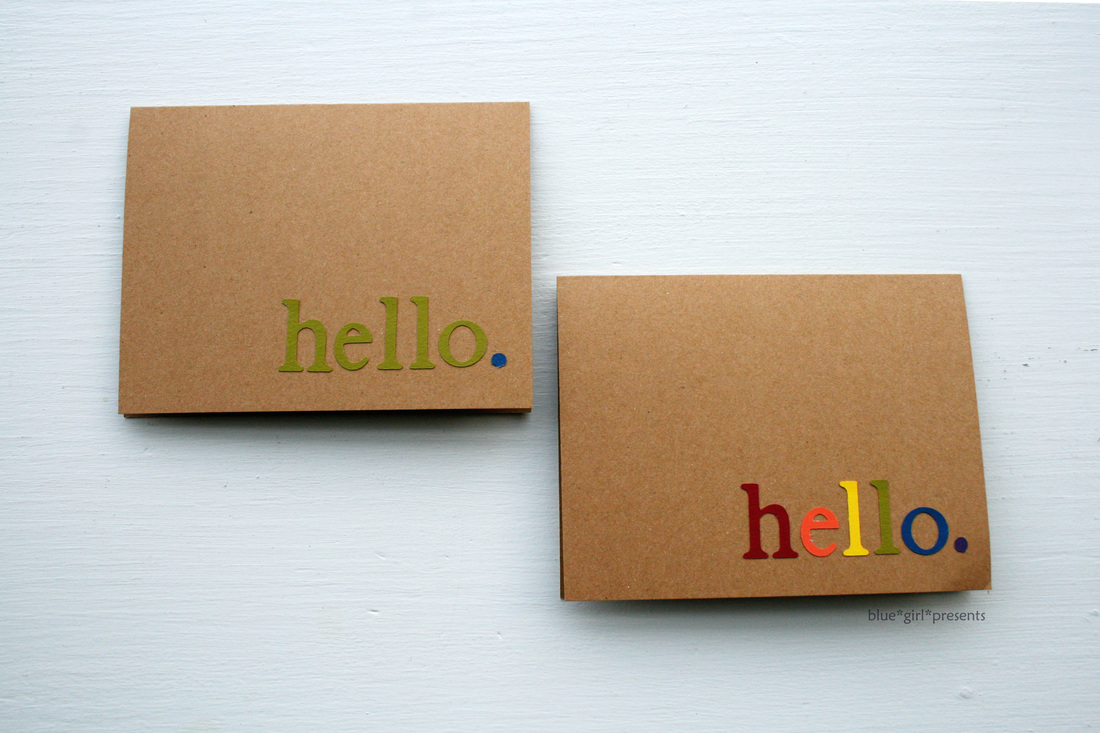
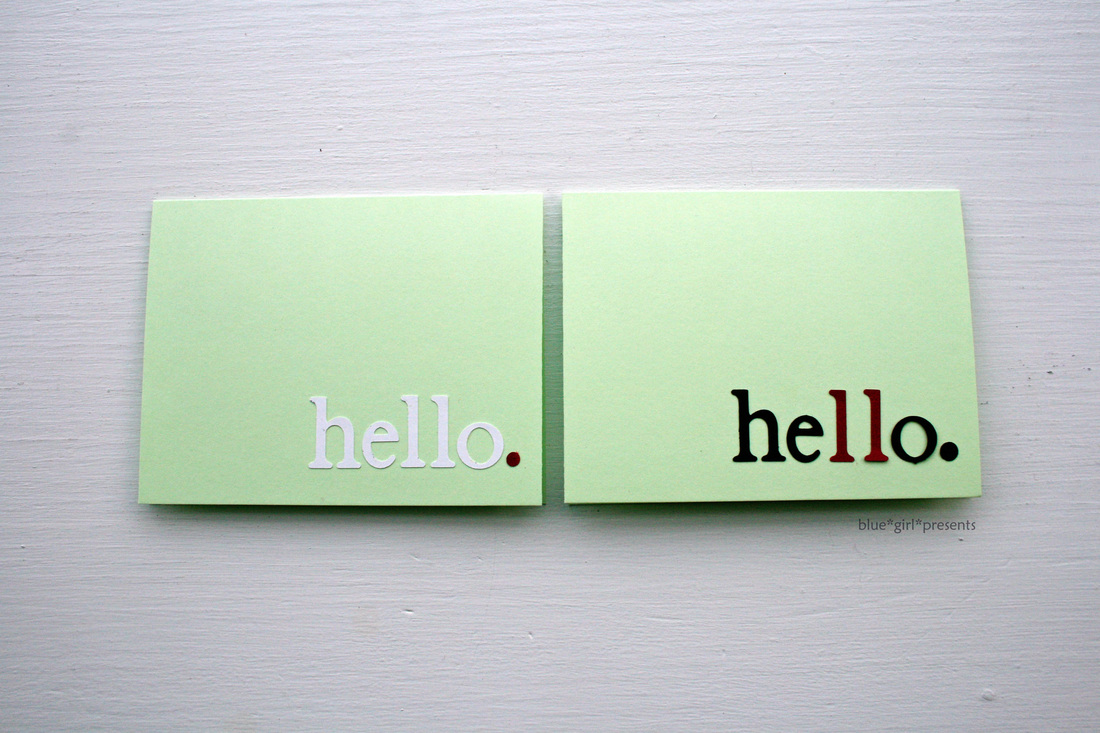
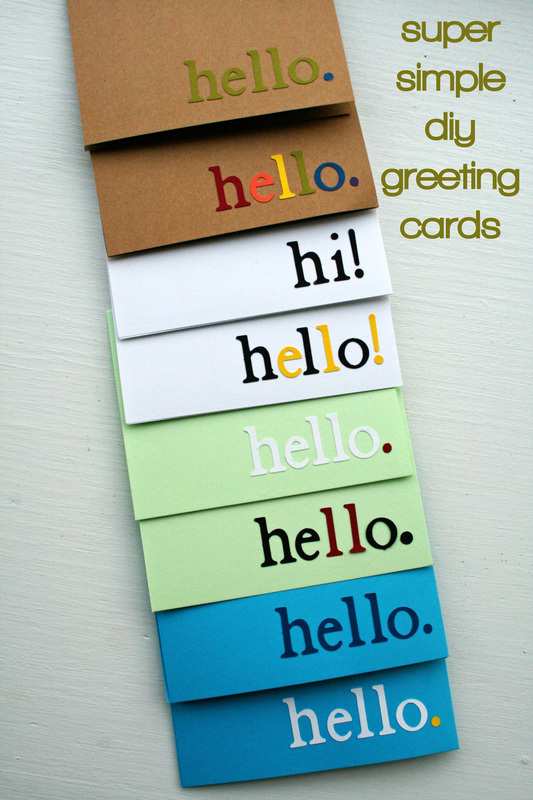
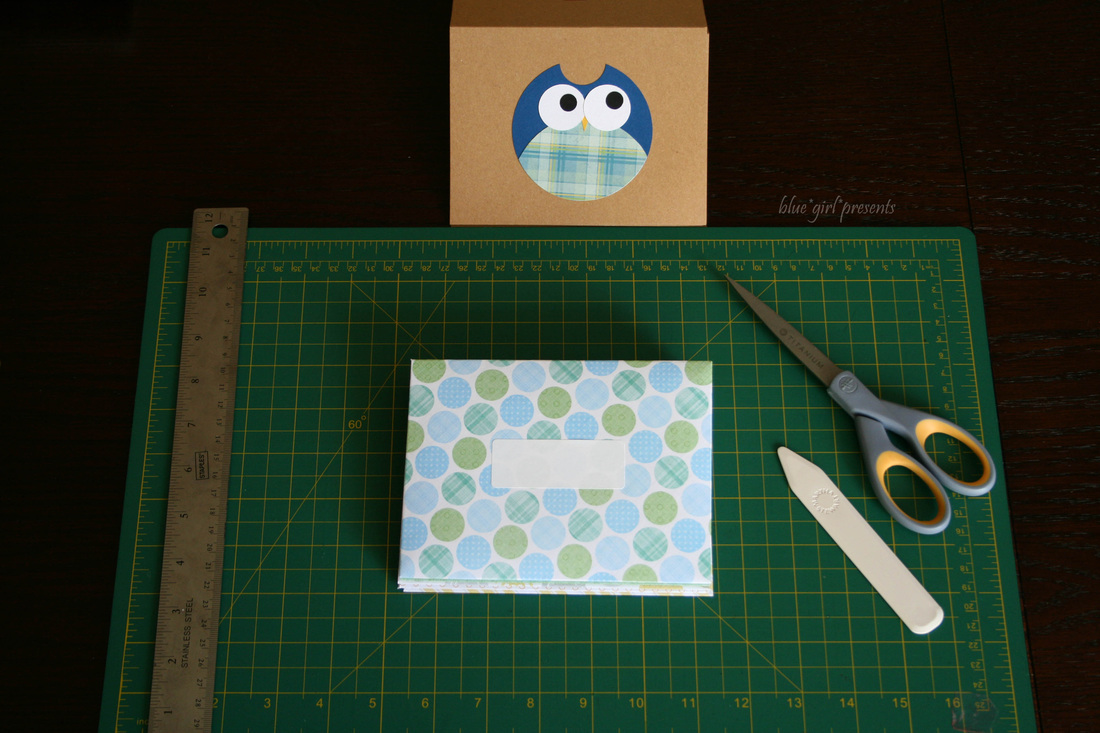
Sometimes, simple is best.
These cards were nothing more than cut, fold, cut, paste.
But I have been known to find a good movie and cut letters out by hand. So a fancy machine is not required. Enjoy your day!
Today, I have a confession, a bit of history, and my latest card.
My confession: This is the third time that I have started a craft style blog. Third time is the charm, isn't that right? The first two times never felt quite right because I constantly felt like I was trying to do too much, or I was not being true to myself. I knew it too, so I rarely told people that I blogged.
This time around, I am having tons of fun. I am enjoying the process and not trying to be anyone but me. If you are one of the few people who encountered one of my former blogs, you may see some familiar photos if they relate to a current post.
Today, I'm sharing some old photos so that you can see the progression to today's card.
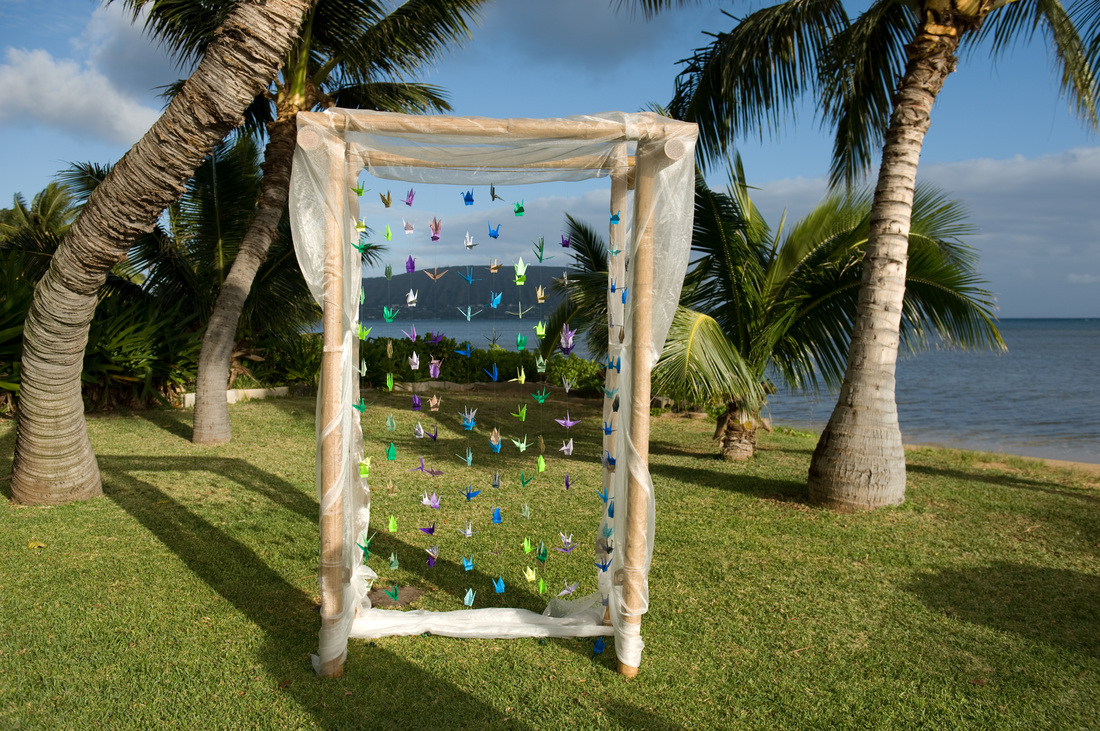
I have loved origami for as long as I can remember. My Dad taught me how to fold a lily and a fishing boat when I was a kid. Then he gave me some books to learn on my own. My Maternal Grandparents lived in Japan until they retired, and visits to see them always meant purchasing packs and packs of origami paper. In 6th grade, one of our projects was to teach the class how to do something. Anything. I taught my classmates how to make origami containers. When Hubby and I got married, I folded dozens and dozens of cranes to hang from our arch. (Not much compared to the 1000 my Cousin folded one year and mailed to me from Taiwan! I think she folded them all in a month.) So yeah, I love origami.
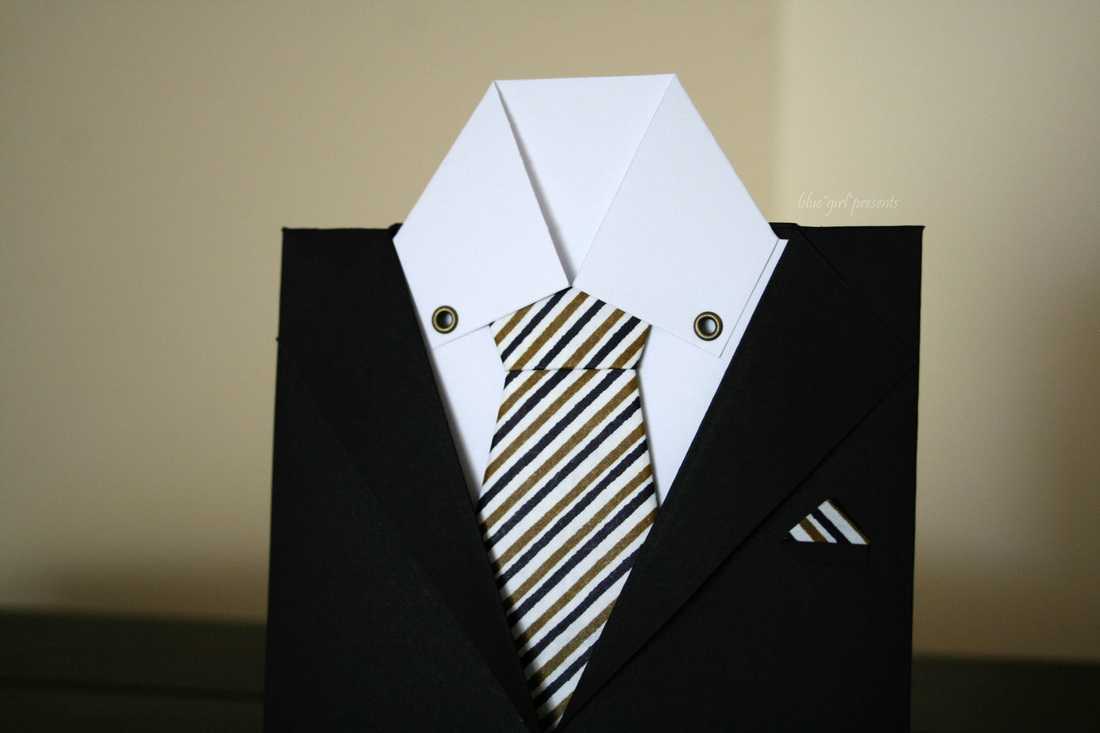
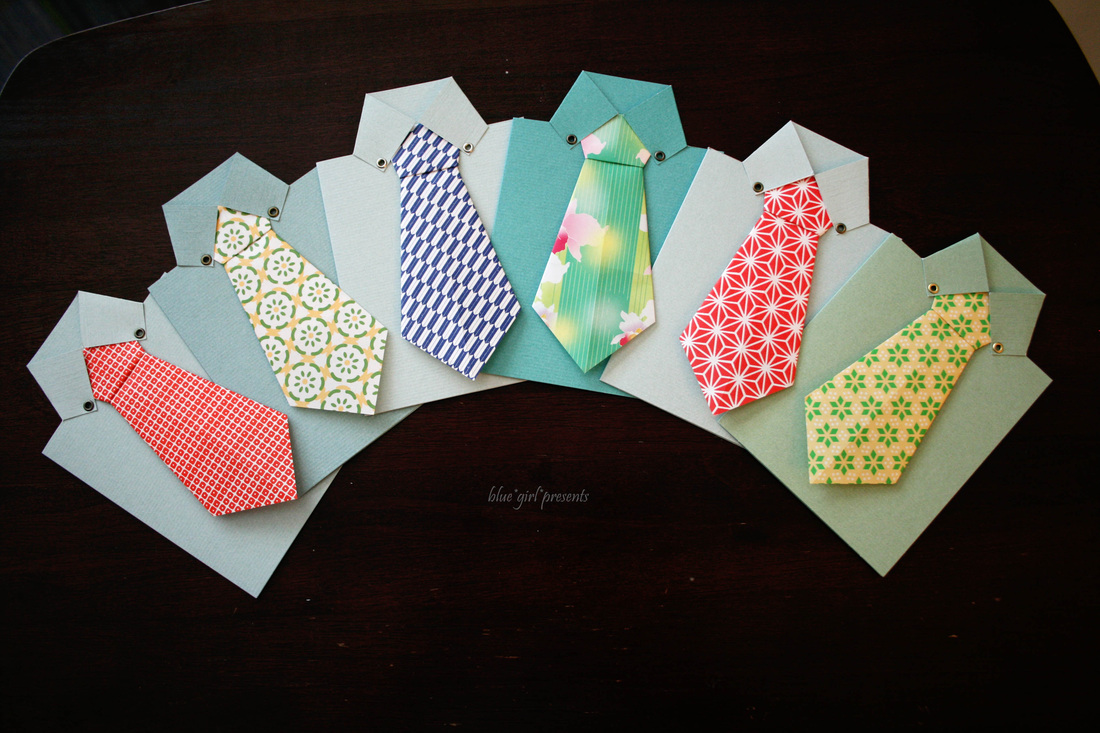
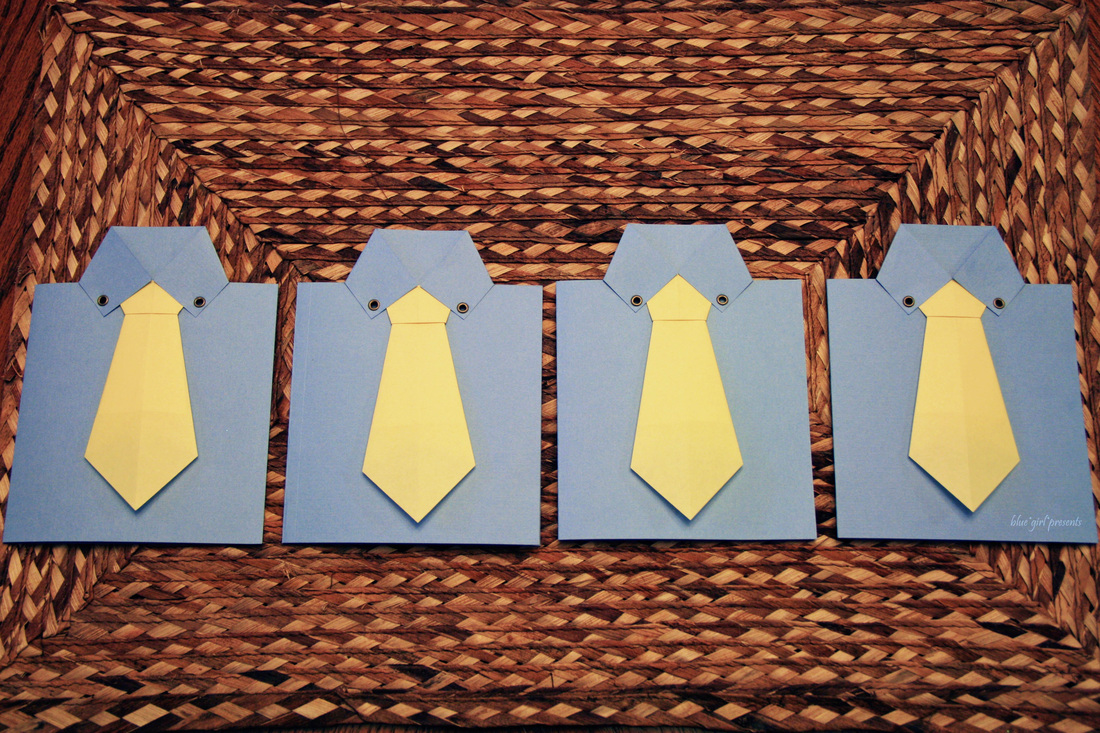
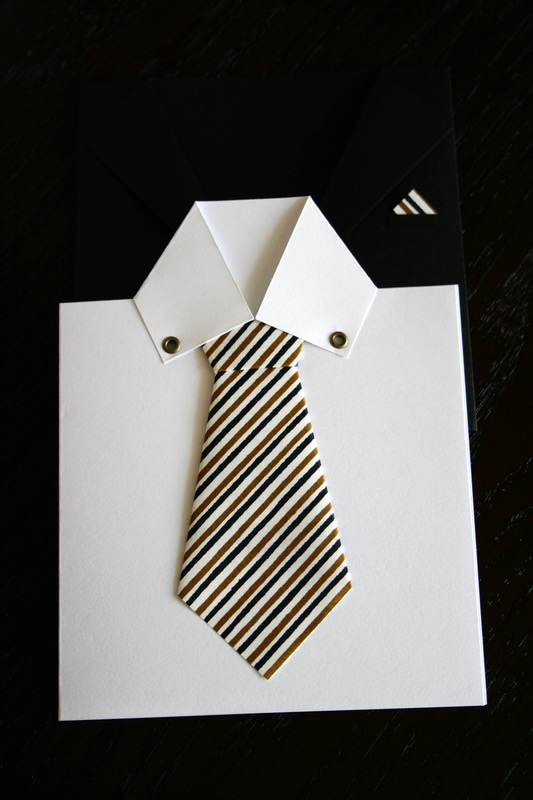
In 2010, while trying to figure out what kind of card to create for all the important Dads in my life, I decided that adding a touch of origami made the most sense. I found directions for an origami tie, and started having fun. In 2011, I couldn't stop thinking about how much fun I had creating the necktie cards. So I made them again.
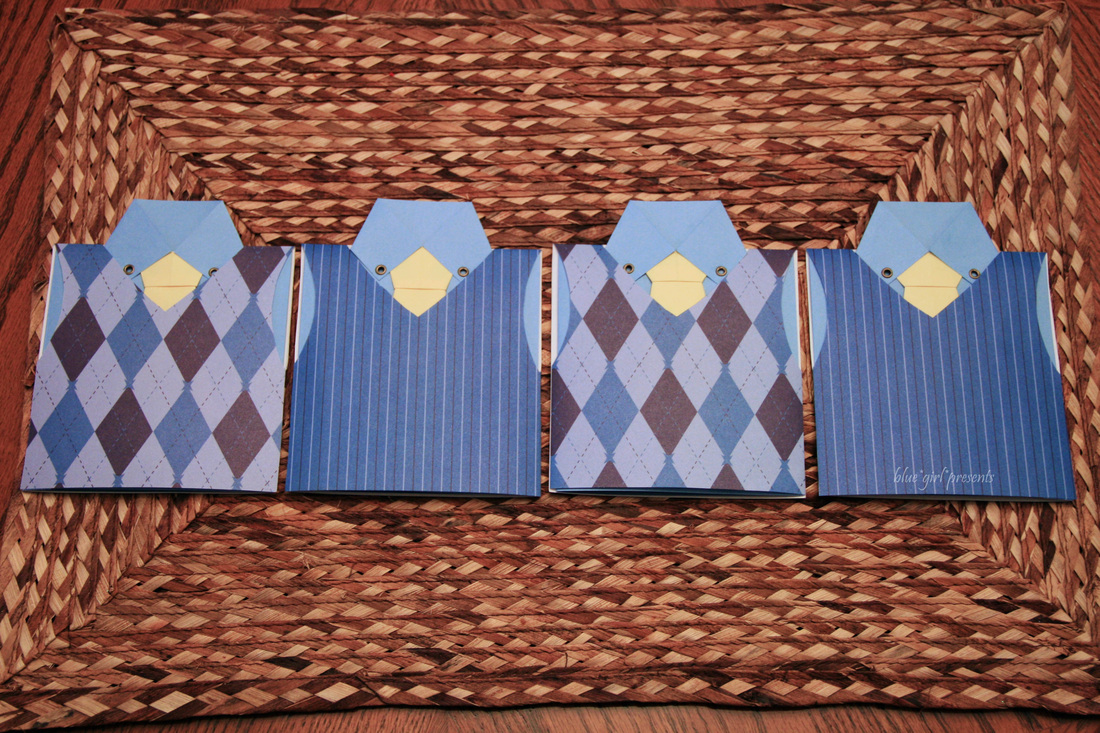
But this time, I added vests.
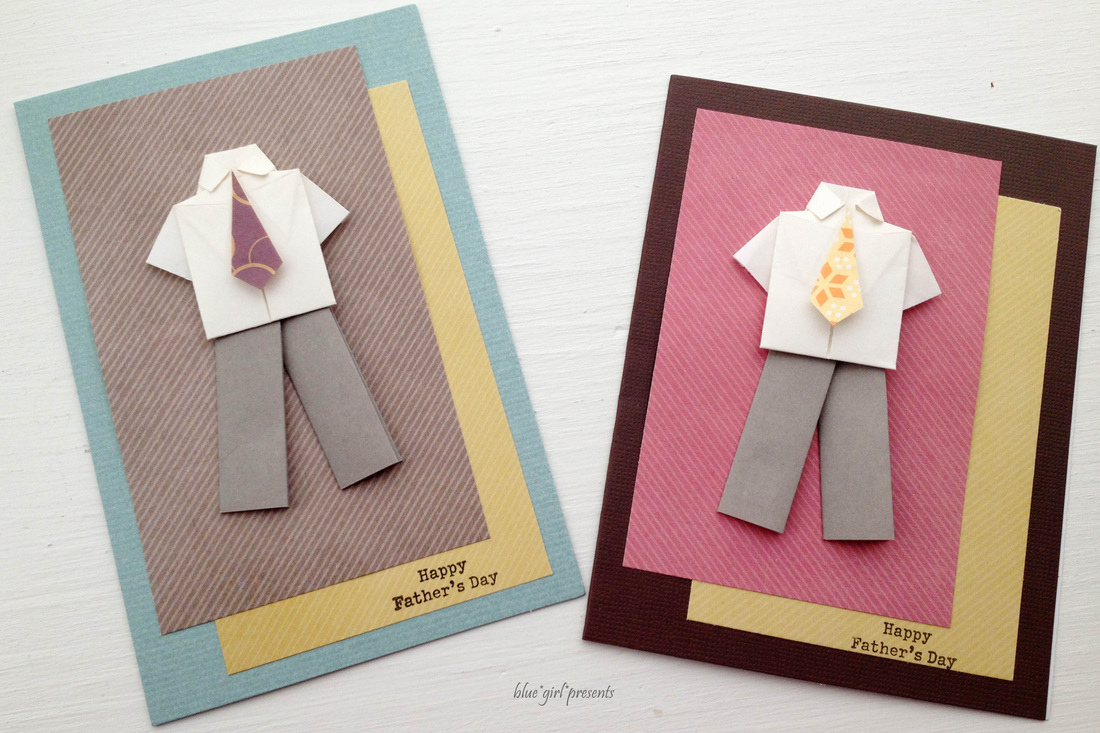
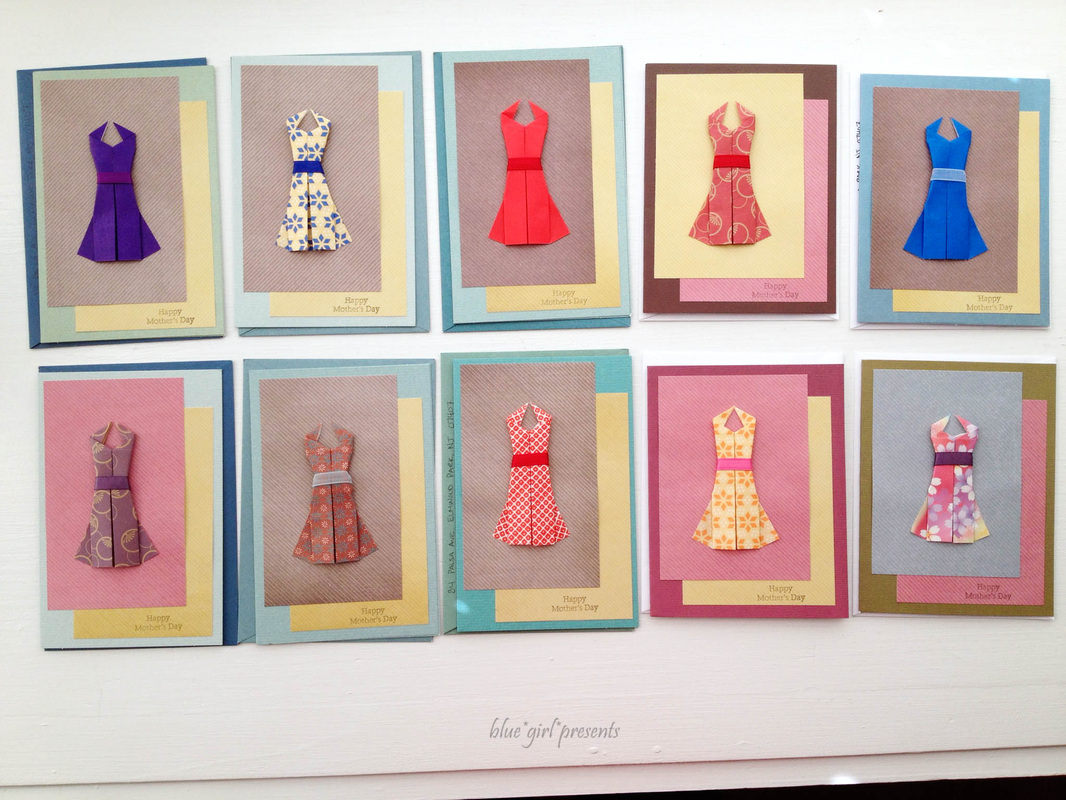
In 2012, I decided to be a bit different and created origami shirts and pants for my cards. They coordinated with that year's origami dress Mother's Day cards. This year's cards had nothing to do with origami... :)
In one of my Friday Praise Reports, I mentioned that we got Hubby a new suit. The alterations were finished over the weekend, and we were able to bring the suit home. Hubby looks FINE. Mario is the gentleman who fitted Hubby for his new suit as well as the two other suits he owns. Mario worked with one of Hubby's Aunts for many years, so he is essentially family. Hubby asked me if I would make one of my tie cards for Mario to thank him. Hooray for a great excuse to make one of my favorite cards!
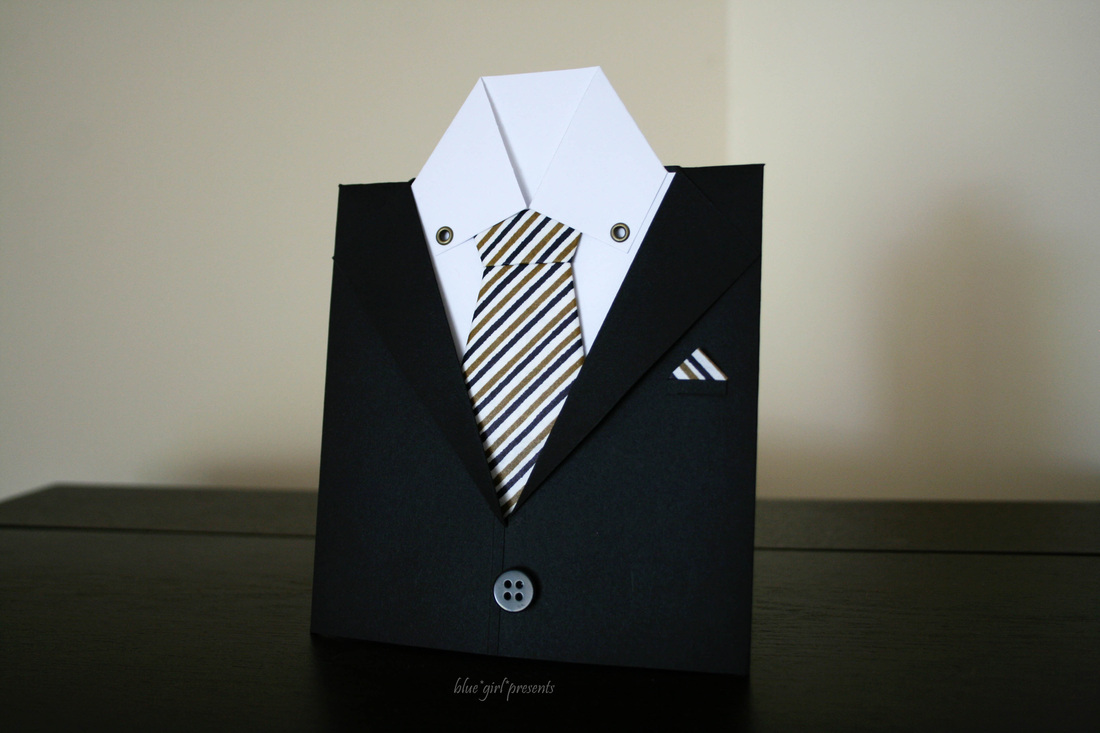
Mario is a suit man, so I couldn't stop with just a shirt and tie. I had to create a jacket too!
Fancy.
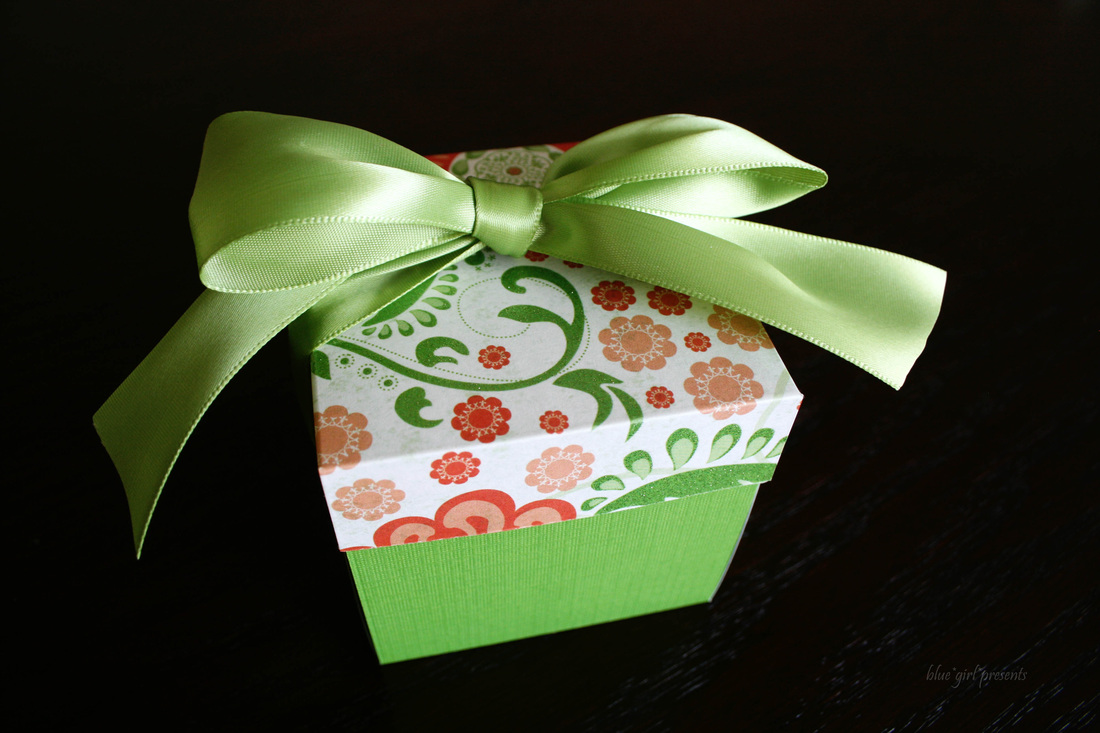
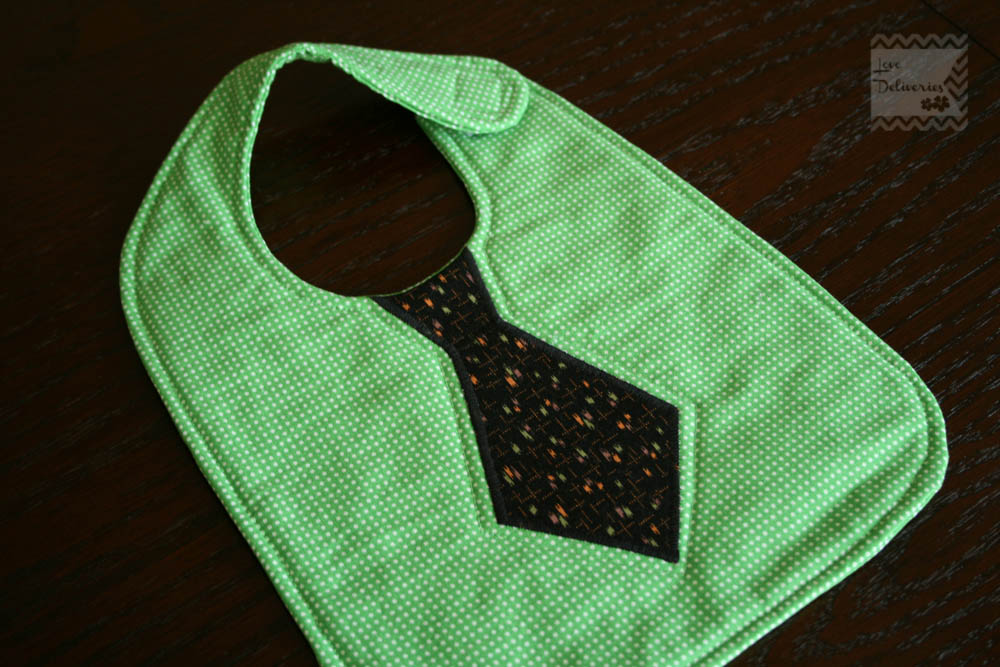
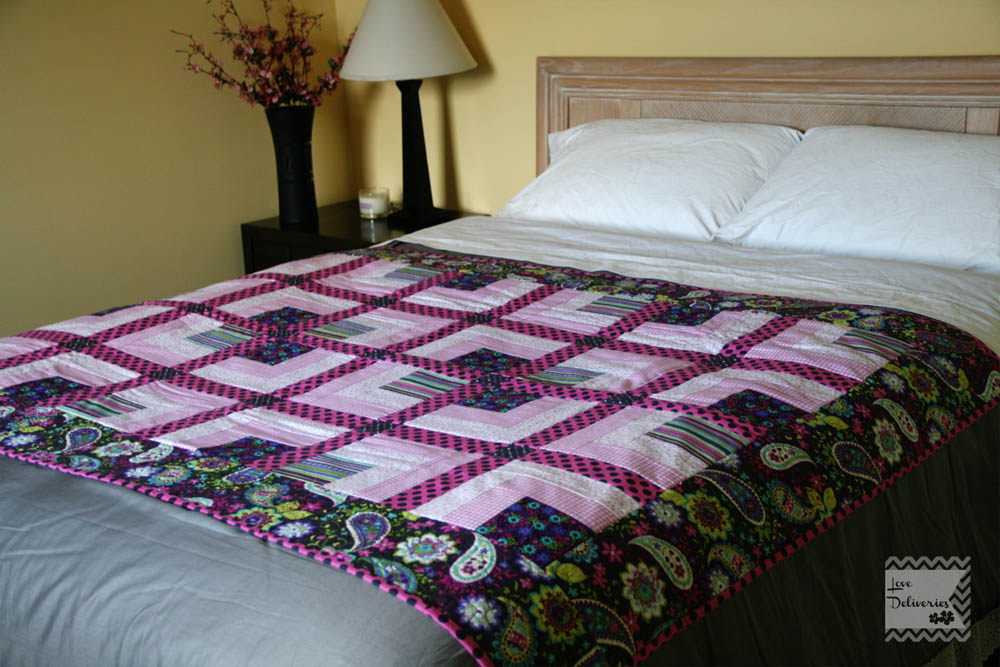
This month is my Sister-in-Law's birthday month. I'm pretty sure she has super powers. She is a full time Mom and wife, a lot-of-the-time labor and delivery nurse, and the owner and creator of all things at Love Deliveries. She can do pretty much everything...and she can do it well. I tell her she is crazy quite often. But she is crazy in the most wonderful way. You should check out Love Deliveries for some fun gems like this crazy cute tie bib. I love these! Or this beautiful quilt.
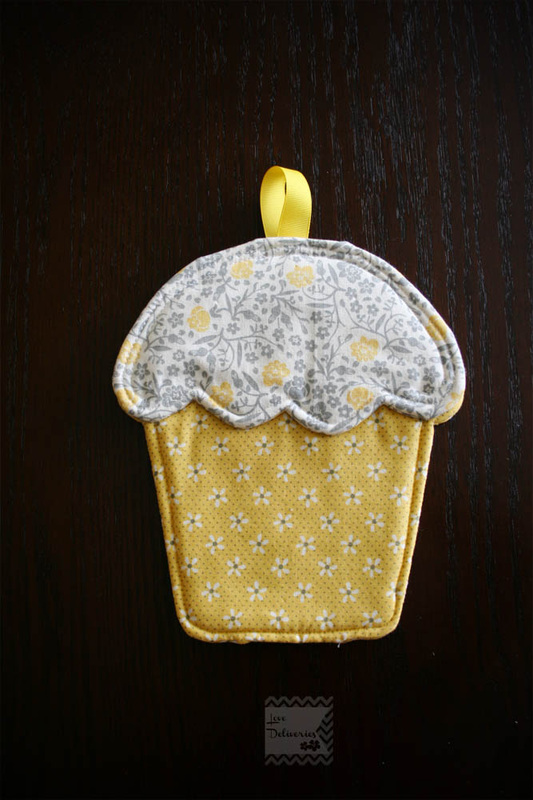
Or this sweet cupcake shaped oven mitt. Isn't it darling?
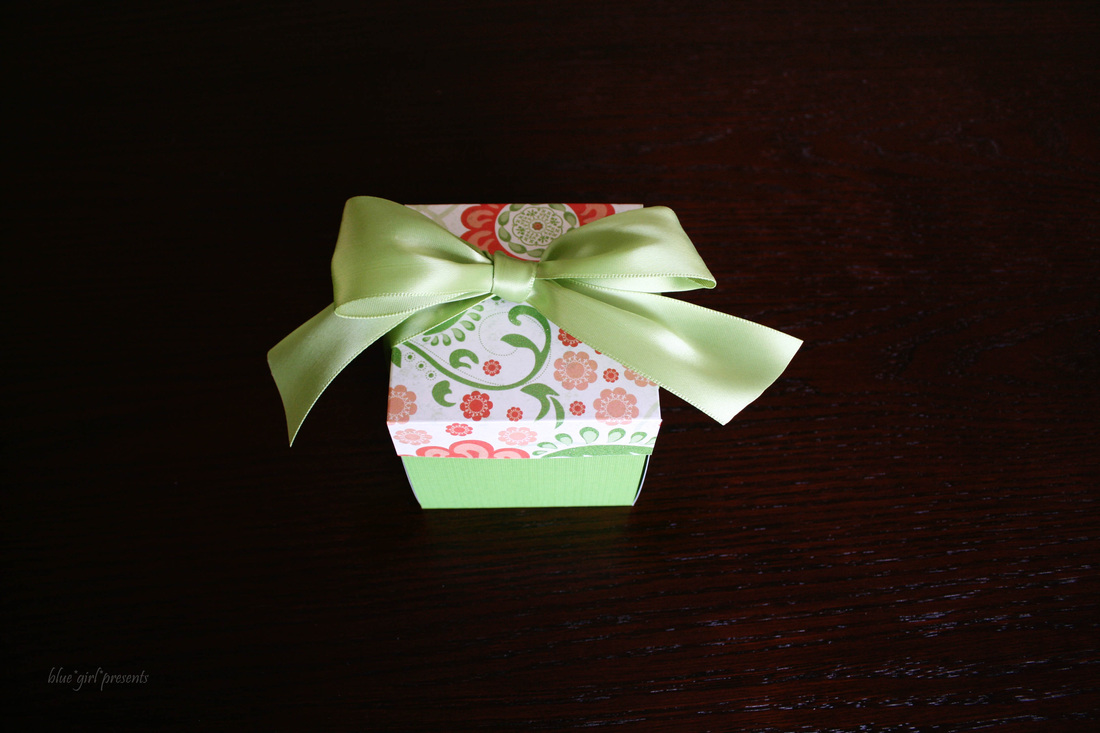
We celebrated Becky's birthday over the weekend.
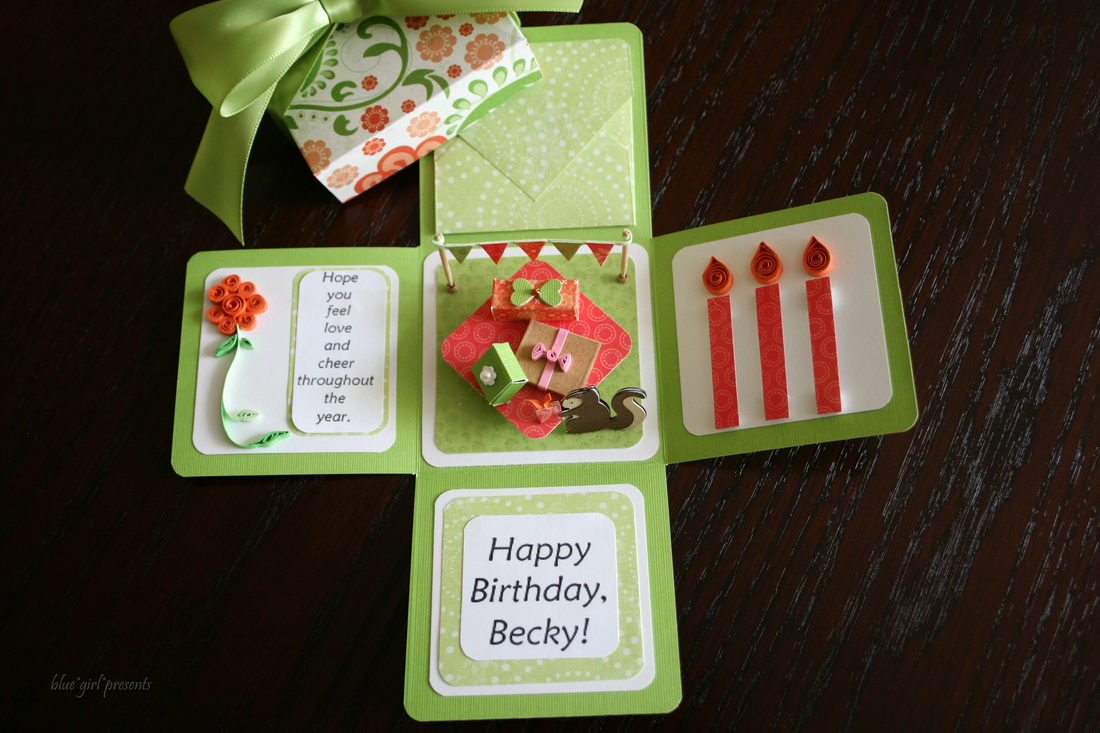
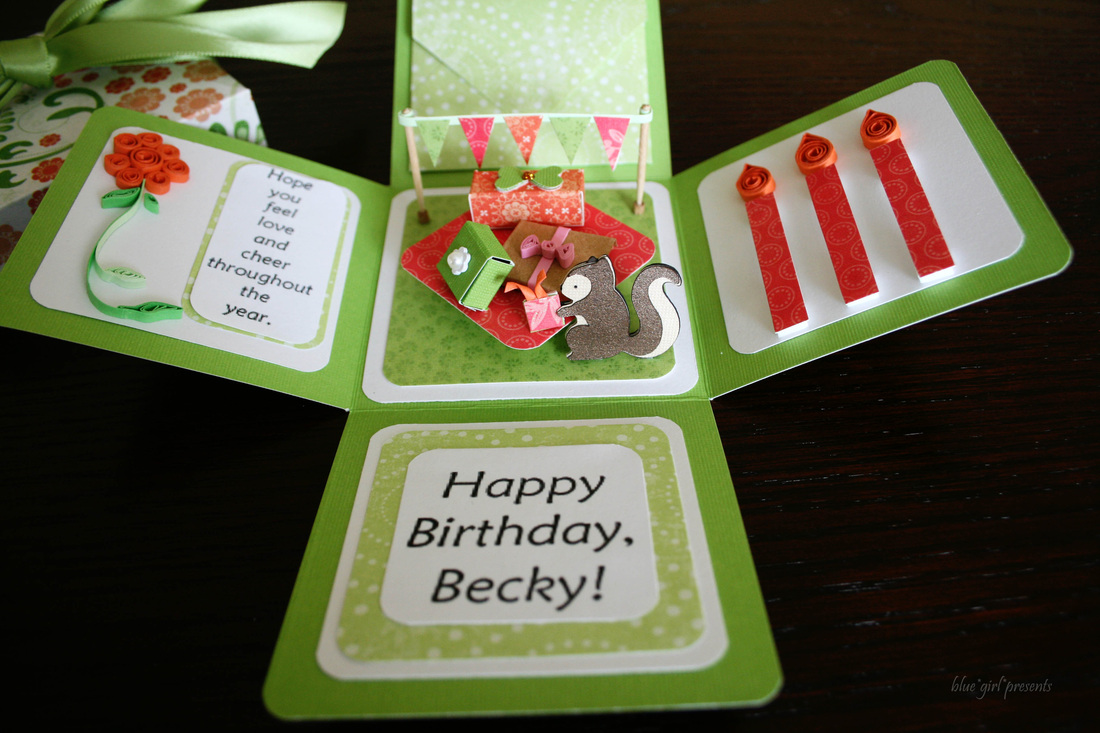
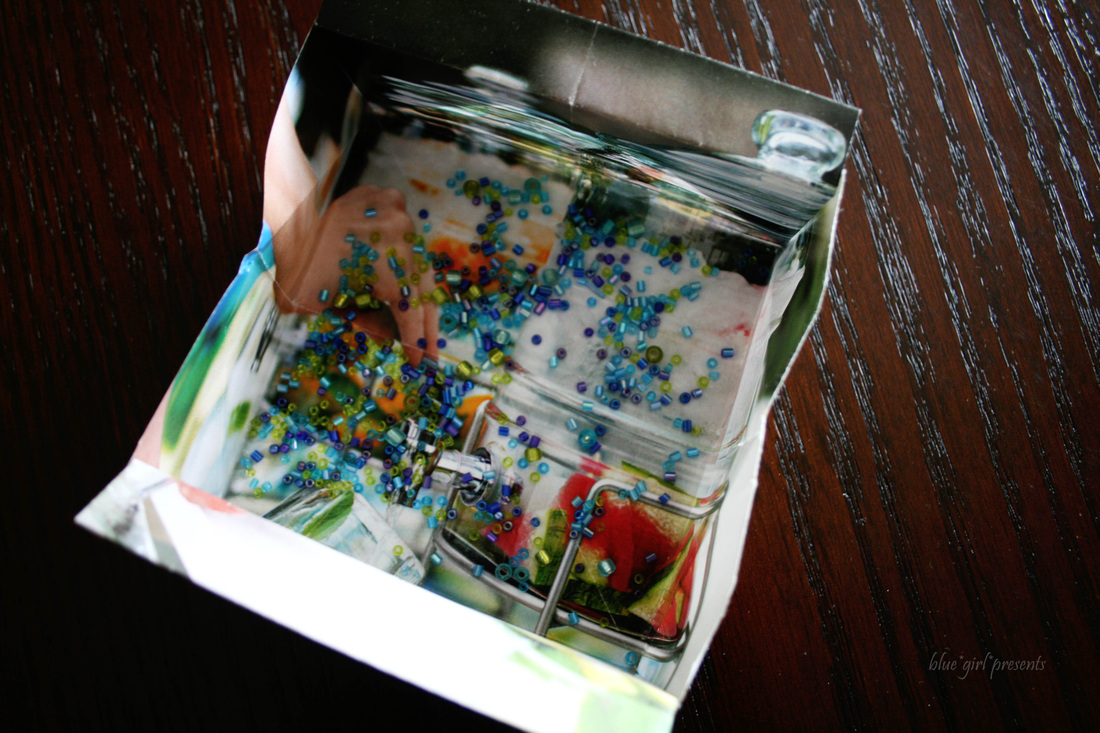
A fabulous girl needs a fabulous card! I created an envelope for the top flap so that I could tuck in a card that had extra space for a personal message.
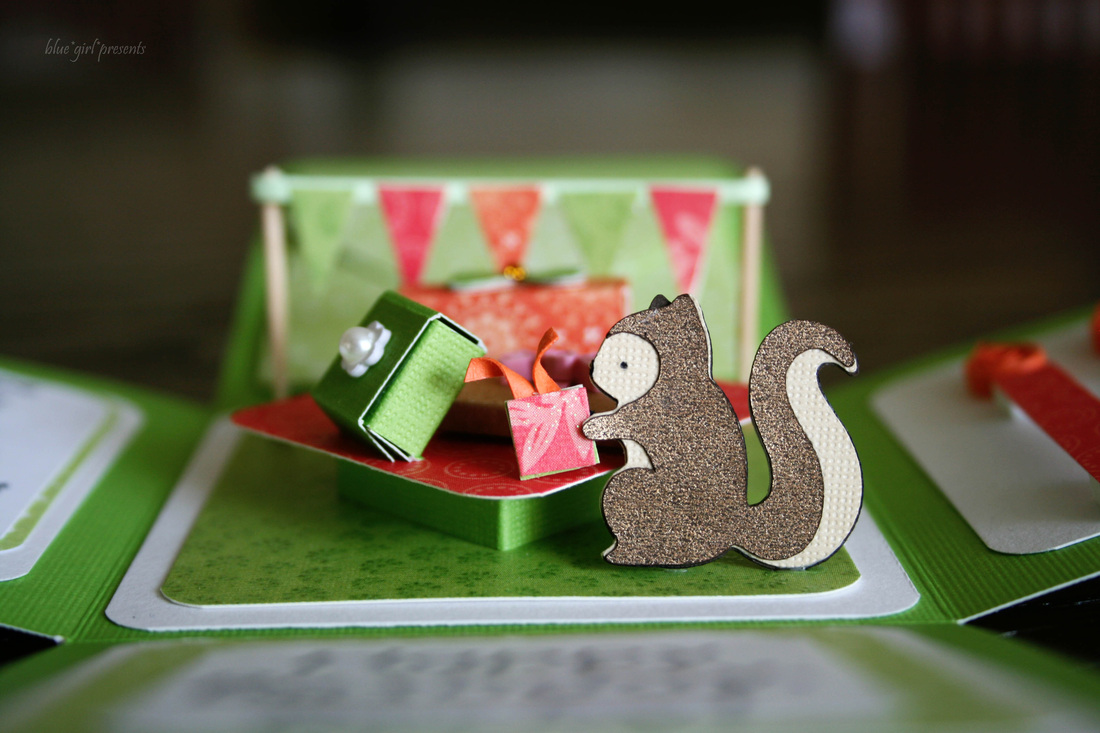
The squirrel was cut with my Cricut (an amazing gift from Becky!). The flower and heart shapes on the miniature gifts, and the rounded corners were cut with punches. All of the other details were cut and shaped by hand.
Thank you for visiting. Come back tomorrow, and we'll talk about dessert!
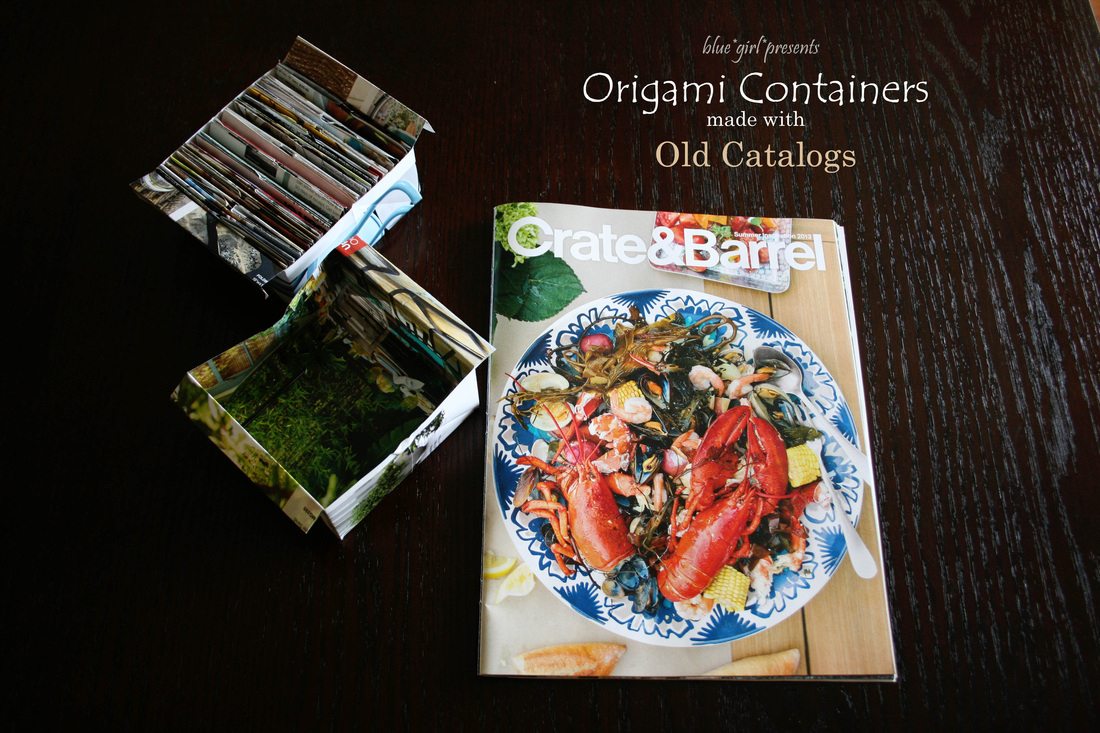
We get piles and piles of catalogs throughout the year. It can be fun to flip through them and dream. On occasion, we even order something. This always ensures that we get another onslaught of catalogs. So what do you do after you're done dreaming and are left with a stack of outdated catalogs?
When I was young, a really lovely couple taught me a fun way to create something useful from old catalogs and magazines. Someday, I will tell you more about them. Today, I'm just going to show you how to make these origami containers. Grab an old catalog or magazine and follow along!
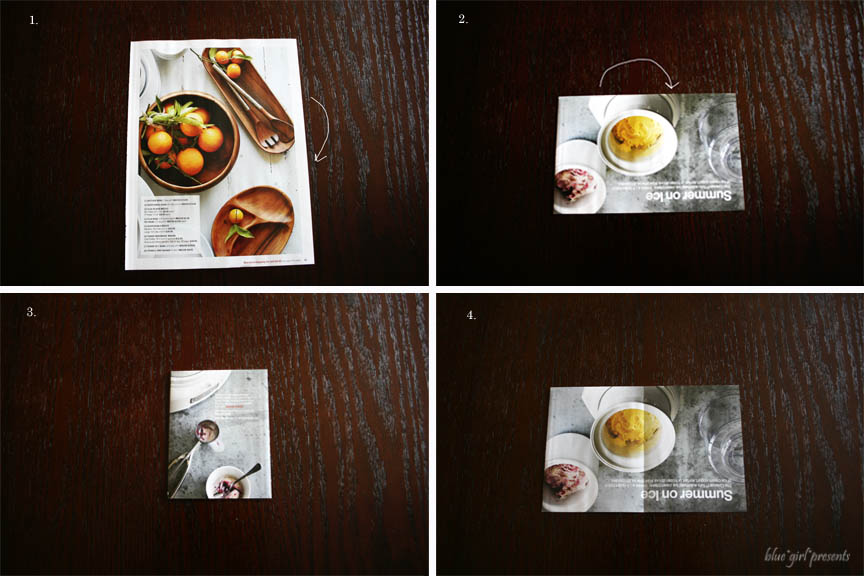
1. Take a single page, and fold it in half horizontally.
2. Now make another fold vertically. This one will just be a crease.
3. Are you craving ice cream right about now? I sure am...
4. Open up the previous fold.
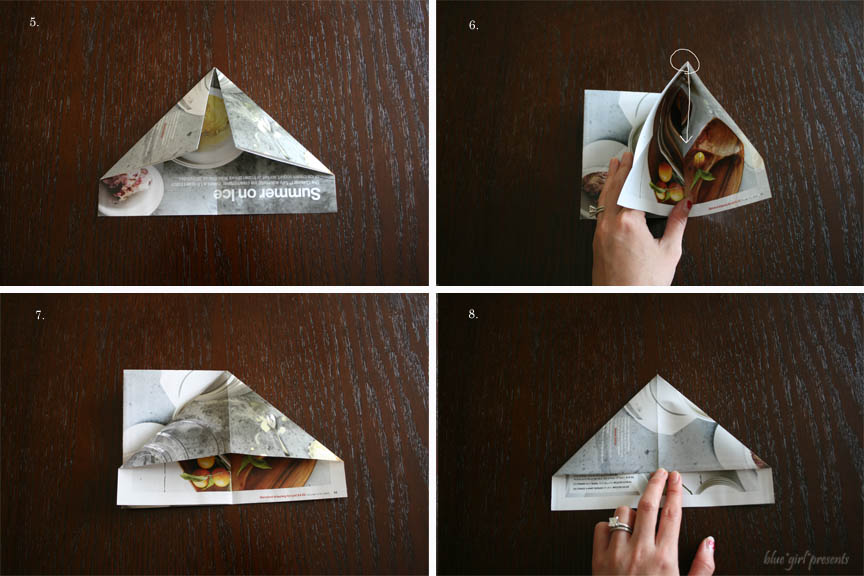
5. Pretend you're making a paper airplane. But just fold and unfold.
6. Lift one side of the paper. Open it up, then bring the top corner down to meet the crease. (It's really best to follow the photos, because these directions don't make much sense otherwise. :) )
7. It should look like this.
8. Do the same on the other side.
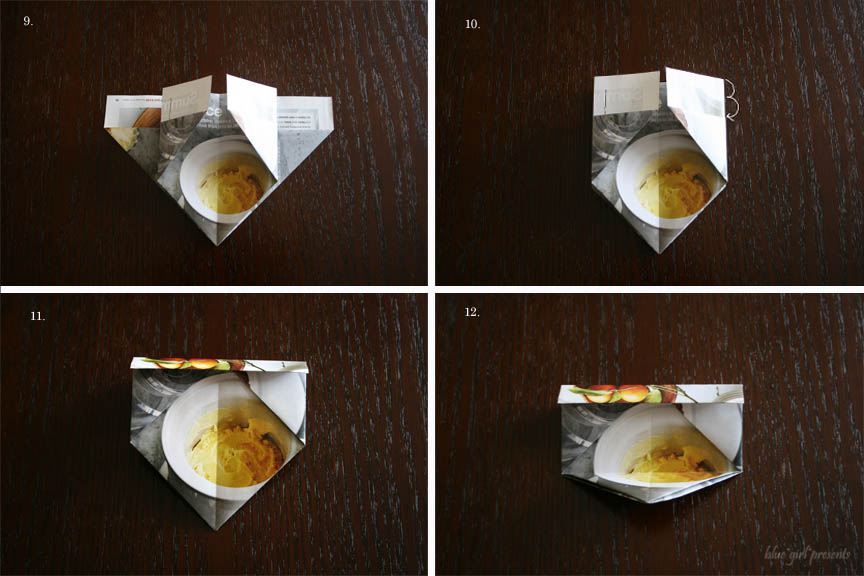
9. Take the wings, and fold them towards the middle. Do this on all sides.
10. Take the top piece and fold it in half, and then make another fold to create the handles on each side.
11 - 12. Take the bottom point and bring it up to create a crease. Now you can open up your creation from the top and...
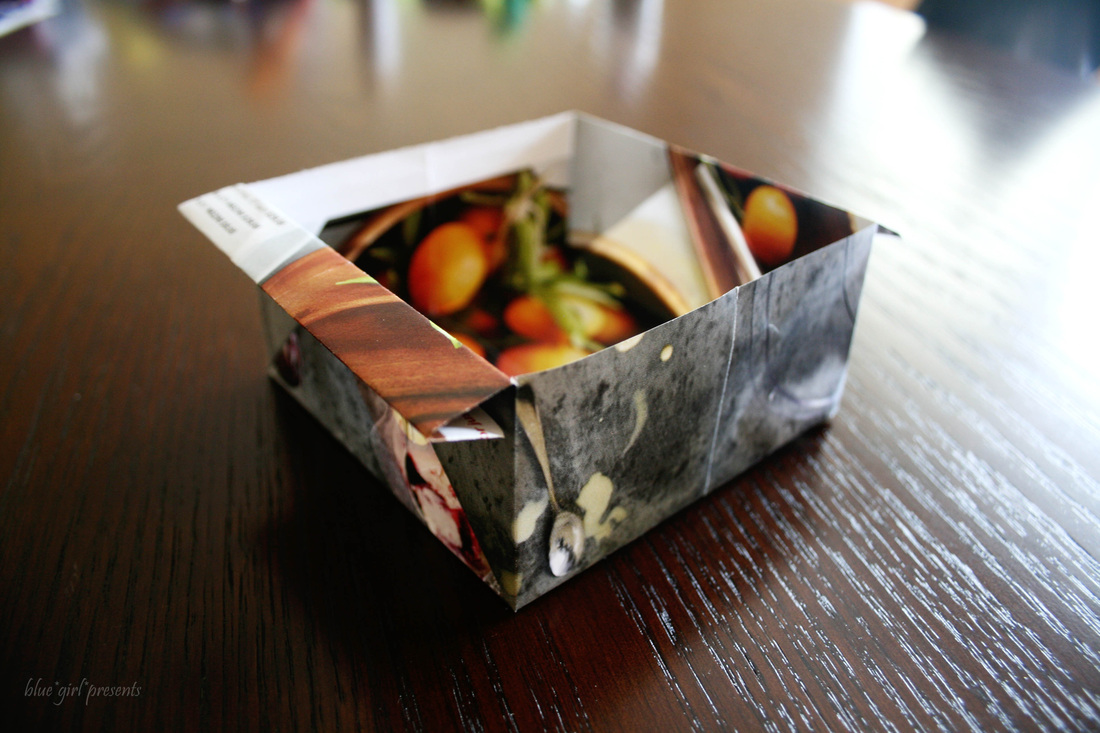
Ta-da!!!!! You have a lovely origami container.
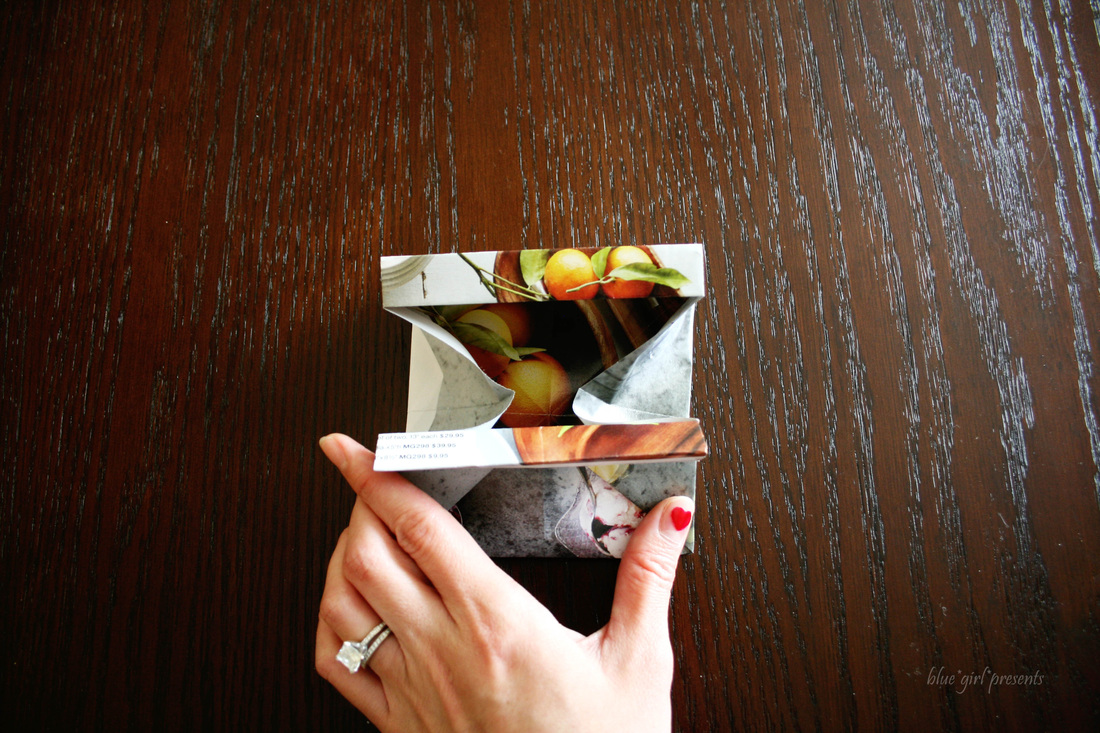
Here's another trick.
You can gently push in the sides of the container to collapse it.
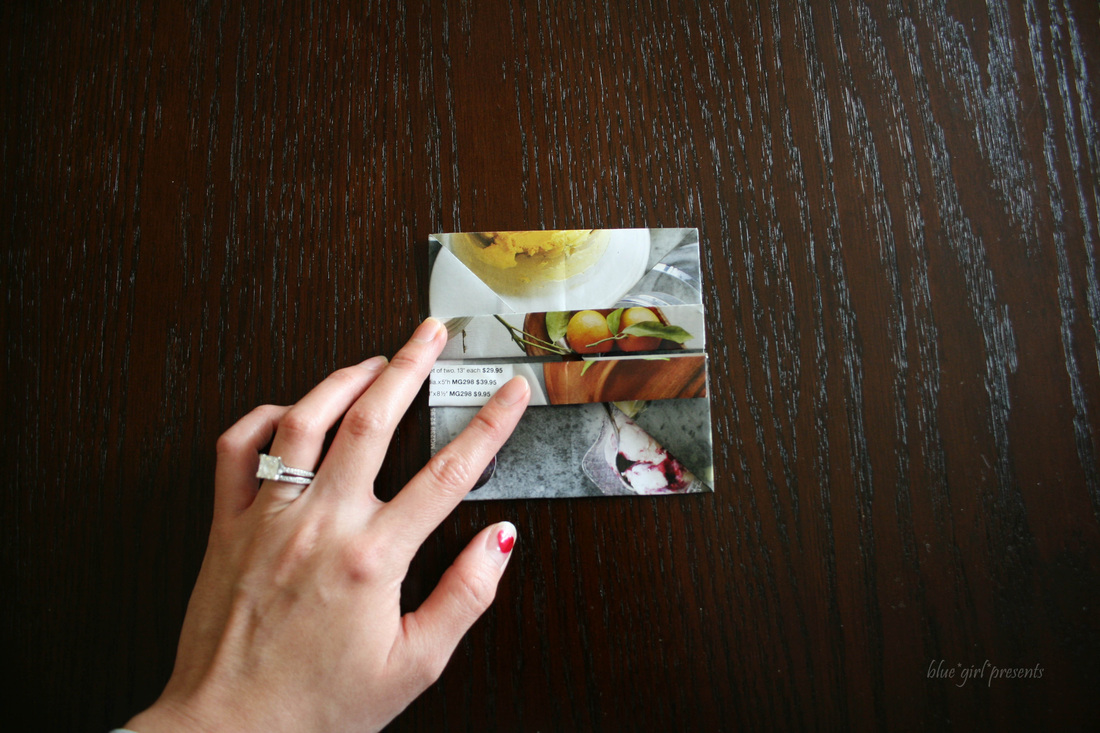
Then you fold it in half with the handles facing out...
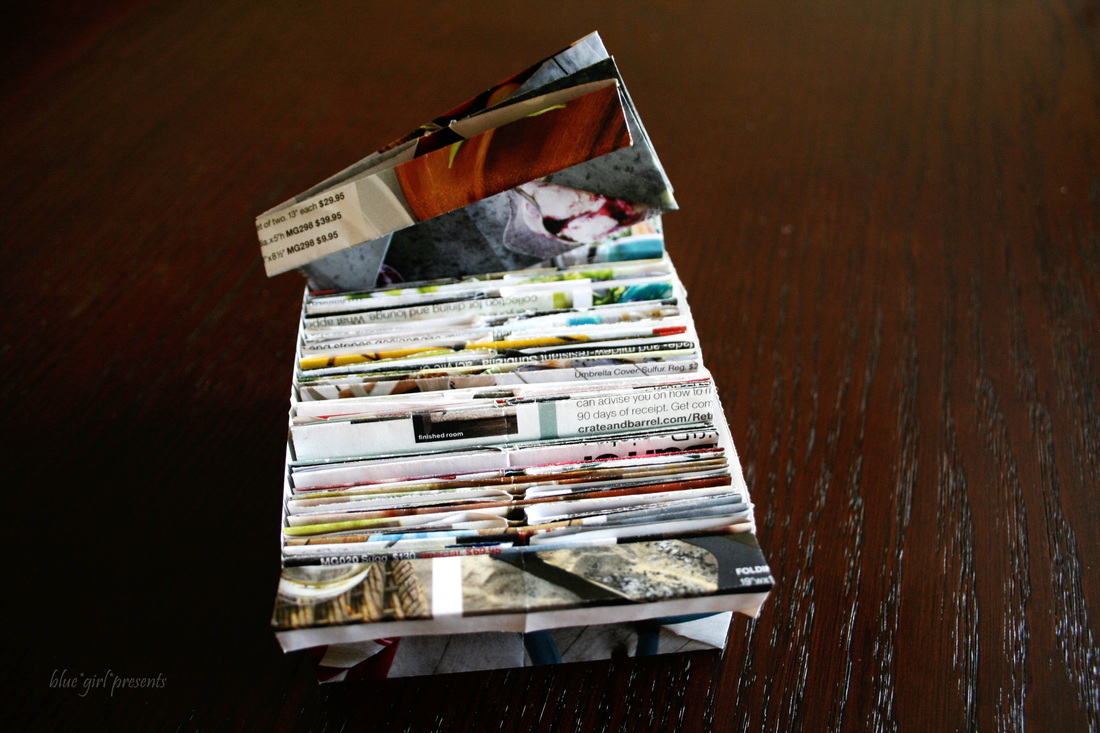
Now you can store a whole bunch of containers inside one open container.
I keep a bunch of these containers in my crafting space.
Sometimes I use one to hold beads for a current project.
A lot of times, I use them to hold little bits of trash that accumulate while I'm crafting. It's easier to have a little receptacle right at my fingertips than a bigger one on the floor. Afterwards, I can dump the whole thing.
These little containers are great at mealtimes as well. Place one at each seat to contain fish bones, chicken bones, egg shells, or any other non-edible parts of a tasty meal. After your meal, you can just toss them.
Have fun, and let me know if you come up with more uses for these origami containers!
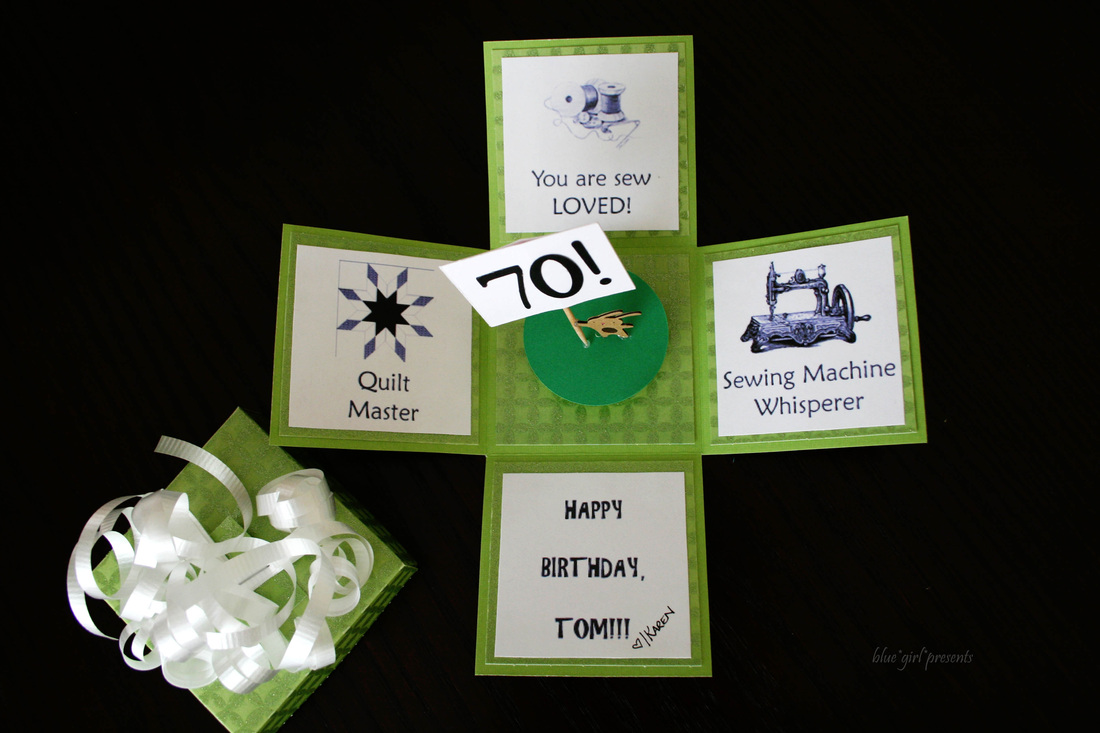
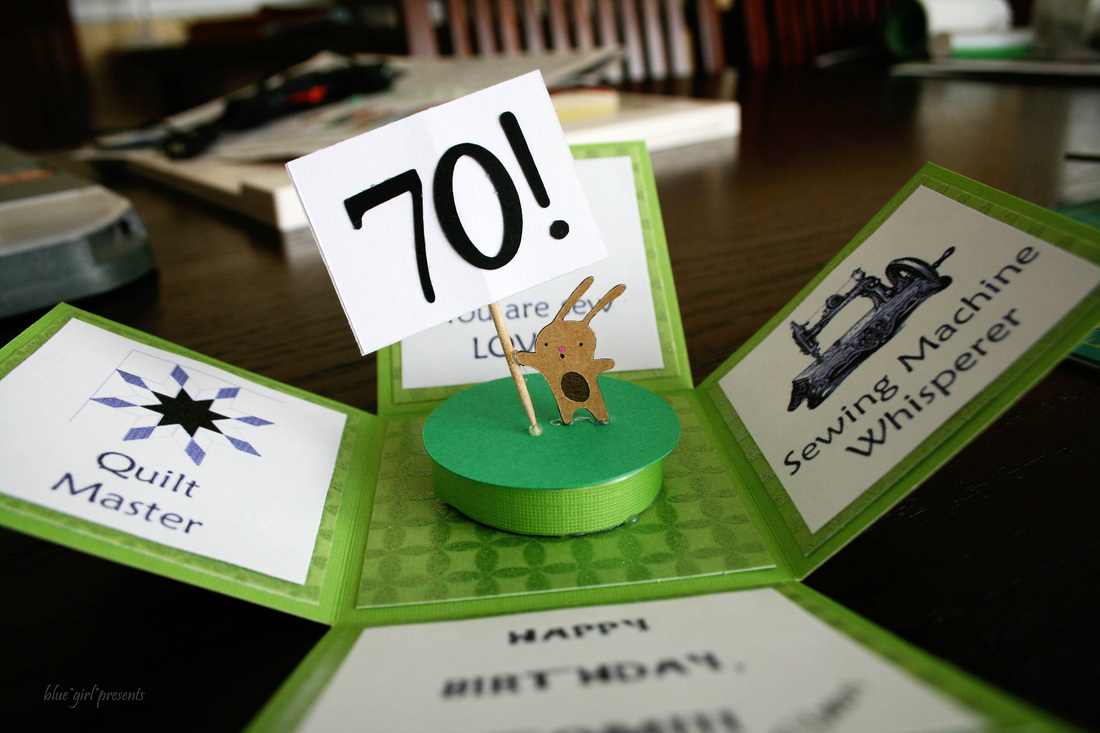
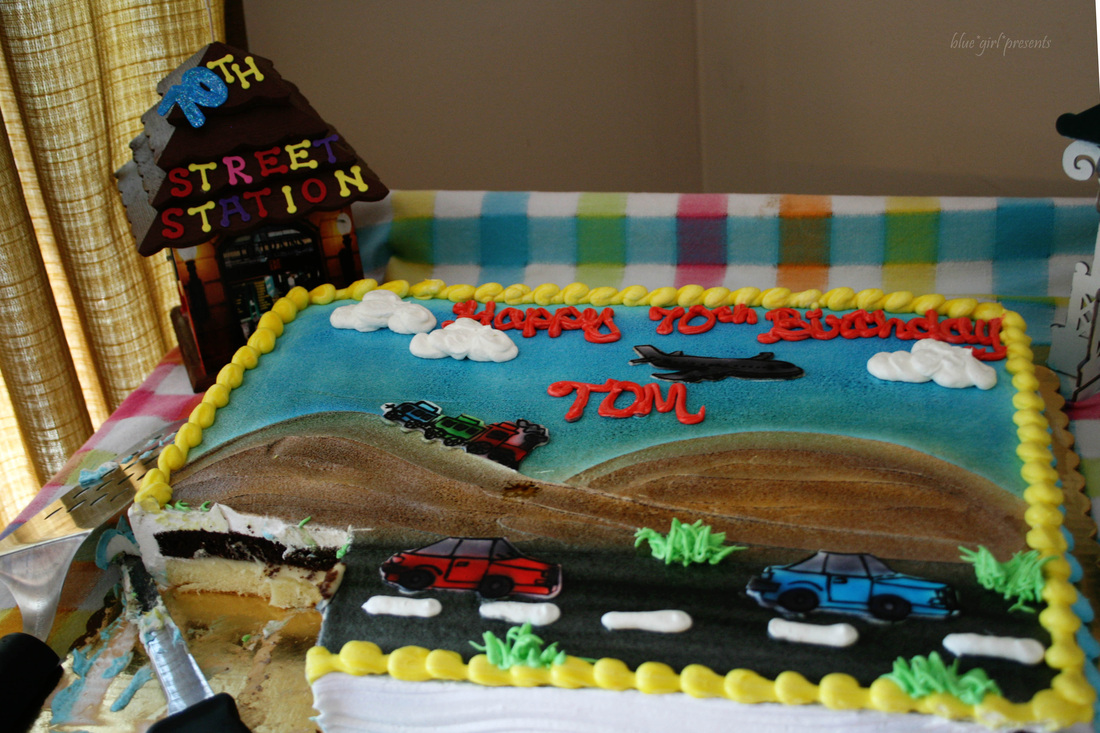
I'm learning how to quilt. Kind of. It's something that I have always wanted to do. When I found out that my Sister-in-Law quilts, and my Mother-in-Law quilts, and that they are both connected to a whole network of quilters, I was really excited. For the past three years, I have been attending an annual quilt day at my church and a quilt retreat that is held close to the middle of nowhere. In that three years, I have finished hand-piecing the front of a wall hanging, and machine sewing the top of a table runner. My Mother always picks on me for hanging out with quilters all the time but having no finished projects. The thing is, quilters are REALLY nice people. They love having show and tell sessions, and are always so supportive and encouraging. My first quilt day, all I had to share was a little nine-patch square, and the quilters cheered for me as though I had finished a king size quilt. Every six months, the quilters gather again, see my additional couple squares and cheer as though I finished another king size quilt. It's really quite lovely. You can only imagine what it's like when someone really does share a king size quilt! Tom and Madge are two of our quilt mentors that attend the quilt day and the quilt retreat. They are the cutest couple. They are kind, hilarious, encouraging, generous, and God-centered. Madge always has fun activities planned that include prizes. Lots of prizes. Madge also likes to plant encouraging little notes by everyone's seat when they aren't paying attention. During our gatherings, Tom will service anyone's sewing machine. For free. He is skilled with all types of machine problems and user defects. If you're interested in quilting, and you don't have a machine, Tom and Madge will make sure you get one. It will either be free or an insanely amazing price depending on the machine and the circumstance. They are always full of energy and filled with ideas. This week, Tom turned 70. Madge threw him a big open house style party. Tom has many other interests, so it was a "Trains, Planes, & Automobiles" themed party.
The cake was tasty!
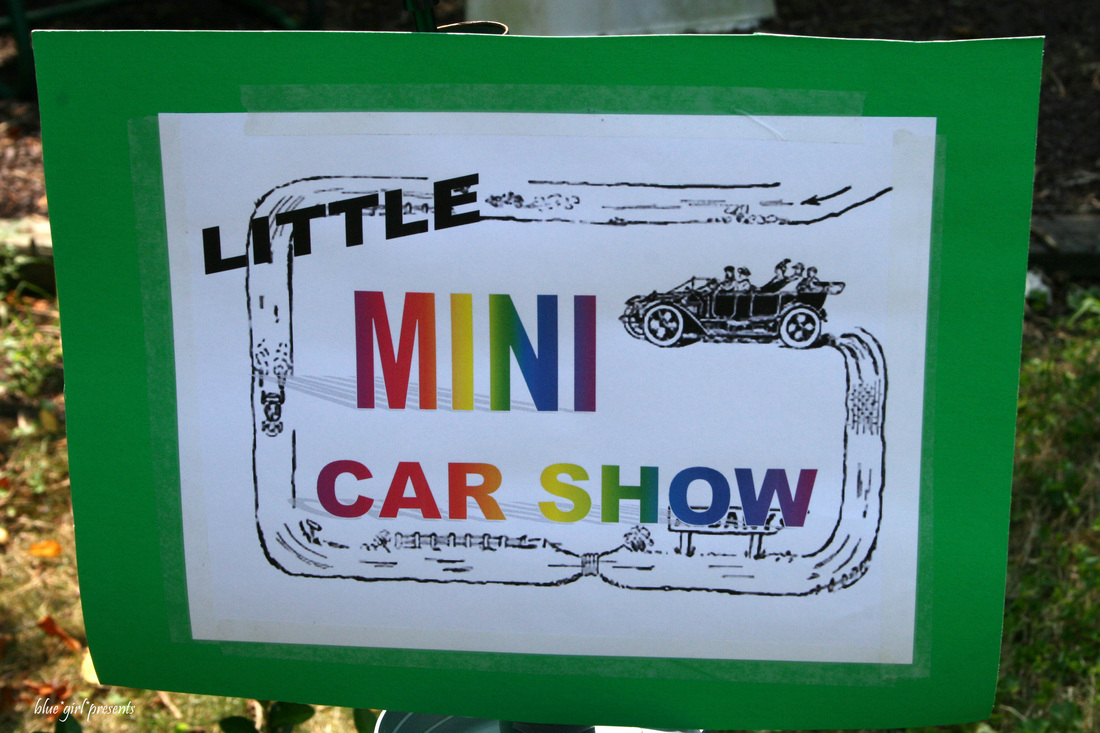
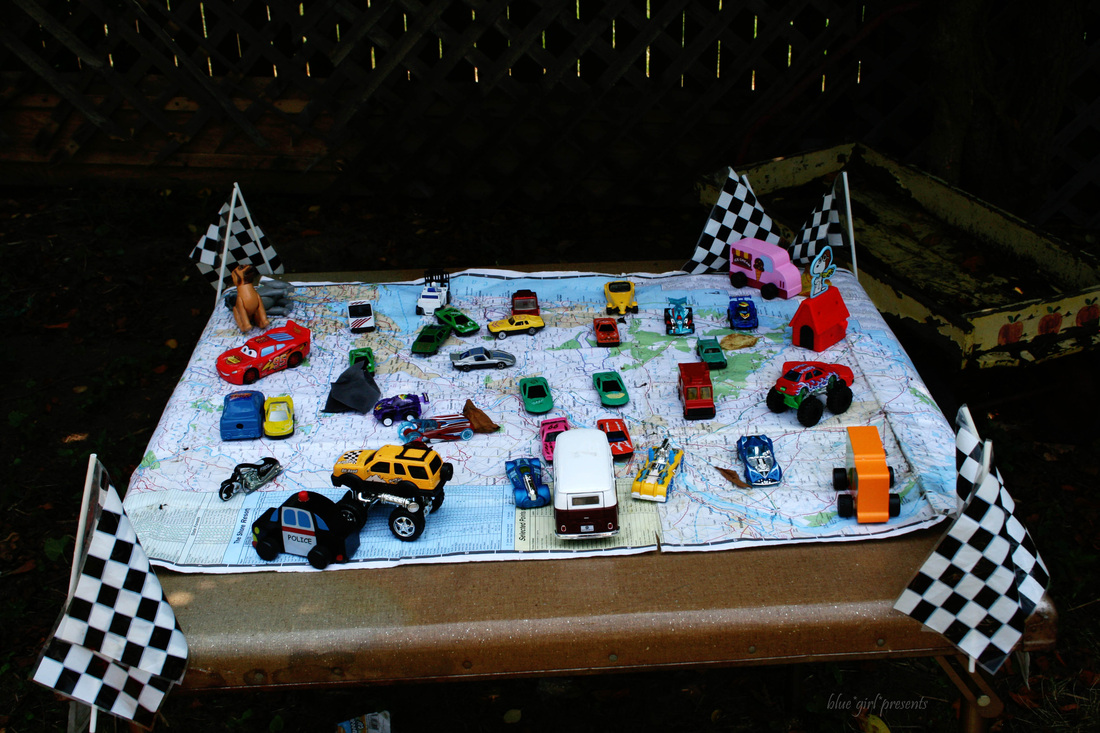
There were several cute stations around the yard with fun things to see or do.
I thought this mini car show was so adorable.
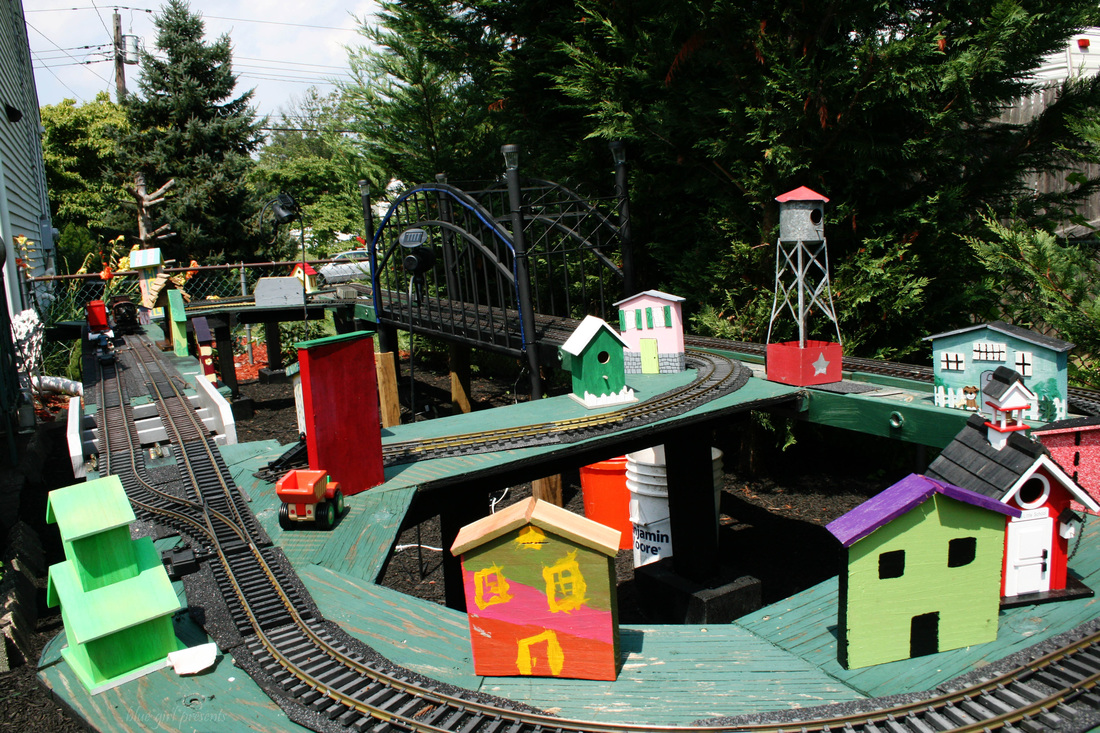
Here is Tom's train set. They had wooden house forms available for kids of all ages to decorate and add to the scene. Tom made the bridge out of a bed frame!
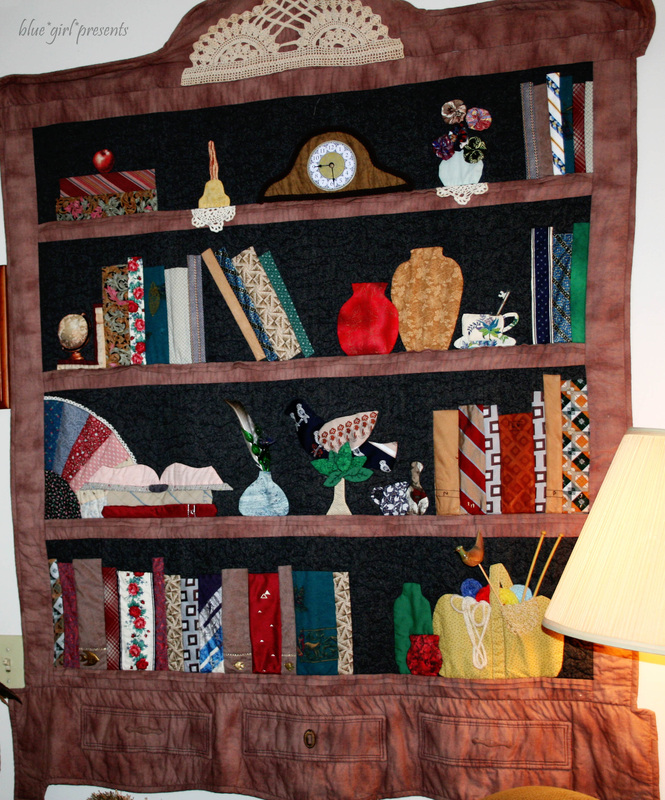
Here is a photo of one of Madge's quilts. Isn't it darling? I just kept staring at it and getting excited about all the fun little details.
It was a privilege to be able to celebrate such a special day with such a fun couple!
p.s. the bunny from the card was cut with my Cricut, using the "Give a Hoot" cartridge.
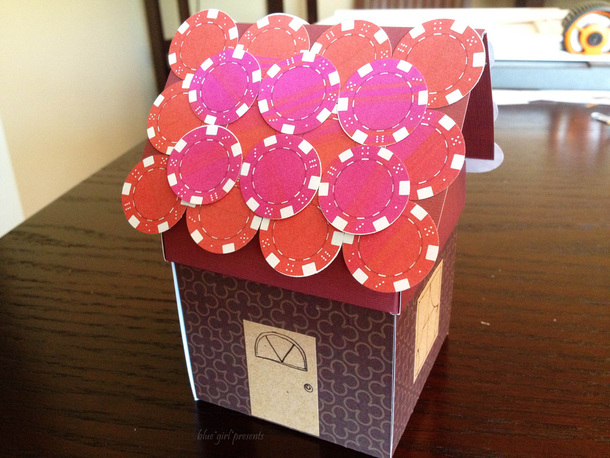
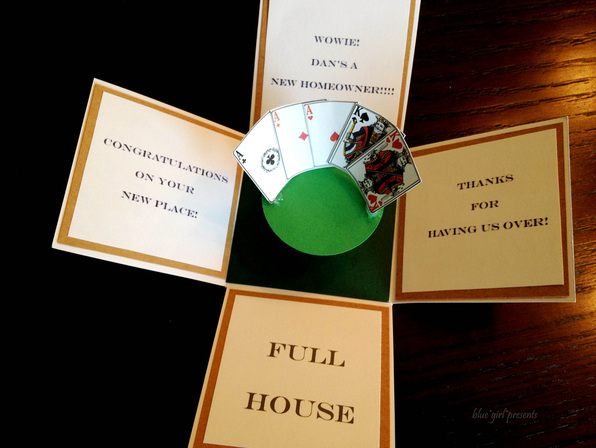
As promised, here is the experimental card I made on Friday! Hubby's friend recently bought a new house. To celebrate, he had the guys over for a poker night. I have always wanted to try my hand at an exploding box greeting card. A quick search and you will find tons of fun examples. (Jinky's Crafts is probably the queen of exploding box cards. Her cards are unreal!) I knew that Hubby's friend would be the perfect guinea pig for my first experiment. Making a box seemed easy enough for me. The tricky part was that this was a card to celebrate a new HOUSE. I wanted a roof on my box. I needed to do math... The horror. Somehow, a roof was created and adorned with poker chips. And then? A FULL HOUSE!
It is so much fun to be a dork. :)
The card was far from perfect. And apparently, the playing cards were accidentally detached shortly after the card was received. However, I had a blast making it, and I now have tons of notes so all future attempts will only get better!
Come back tomorrow to see another exploding box card! It's not bigger, but it just might be better.
Before you leave... since we're on the topic of FULL HOUSE. Have you seen this gem?
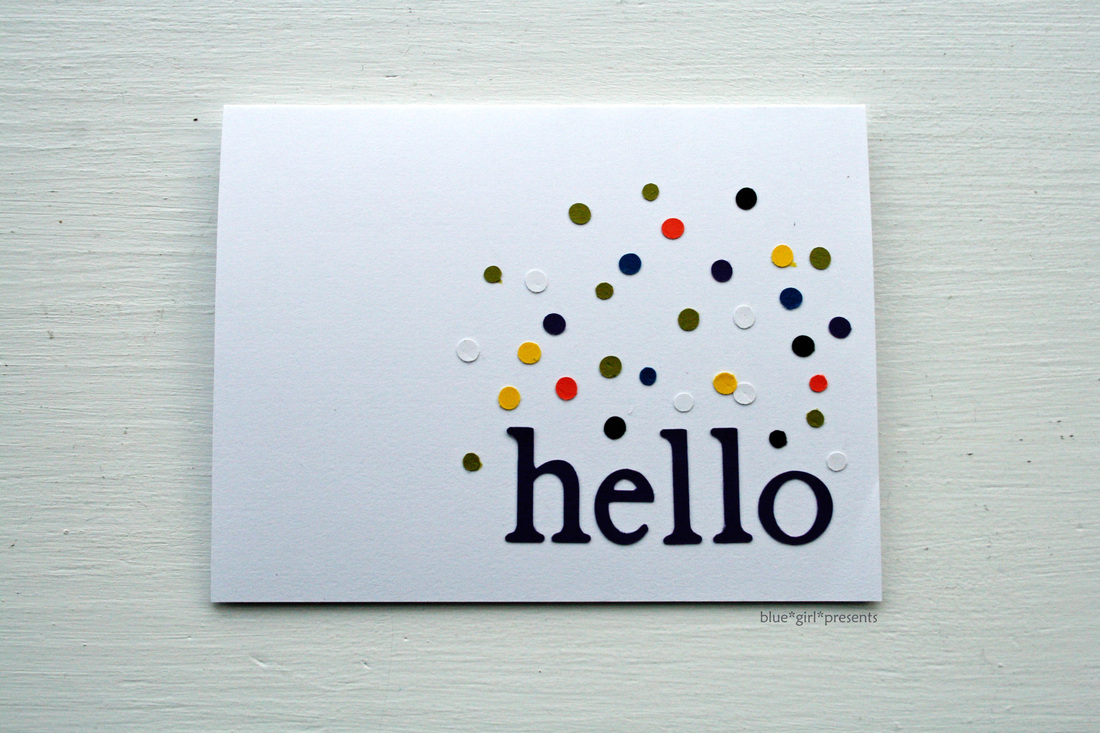
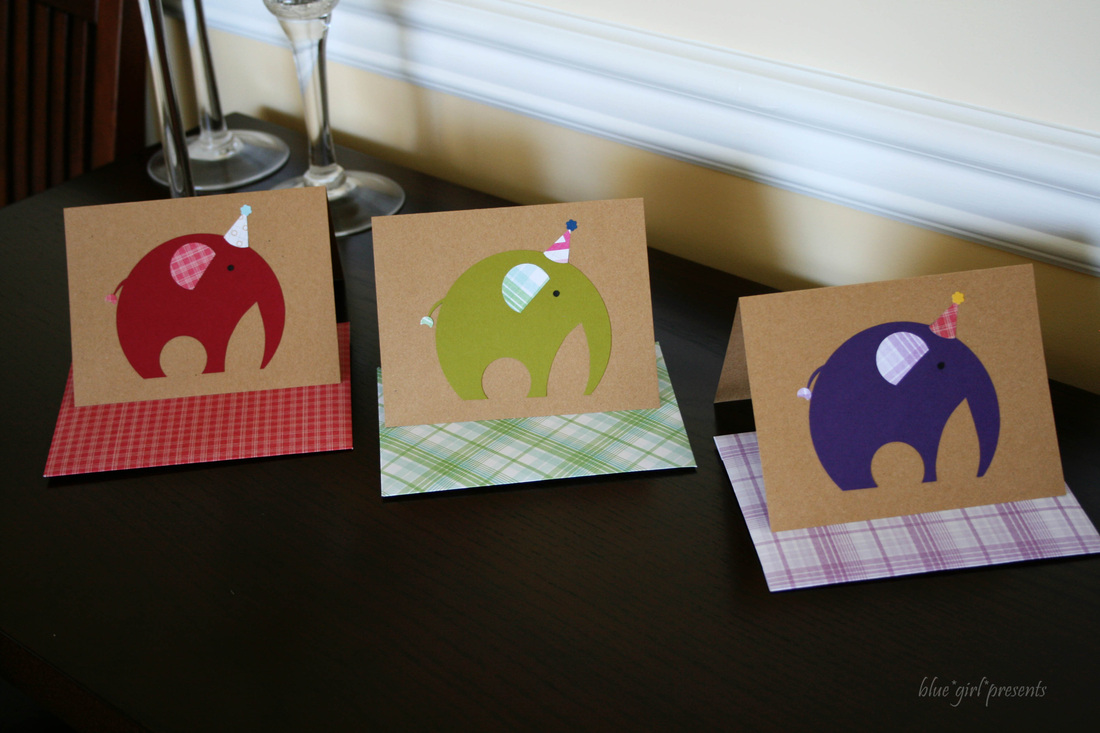
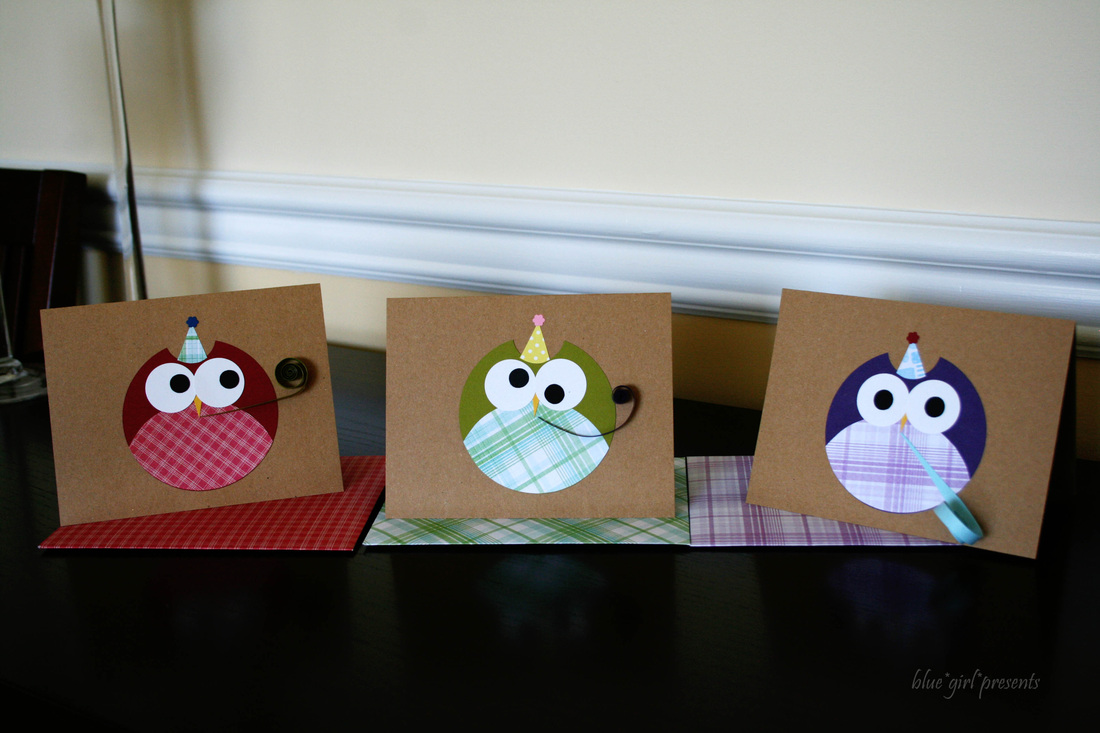
Are you tired of my animal cards yet?
Because I have so many other ideas...but the animals REALLY wanted to party.
Everyone loves a good party right?
Woohoo! Let's celebrate!
I hope you're having a wonderful day.
Thanks for visiting. Hooray!
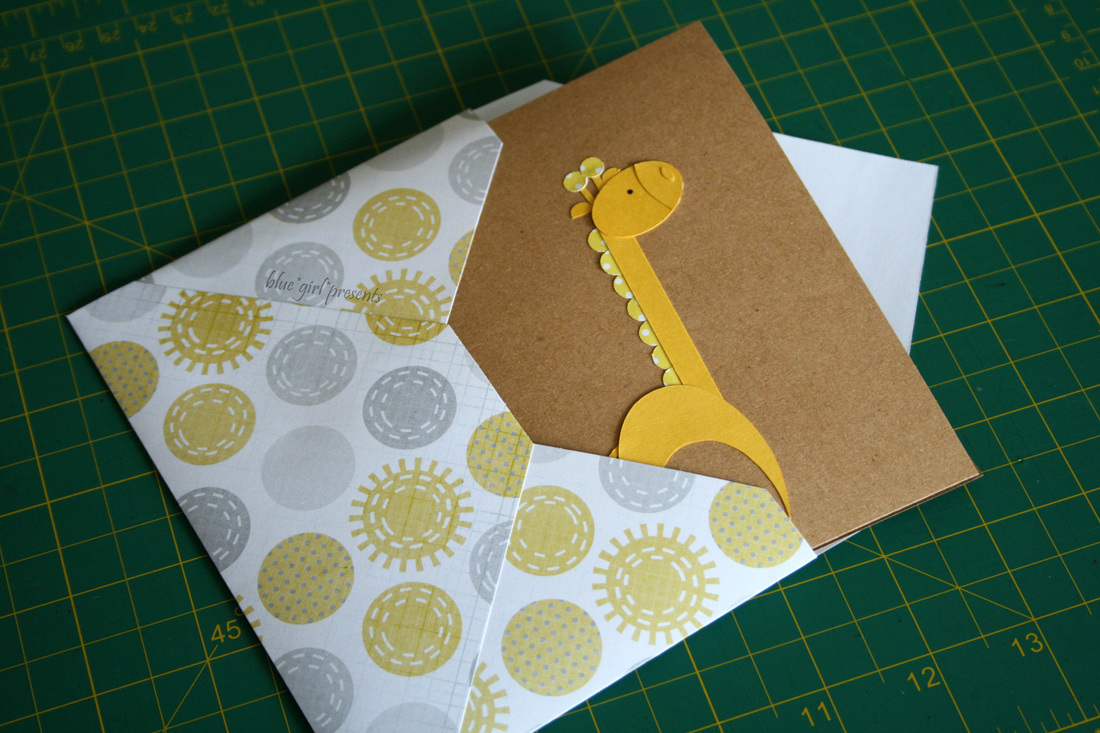
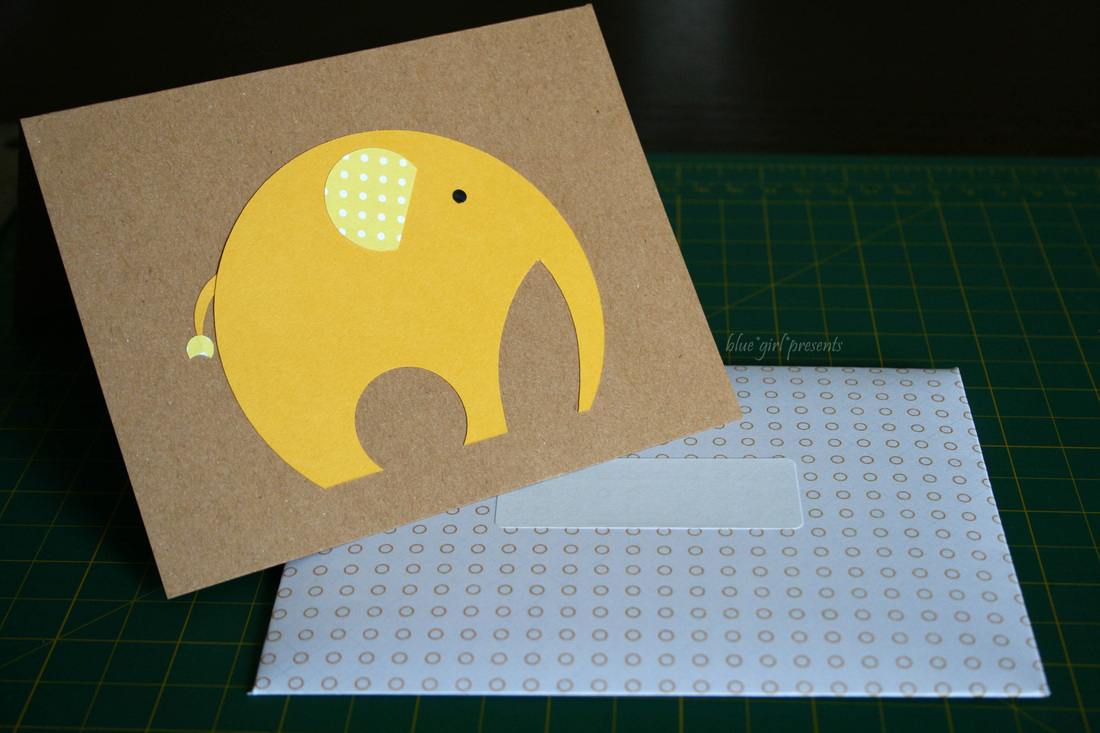
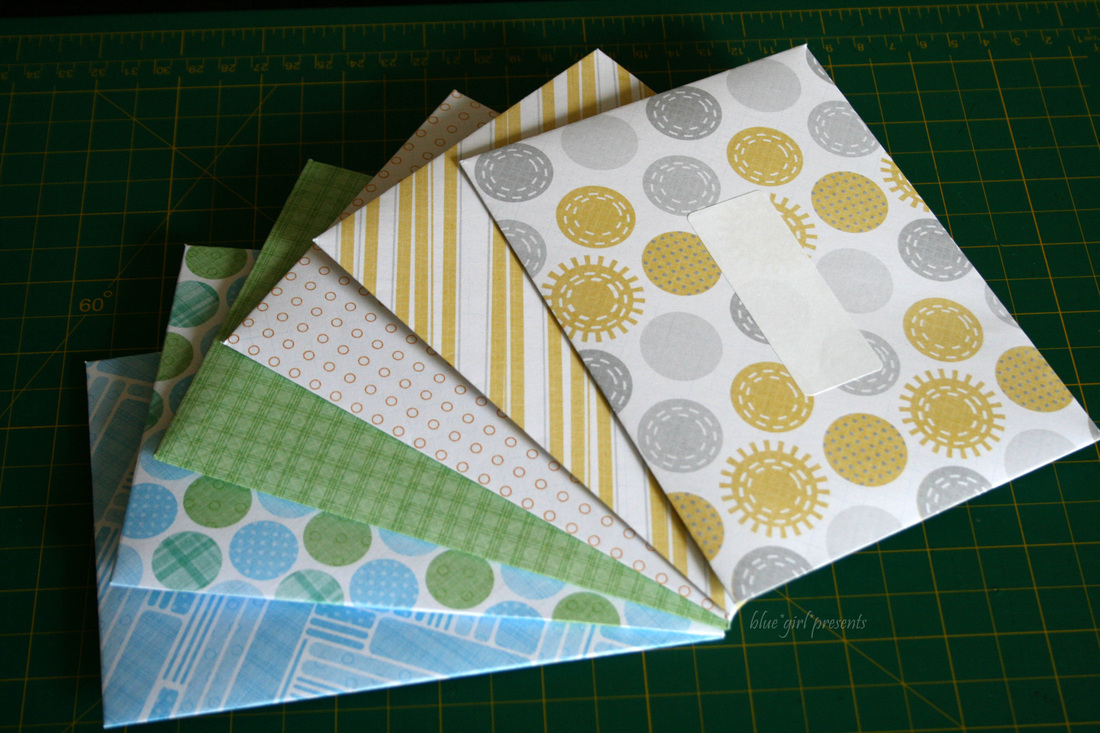
When I was in elementary school, I would often roam around the house with a very special envelope. I liked imagining it was a cute little purse. The envelope itself was quite plain. It was wrinkled and worn from being handled so much. It was also stuffed with birthday cards.
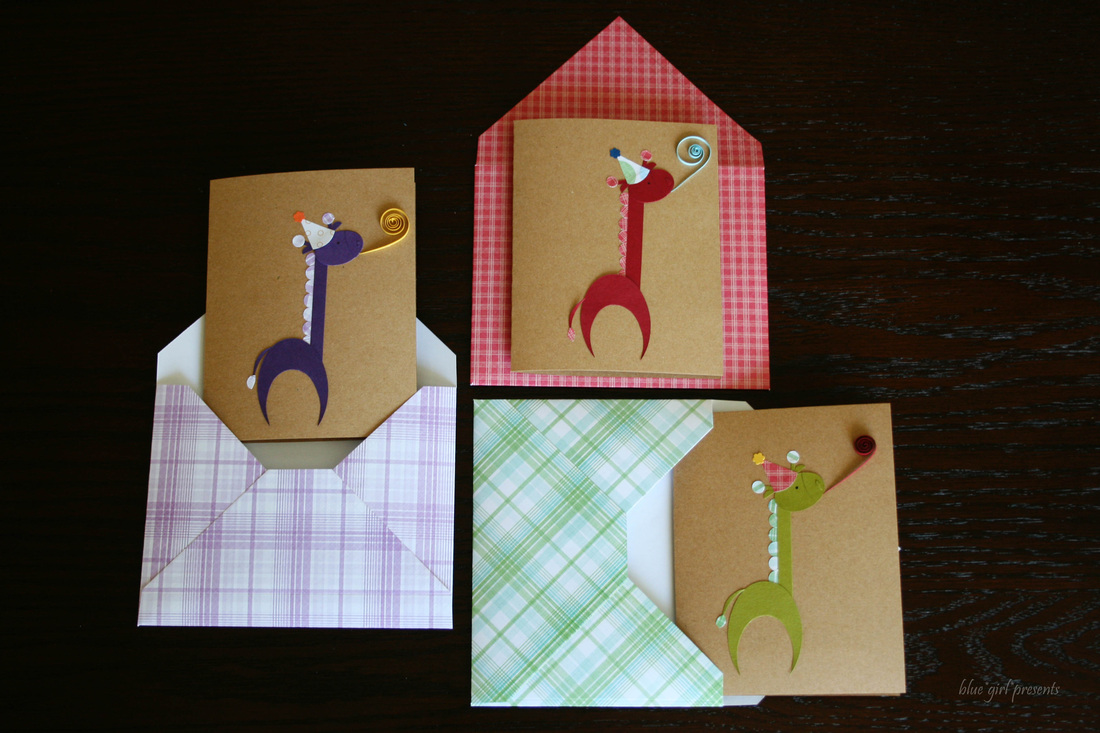
Even as a child, I had a great appreciation for paper, greeting cards, and hand-written messages. I'm not sure when it started, I just know that one year I decided to start collecting all of the birthday cards I had received and carrying them around. I would find a spot to curl up and carefully pull out each card. As I went through my cards, I would put them in a special order. Sometimes, I ordered them by size. Sometimes, I ordered them by my favorite images. A couple cards and one special letter written on Little Twin Stars stationery always received extra attention because of the time taken to write a lovely message. My animal greeting cards needed envelopes. I made envelopes with scrapbook paper so that they could be as cute and whimsical as the cards themselves. They will also make a much cuter purse for anyone as weird as I was. (You're right, you're right. I'm still weird. Hooray!)
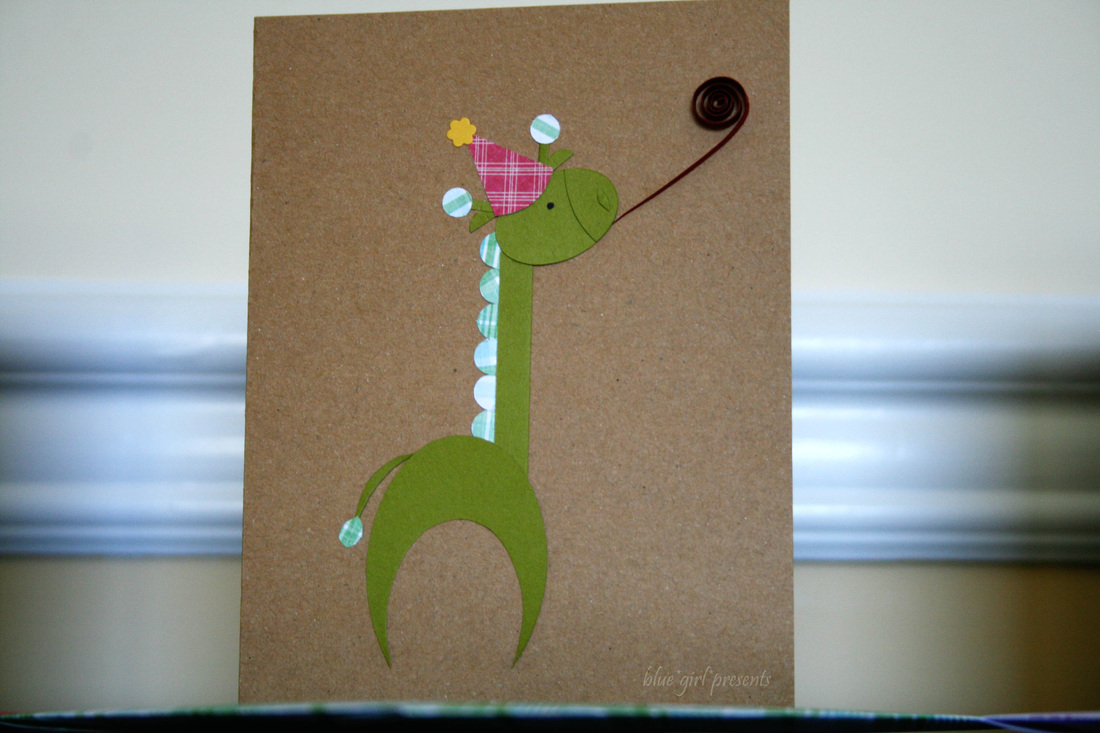
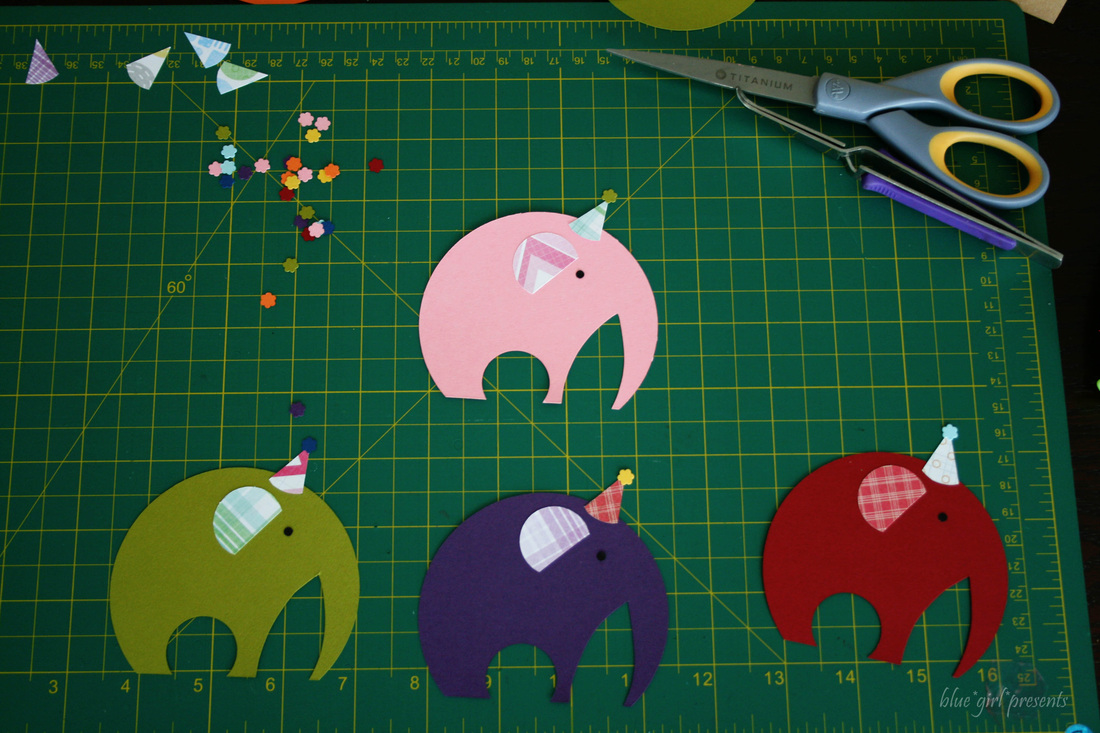
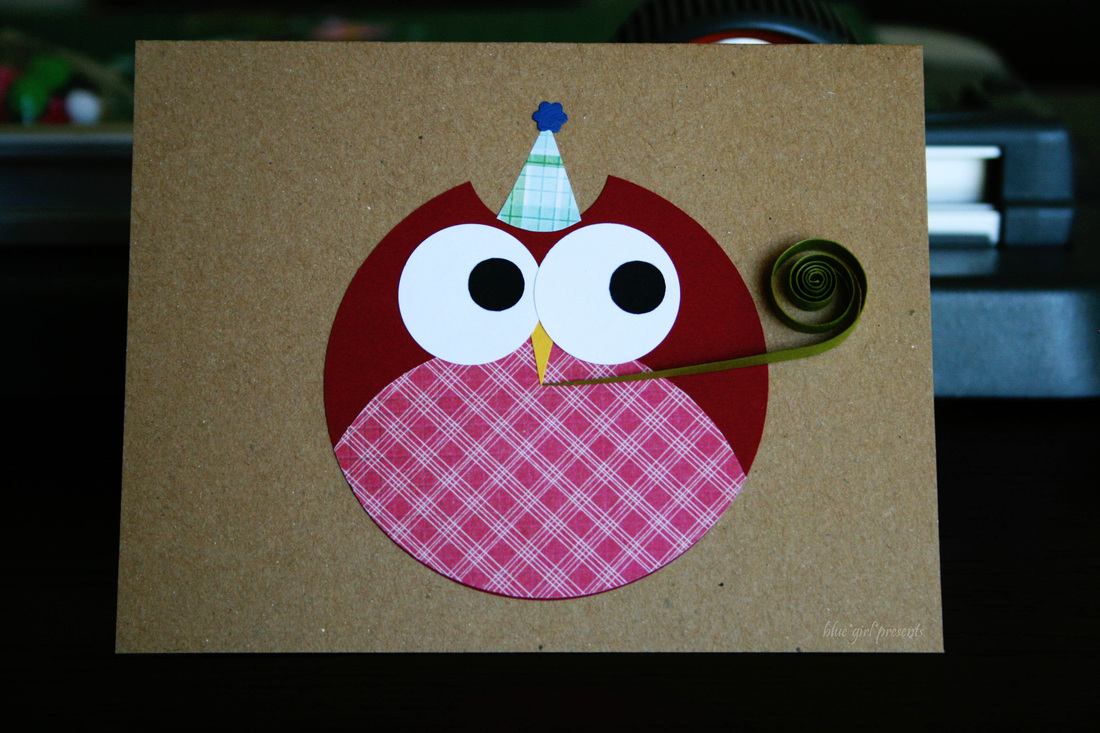
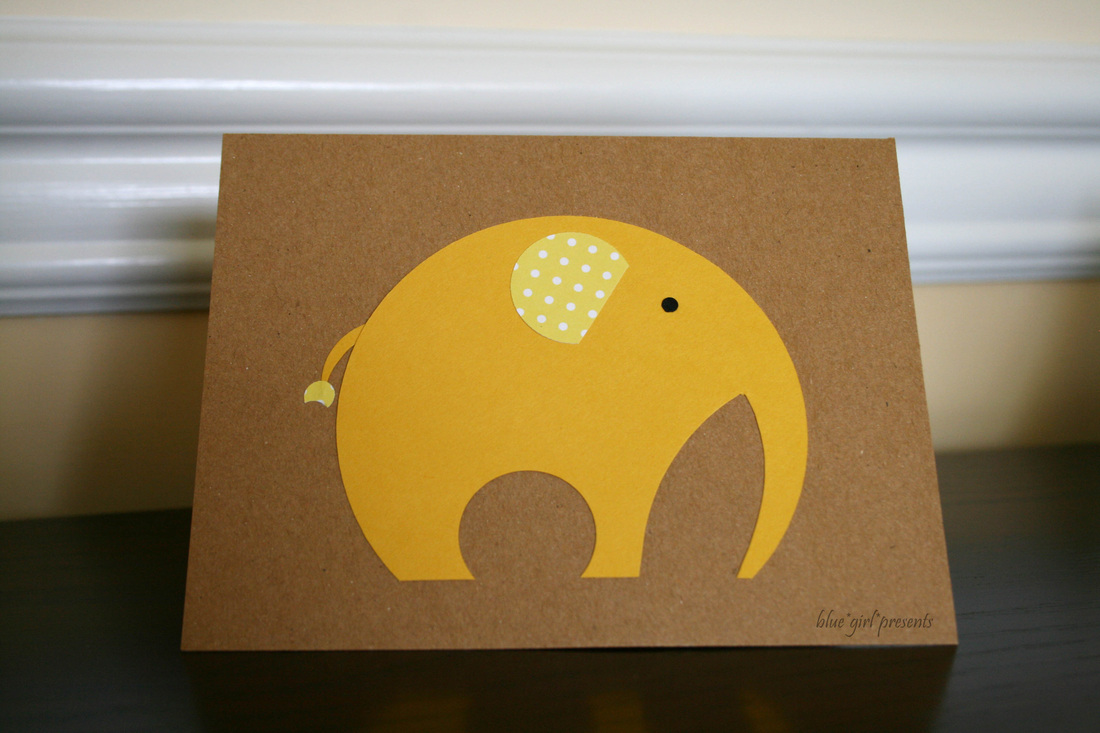 elephant 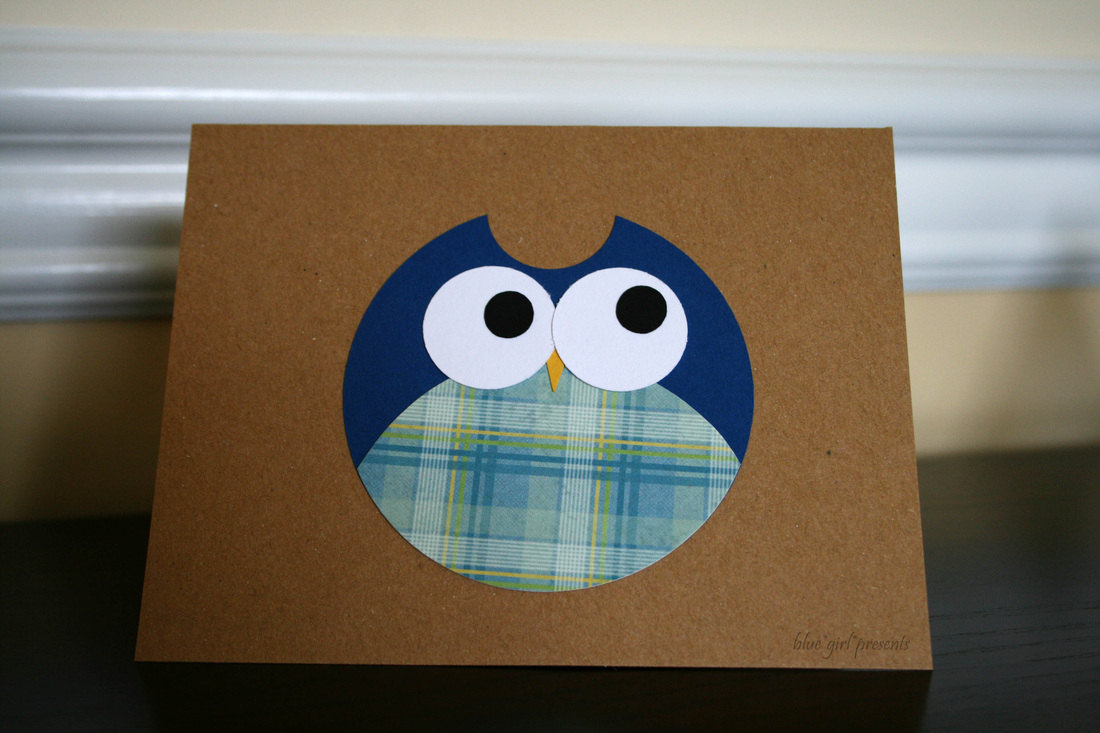 owl I also discovered these adorable love owls. See how both animals were created mostly with circles? I love that. 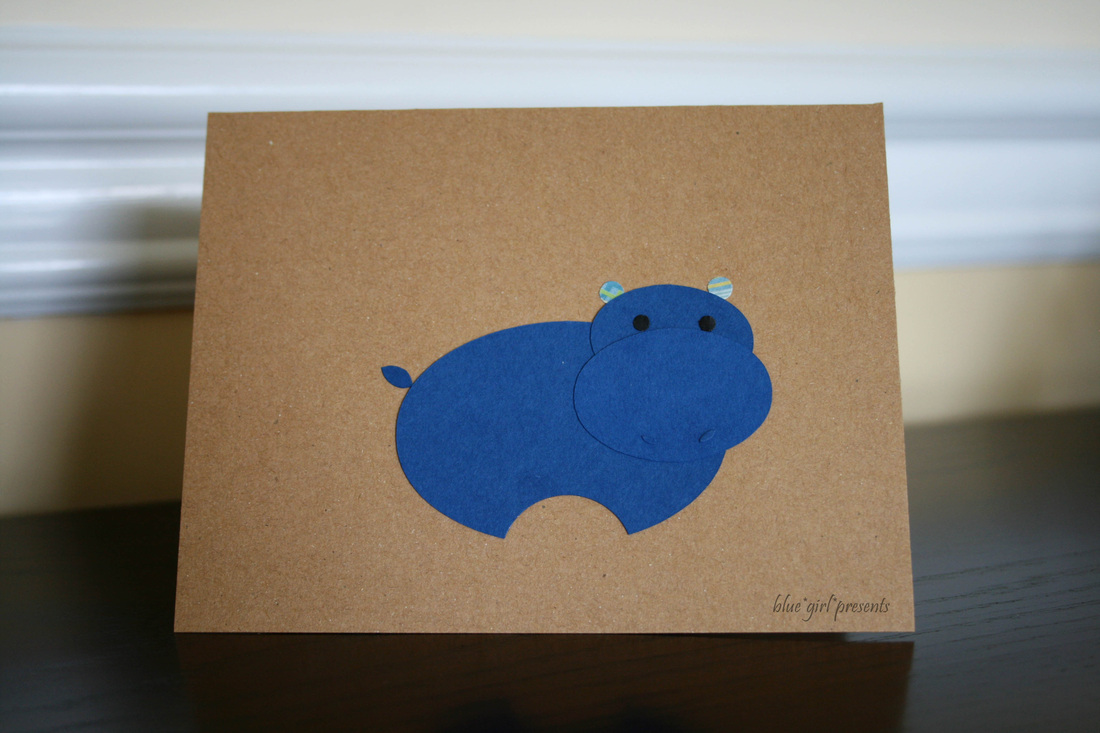 hippo Obviously, I had to see what other animals I could create with simple shapes. And obviously, I had to make them into greeting cards!
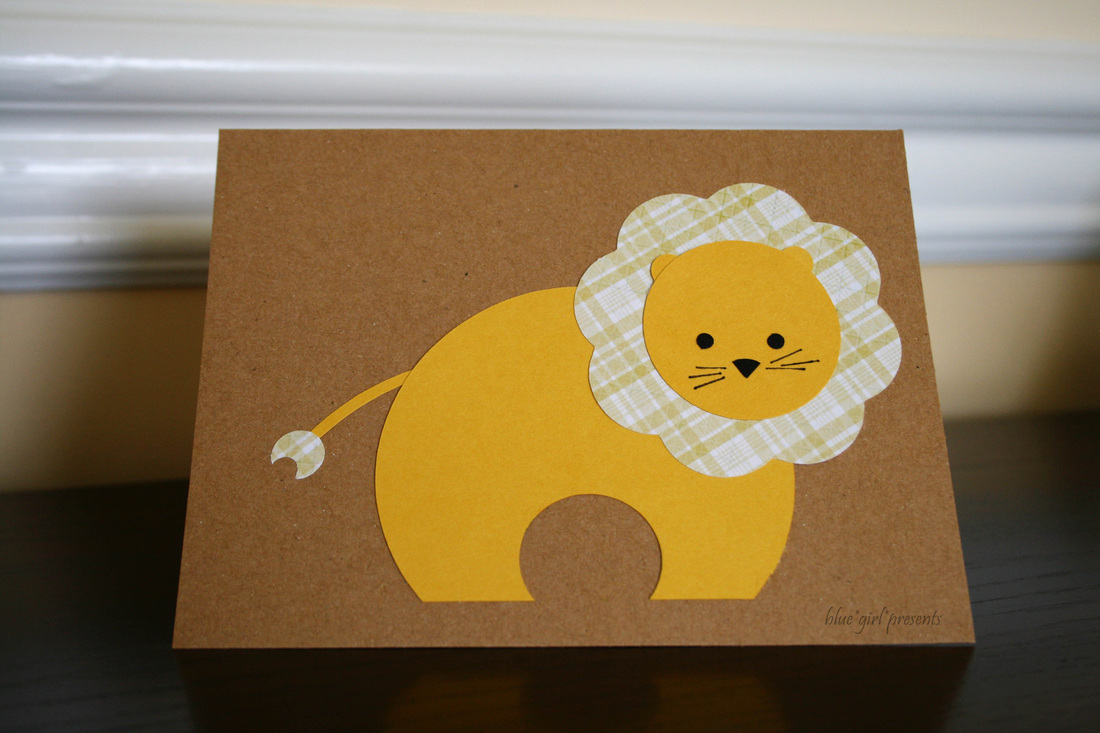 lion I cut a bunch of circles and ovals in various sizes and had some fun.
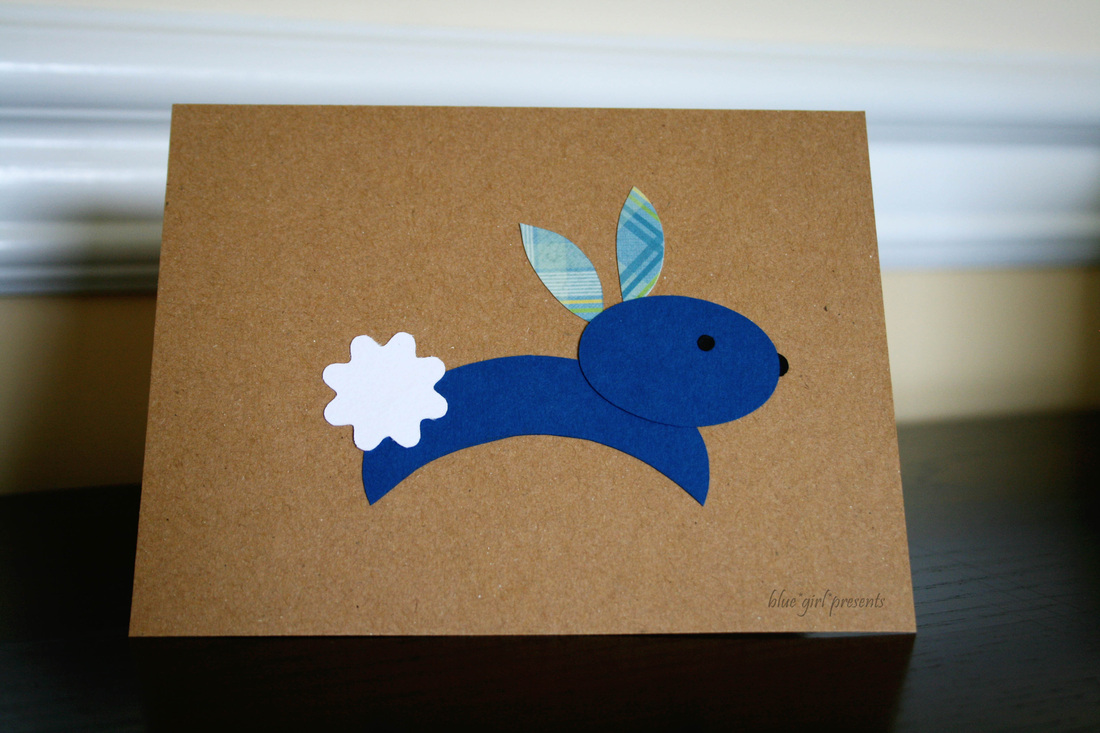 bunny rabbit While circles or ovals were used as a base for each animal, I didn't limit myself to those two shapes.
 giraffe These cards make me smile. Hopefully they will make a few other people smile too!
Have a lovely day. Thanks for visiting!
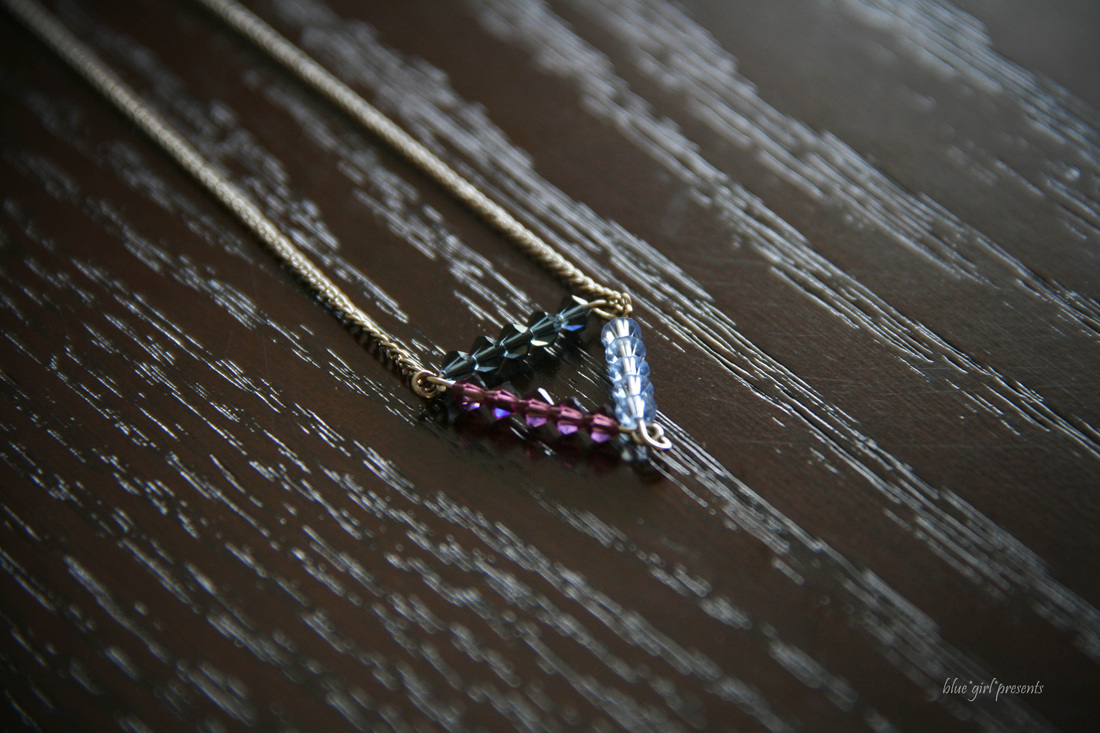
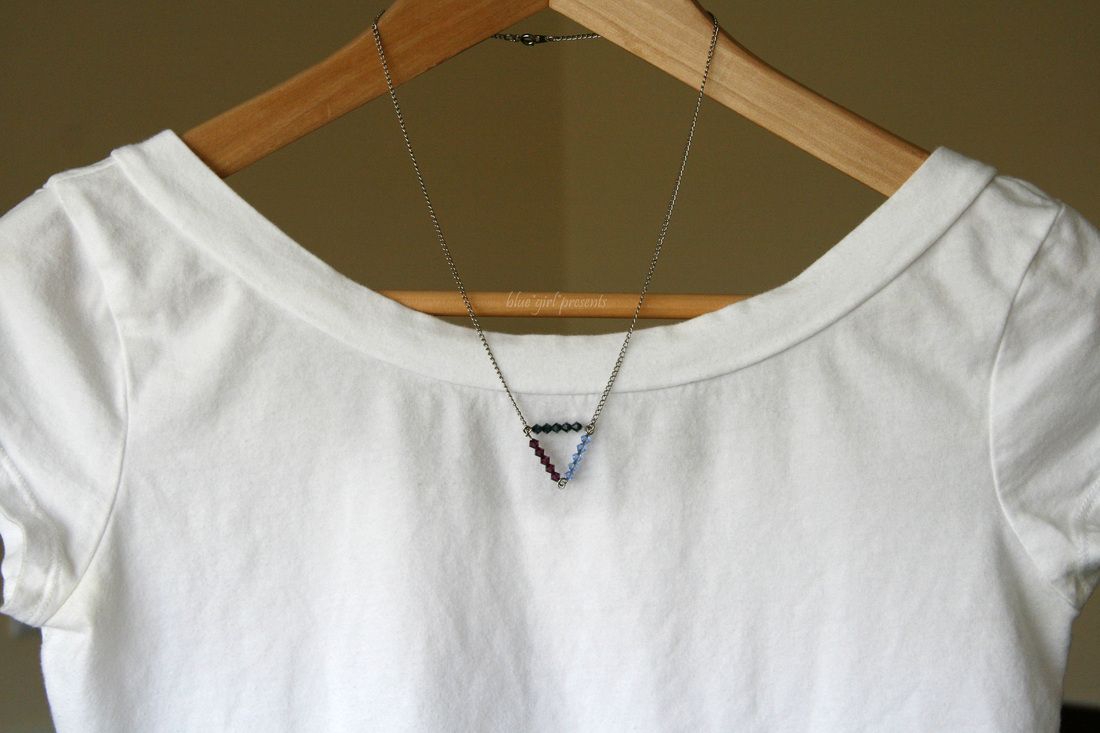
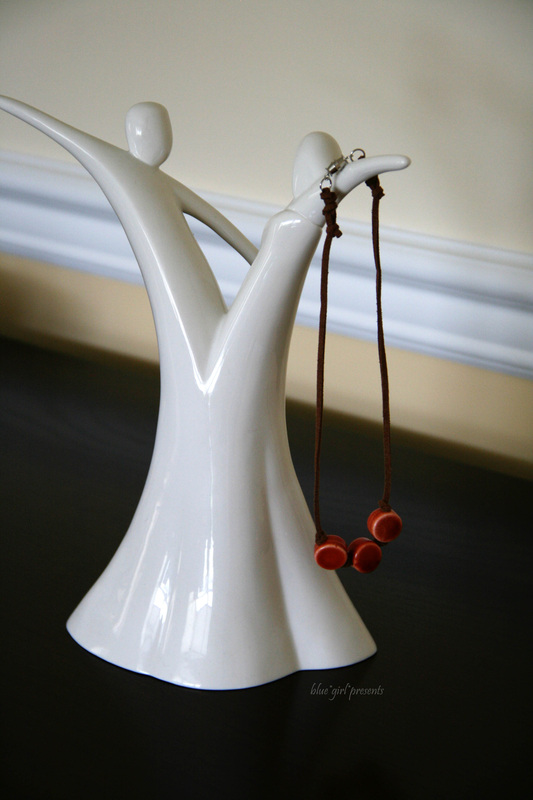
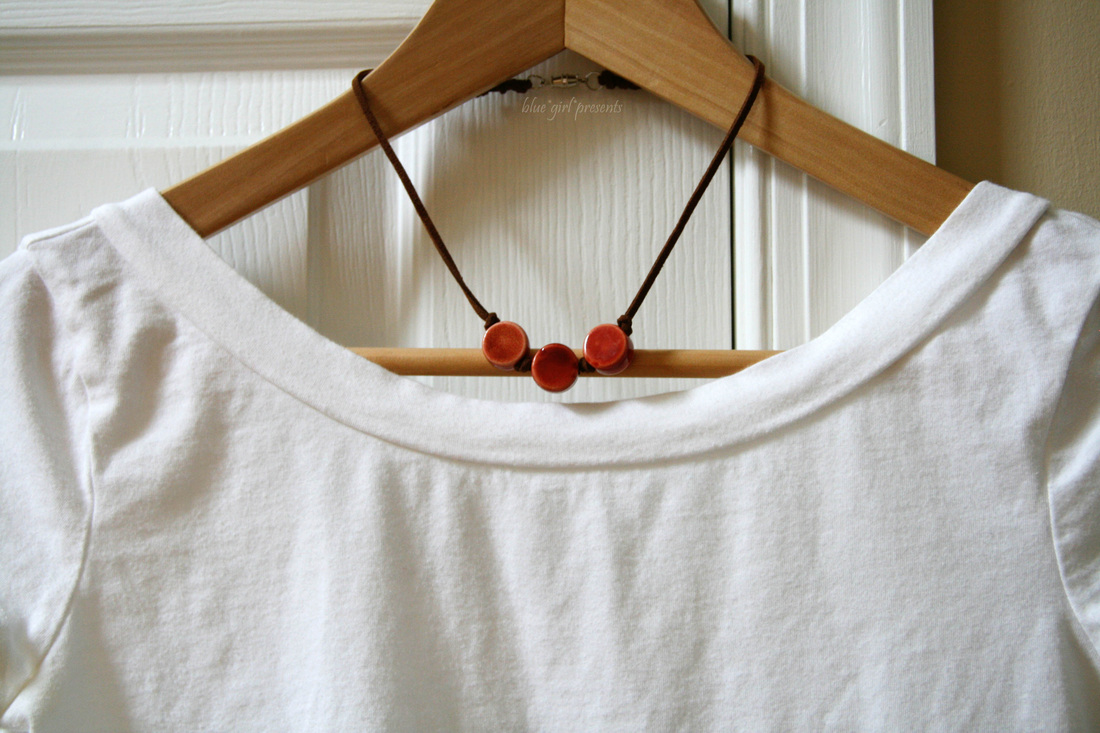
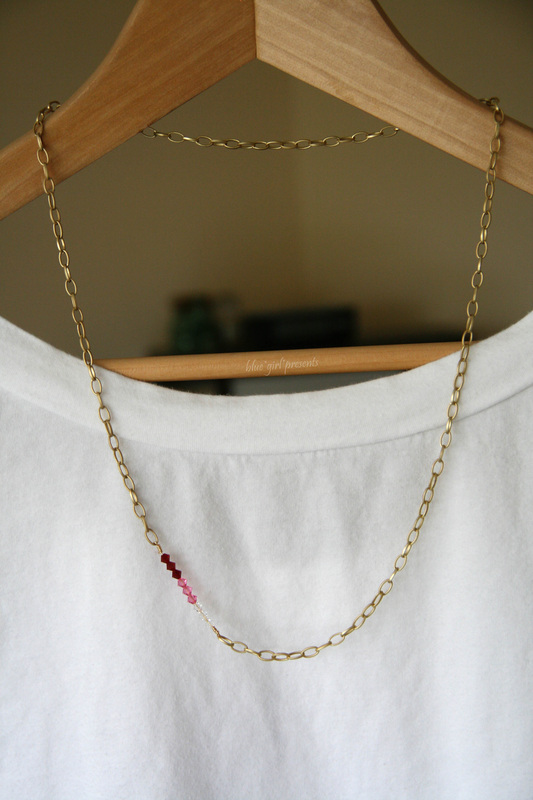
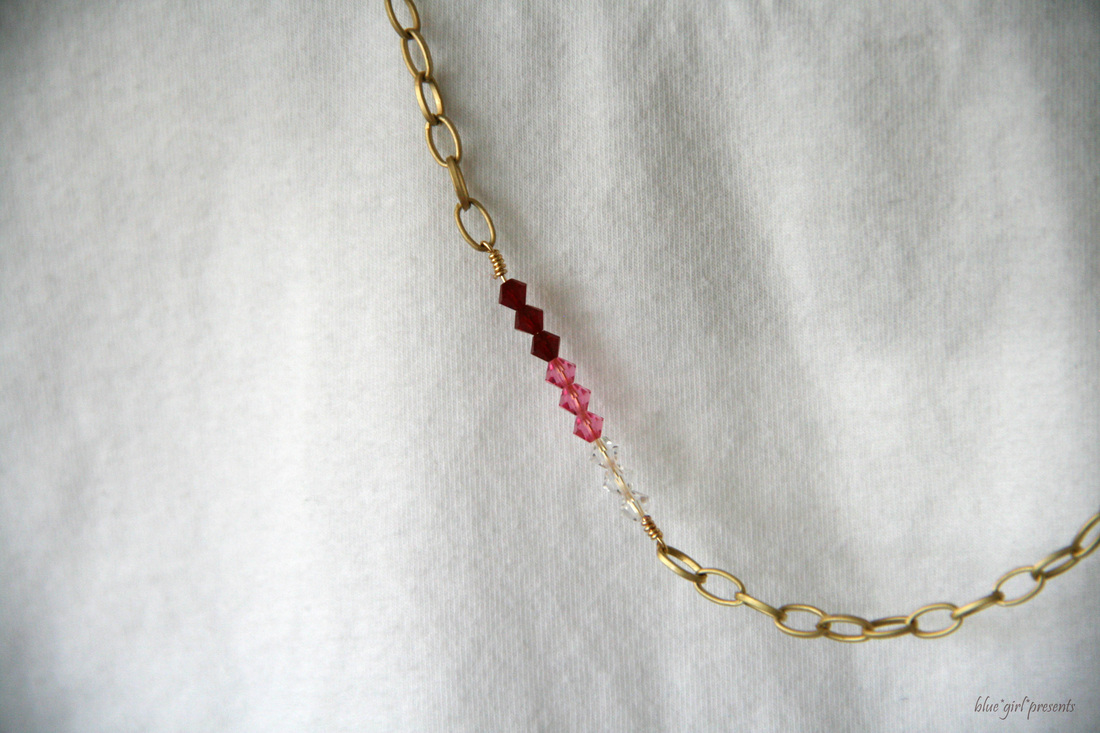
A couple of my necklaces needed a bit of surgery to be wearable. Since I had already pulled out all of my jewelry supplies to fix them, I figured it would be fun to make a few additional necklaces.
Nothing fancy or gaudy.
Just simple and cute.
A little something fun to accessorize a white t-shirt.
When it's summer, it feels nice to keep things simple and carefree...
|


 RSS Feed